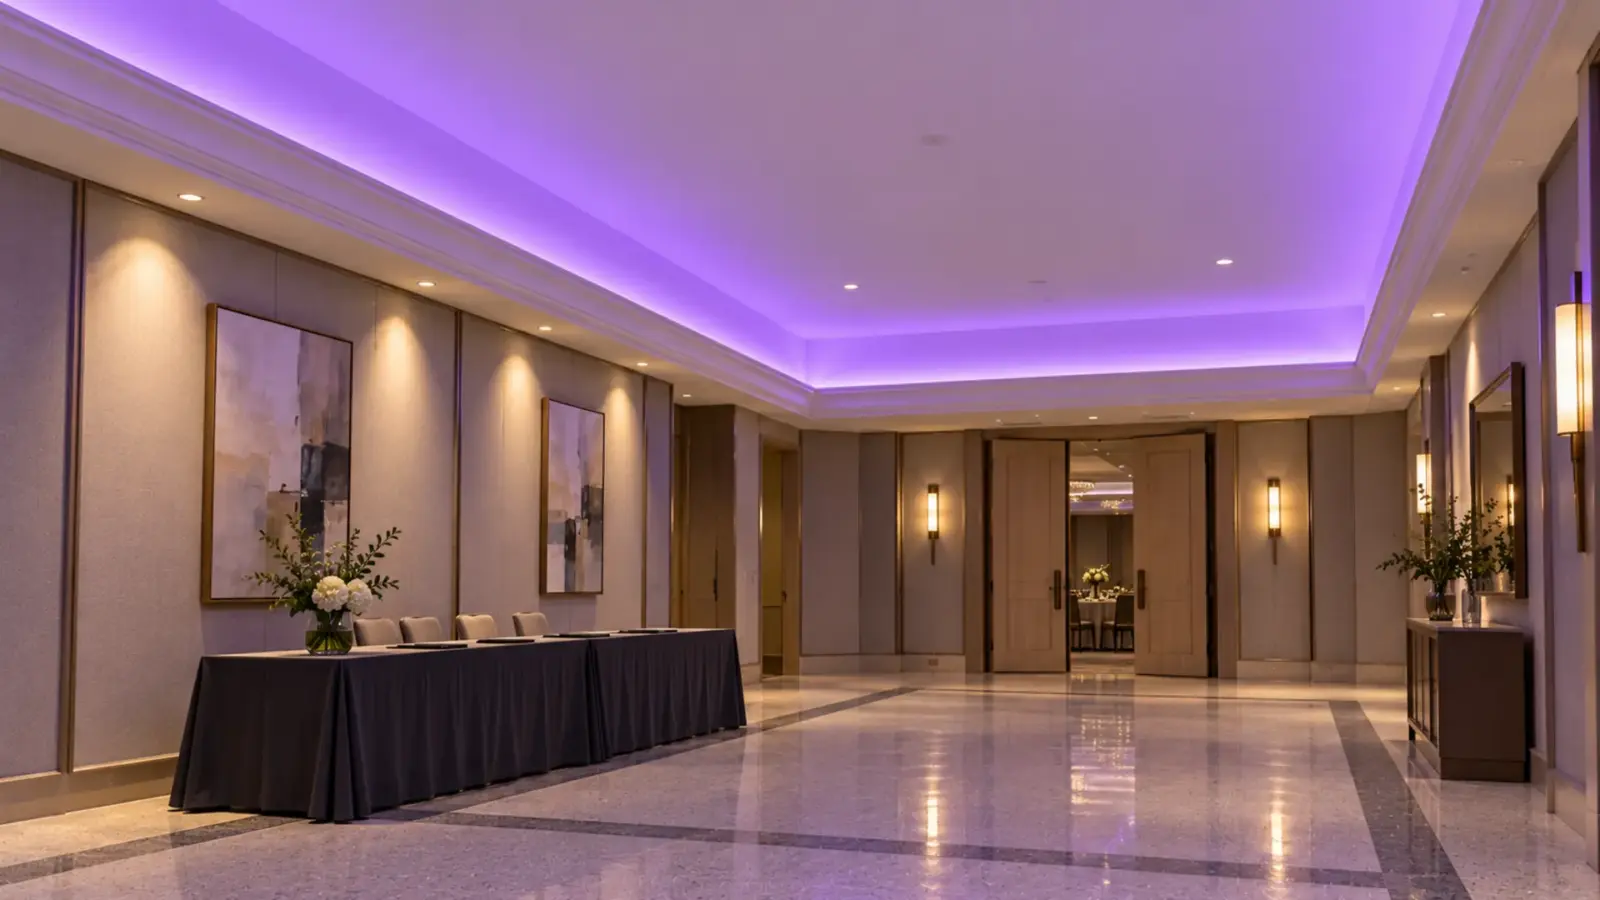
The usual LED strip crown molding detail is a crown set “a few inches” below the ceiling and a strip taped to the wall behind it. It lights the wall better than the ceiling, gives the strip no aluminum to carry its heat away, and leaves no easy way to reach a failed piece.
A lit crown works when it is built as a Strip hidden on a ledge or in a recess that lights the ceiling indirectly. The cove's depth and lip height decide the throw and whether the strip is seen.: blocking first, a level ledge, a channel on the ledge, then the crown.
The sections below take the usual fix apart, then build the right one, from the drop to the code that governs a foam crown.
The Usual Fix: Tape on the Wall, Crown a Few Inches Down
A popular how-to sets the crown “a few inches below the ceiling” on a 1×3 base and angled support blocks, and sticks the strip to the wall above it. Three things go wrong on a commercial job.
- The aim. A strip stuck flat on the wall shines out into the back of the crown, not up at the ceiling, so the brightest light lands on the crown’s back and the top of the wall. Our cove lighting page puts the goal the other way round: aim toward the wall-ceiling joint so the wash spreads across the ceiling.
- The gap. “A few inches” is often less than the 4 in (100 mm) our cove page treats as the minimum from strip to ceiling, and a short gap shows as scallops and a hot band.
- The service. Adhesive tape in a gap a few inches high, with no channel to lift out, is hard to replace once the crown is up. In a hotel suite or an amenity room, a dark piece becomes a trim repair.
Build the Ledge First
The strip needs a flat, level surface that faces up, and the crown needs something solid to fix to. Both come from the same part: a ledge of blocking or a plywood shelf fixed to the wall studs, at the height the drop calls for, with the crown fixed to its front edge.
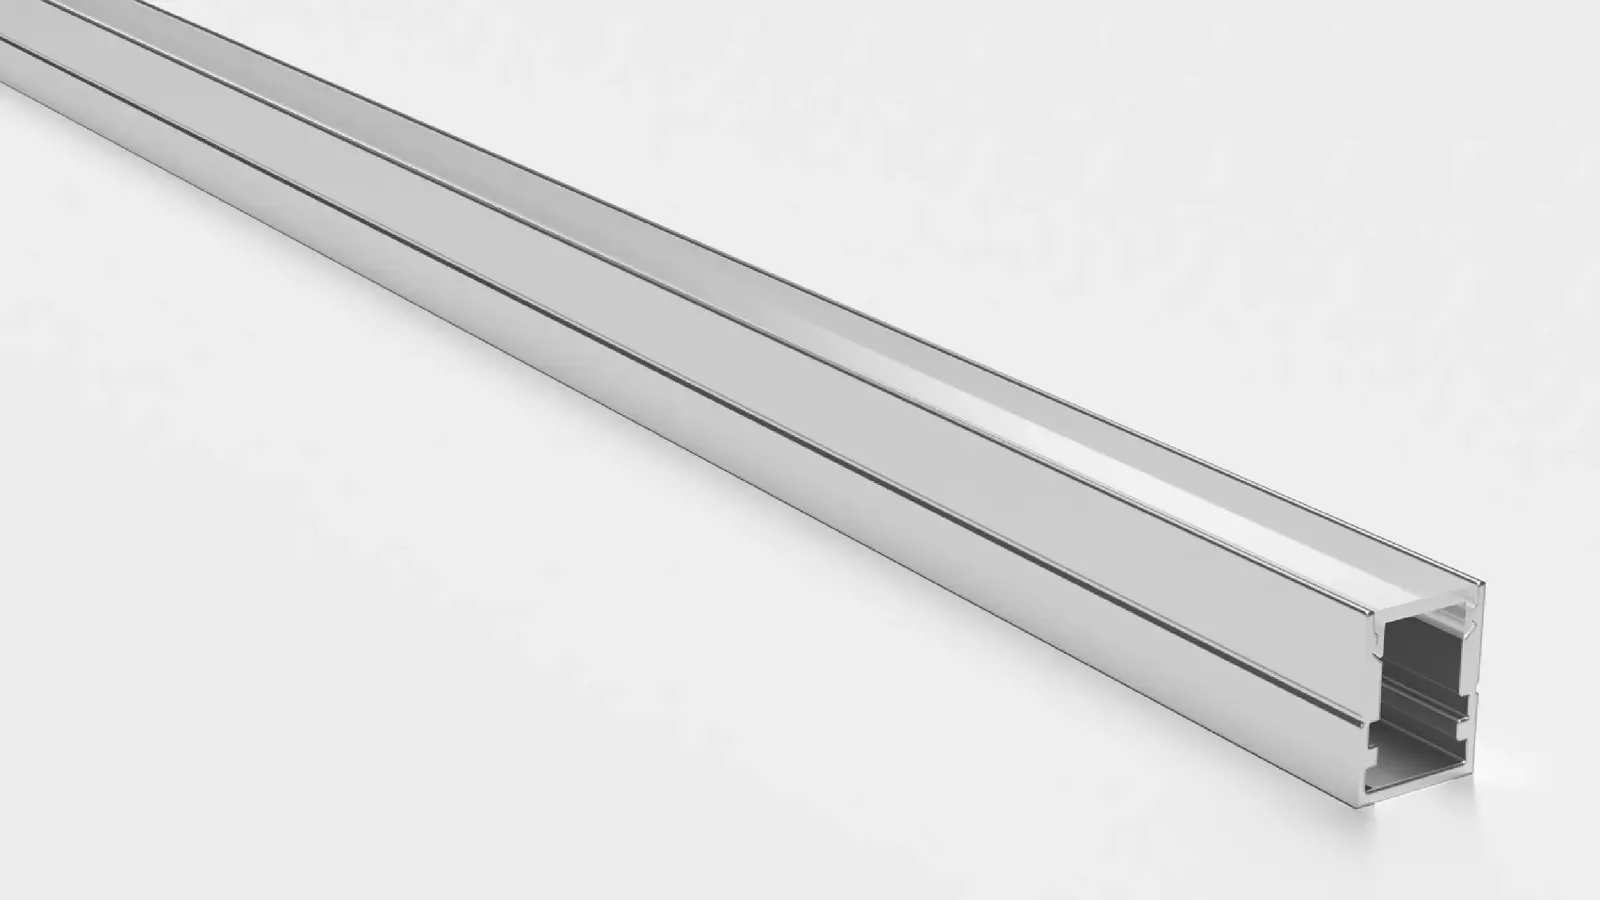
On that ledge, the strip sits in an aluminum channel, not on bare wood or foam. The channel holds the line straight along a wall that is never perfectly flat, takes the strip’s heat away from the trim, and gives the opal cover something to clip into. Our LED channel range ships every channel with clips and end caps, and we cut it to the run schedule on request so each piece arrives labeled for its wall.
Level the ledge, not the crown. Ceilings sag and walls wander, and an uneven gap from strip to ceiling shows as a wash that brightens and fades along the room. Shim the ledge so the strip-to-ceiling distance is the same at every stud.
*Checkpoint:* the ledge is level along each wall, fixed to studs, and wide enough for the channel plus a hand behind the crown.
How Far Down: Four Inches, and the Door Head
Two numbers set the drop. The top: the strip sits at least 4 in (100 mm) below the ceiling, deeper where the room allows, per our cove page. The bottom: the crown’s lower edge has to clear the door and window casings, or the crown runs into them at every opening. A WOODWEB contributor sizes the crown from the space above the door and window casings, keeps it to 6 in on an 8 ft ceiling, and rarely drops a crown in a room under 9 ft.
Here is that limit worked for a 7 ft (84 in) door with 3.5 in casing, so the top of the casing sits at 87.5 in. These are assumed, typical dimensions; take the real ones from the door schedule.
| Ceiling height | Space above the casing | Minus 4 in setback | Room left for the ledge, crown and lip |
|---|---|---|---|
| 8 ft (96 in) | 8.5 in | 4.5 in | Tight: a small crown, strip close to the minimum |
| 9 ft (108 in) | 20.5 in | 16.5 in | Room for a deeper setback and a full crown |
| 10 ft (120 in) | 32.5 in | 28.5 in | The door line no longer limits the drop |
An 8 ft ceiling is the hard case. With 4.5 in left for everything, a large crown either crowds the strip toward the ceiling (scallops) or hits the door casings. A smaller crown, or a crown that stops at the door wall, is often the honest answer.
Whatever the drop, the crown’s top edge is the cove lip, so it has to hide the strip from every place someone stands. Our cove dimensions guide works that sightline from a viewer’s eye at about 66 in above the floor they stand on.
*Checkpoint:* the section on the drawings shows ceiling, ledge, strip, crown and the nearest door head with real numbers.
Where the Strip Sits on the Ledge
Three positions work, and they differ in where the brightest light lands:
| Position | Channel and strip | What it does | Watch for |
|---|---|---|---|
| Toward the crown, in the corner where the ledge meets the crown’s back | 45° corner UT-CH1616 with dot-free UT-C480-8 COB | Aims at the wall-ceiling joint; with the pocket (crown to wall) as wide as the setback, the beam center lands in the joint | Strip up to 10 mm wide only |
| Flat in the middle of the ledge, facing up | Slim surface UT-CH1013 with high-efficacy UT-S2835-128-HE | A broad wash with a bright band right above the strip | Needs the deeper setbacks a 9 or 10 ft ceiling allows |
| Against the wall, facing up | Deep UT-CH2415 for wider strip, such as 12 mm RGBW | Lights the top of the wall and the ceiling edge first | The wall shows every flaw in the drywall |
The WOODWEB contributor mounts his light at the point furthest from the wall, toward the crown, for the same reason. For most rooms the first position, the UT-CH1616 corner channel at the crown’s back, is our pick, because it does what the cove page asks: it tips the light toward the joint instead of straight up. Our dot-free COB LED strip also keeps the line smooth where the crown is low enough to see into from a balcony or a stair. Where the white must change through the day, tunable white LED strip such as the 8 mm UT-T624-8 fits the same 10 mm corner channel. For color, RGBW strip at 12 mm does not fit it and moves to a wider channel. Our ballroom cove guide covers RGBW coves and their controls.
Output is a separate decision. Our guide to cove lumens per foot sets it from the ceiling finish and the room.
Corners, Feeds and Service
A room has at least four inside corners, and columns or soffits add outside ones. The crown is mitered at each; the channel is mitered too, and the strip usually is not, so plan two pieces with a jumper or a connector across each corner. Our cove corner guide shows how to keep that gap short.
Feed each wall from the top plate down into the ledge, or from a switch box below it, and keep every driver out of the crown, in a closet, a ceiling access panel or a nearby cabinet. Leave the top of the crown open to the room so a technician on a ladder can lift a cover and replace a piece without touching the trim.
Count each wall against its driver. Take a typical hotel suite living room of 14 × 16 ft with assumed dimensions, lit on all four walls. Each wall is inside the 16 ft (5 m) per A place where driver cable lands on the strip. The model's run limit per feed sets how many a run needs. of UT-C480-8, so one feed per wall works. The load is the catch: a 16 ft wall at 3.2 W/ft is 51.2 W, more than the 48 W a 60 W Class 2 driver carries at the 80 percent our drivers page keeps. Either split that wall onto two drivers, or use UT-S2835-128-HE at 2.9 W/ft, which puts the same wall at 46.4 W. The 14 ft walls are 44.8 W with the COB strip and fit either way.
*Checkpoint:* every corner has a method, every wall has a feed and a driver that carries its load, and the driver locations are on the electrical plan.
Foam, MDF or Wood: What the Code Says About the Crown
Lightweight foam crowns are sold for lit coves because they are easy to cut and hang. In a building under the IBC, foam plastic used as interior trim is limited by section 2604.2: a minimum density of 20 pcf, at most 1/2 in thick and 8 in wide, no more than 10 percent of the specific wall or ceiling area it is attached to, and a flame spread index of 75 or less (or an NFPA 286 test that meets section 803.1.1.1 as the alternative).
Check a foam crown against those numbers before it goes into a hotel, an apartment corridor or a restaurant. A deep lit-cove crown can be wider than 8 in, and a room ringed with it adds up quickly. MDF and wood crowns fall under section 806.7 instead: Class C flame spread and smoke-developed index, and combustible trim capped at 10 percent of the specific wall or ceiling area as well. Whatever the material, keep the channel between the strip and the trim.
Mock Up One Wall
Build one wall at full height before the crown is ordered for the job: ledge, channel, strip, crown and the real ceiling paint. Look at it from the far side of the room and from the door. A high-gloss ceiling reflects the strip as a line, a short setback shows scallops, and a crown set too high shows the channel. Each is cheaper to fix on one wall than on forty rooms.
The Short Version
- Build a level ledge on the studs first; the crown fixes to it and the strip sits on it.
- Keep the strip at least 4 in below the ceiling, and check the crown’s bottom against the door casings.
- Put the strip in a channel, ideally the 45° corner channel at the crown’s back, aimed at the wall-ceiling joint.
- Keep drivers out of the crown and the top open for service.
- Check the crown against the IBC trim limits (2604.2 for foam, 806.7 for wood and MDF) before it goes into a commercial room.