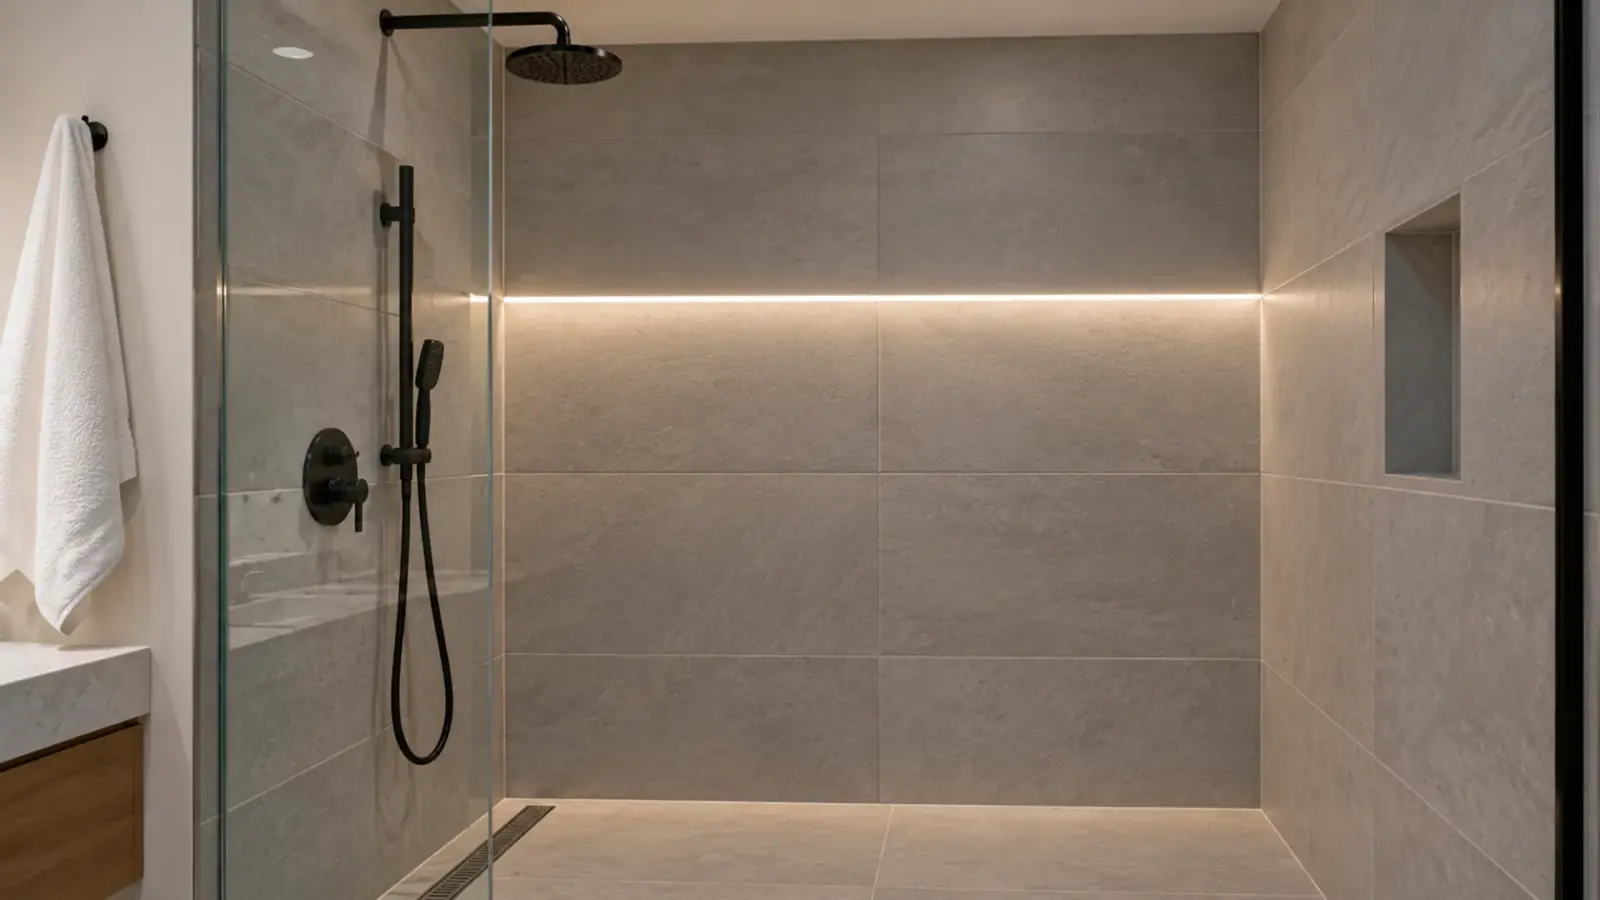
The tile LED channel looks perfect at handover. A year later one piece of strip dies, and the only way to reach it is through the grout, because the strip went in before the tile and its lead was buried behind the membrane.
A tile LED line works when the profile, the strip and the A place where driver cable lands on the strip. The model's run limit per feed sets how many a run needs. are planned as three separate jobs before the first tile is set.
The sections below take them in the order the wall is built, and end with the faults that show up after the grout cures.
What Sets a Tile Profile
A tile profile is an aluminum section with perforated wings that the tile setter embeds in the bond coat, so the tile laps over the wings and the lit face sits flush with the finished tile. Three things set it:
- Tile thickness. Profiles are made for a tile thickness. Wired4Signs gives examples sized for 10 mm tile and warns that a profile made for thinner tile sits below the face of a thicker one. Test a piece of the profile with the actual tile and the bond coat before the job starts.
- The bond coat. Mortar goes under the wings and through the perforations, and stays out of the cavity where the strip will sit.
- The grout joint. Where the profile maker states a joint between tile and profile, follow it. The joint is grouted, and in a wet area finished with a flexible sealant.
- The layout. The line should land on a grout line of the tile layout, at a height that clears niches, valves and grab bars. Lay the tile out from the profile, not the profile to whatever the tile leaves, and show the line on the tile shop drawing so the setter and the electrician work from the same elevation.
Our channel range has no tile-edge profile. Like a walk-over floor profile, the tile profile comes from the tile specification, and we match the sealed strip and the driver to the profile the drawings name. That keeps the tile assembly under one manufacturer’s instructions.
Decide the Service Path Before the Tile
The strip goes in last: after the grout has cured and the wall has been cleaned, as EngineerFix’s install guide says. That order protects the strip from grout and cleaners. It also means the strip has to come out again some day without anyone touching the tile.
Plan three things for that day:
- A removable face. The lens has to unclip from the profile once the wall is finished. Check that on a sample.
- A feed end that stays reachable. The lead leaves the profile at one end and runs to the driver. Put that end where an access panel, a vanity cabinet or the wall’s dry side can reach it.
- A clean cavity. With the lens off, the strip lifts out of the profile from the face, so keep mortar and grout out of the cavity and leave the end caps removable rather than grouted in.
Test every strip piece on the bench before it goes in, with the lead it will use, so a fault found on the wall is a fault in the wall and not in the reel. On a long wall, bring each lead out at the end nearest its driver; a lead that has to travel the length of the profile to get out takes cavity space the strip needs.
*Hold points:* profile set and checked flush → grout cured → wall cleaned → strip in and sealed → tested at full and night level → lens on.
Wet Walls: Two Ratings and One Membrane
A tile line in a shower, a spa or a locker room needs two different things from the strip.
- The IP rating says how well the strip keeps water out. Our outdoor LED strip runs from IP65 silicone-coated to IP68 fully sleeved.
- The wet-location marking comes from the strip’s listing, not from its IP number, and it is what the inspector reads. Our wet location guide explains the difference.
- The profile is not where the rating that counts lives. Our own channels carry none, and as our waterproof channel guide puts it, whatever a profile lists, the rating belongs to the strip inside.
The driver stays out of the wet zone. Our outdoor page’s shower answer is a low-voltage Class 2 supply, such as the UT-D60-24-C2 on our drivers page, with the driver in a dry place someone can reach. Inside the shower zone itself, the code questions are covered in our shower niche guide.
The membrane is easy to forget. The feed lead has to pass the waterproofing layer behind the tile, and that hole is a leak path unless it is sealed the way the membrane maker details a pipe or a valve. Decide where the lead passes, and who seals it, before the membrane goes on.
The Strip That Fits a Tile Profile
Tile profiles are narrow. The strip has to fit the cavity with its coating, so check the coated width, not the board width in the model number, against the profile’s inside dimension. Our silicone-coated strip can be wider than its board, and a tight fit is a strip that will not slide out later.
| Where the line is | Strip from our tables | Board width | Rating |
|---|---|---|---|
| Dry lobby or corridor wall | Dot-free COB, such as UT-C480-8 | 8 mm | IP20 |
| Splash: vanity backsplash, kitchen wall | UT-O320-8-65 silicone-coated COB | 8 mm | IP65 |
| Shower or spa wall | UT-O320-8-67 extrusion-sleeved COB | 8 mm | IP67 |
| Wider profile, wet wall | UT-O480-10-67 extrusion-sleeved COB | 10 mm | IP67 |

Our model numbers carry the board width as the second number (UT-O320-8-67 is an 8 mm board), which makes the first check quick. Dot-free COB is the safer pick in a shallow tile profile, where individual LEDs sit close to the lens and show as spots; Wired4Signs makes the same suggestion. Every cut end gets a matching silicone The closure at the end of a channel or neon section. On IP-rated product it is part of the seal; on channels it finishes the extrusion. and adhesive to restore the rating.
Each wet-wall piece still follows the run limit: the outdoor strips above list 16 ft (5 m) per feed.
Movement Joints Break the Line
Tile needs movement joints, and a continuous profile across one is a crack waiting to happen. According to Floor Trends’ summary of the TCNA Handbook method EJ171, interior tile gets field joints at most 24 ft apart in each direction, 12 ft apart where the tile is exposed to moisture, heat or direct sun, and joints at inside corners and changes of plane.
For an LED line that means:
- On a wet wall longer than 12 ft, expect the line to break at least once. Plan the strip pieces and feeds around the joints, not across them.
- At an inside corner, the profile stops on each side of the joint. Plan two strip pieces, each fed separately or joined by a jumper on the dry side, rather than one strip bent through the corner.
- Ask for the joint layout before the profile is ordered, so the profile lengths and the strip cut list match it.
Floors Are a Different Product
A tile line in a floor takes feet, carts and floor machines, so the profile is chosen for impact and load first and only then for water. Our walk-over floor channel guide covers the IK ratings and the loads; our LED channel range is for walls, ceilings and millwork, not floors.
Faults Found After the Grout Cures
| What you see | Usual cause | How to prevent it |
|---|---|---|
| Lens sits proud of or below the tile | Profile made for another tile thickness | Test the profile with the actual tile and bond coat |
| Lens will not unclip, or strip will not lift out | Grout or mortar in the cavity or over the end caps | Keep the cavity clean; leave the end caps removable |
| Water behind the tile near the feed | Lead passed the membrane unsealed | Detail the penetration like a valve; seal it before the tile |
| Dark piece after a year, no access | Feed end and driver buried | Feed end and driver at an access panel or dry-side cabinet |
| Hairline crack along the line | Profile run across a movement joint | Break the profile and the strip at every joint |
| Spots on the lens | Dotted strip close to the lens | Dot-free COB, or a deeper profile |
| Strip fails in the shower | Not rated or not marked for the location | IP67 strip with a wet-location listing, cut ends capped |