

Cove Lighting with LED Strip: Setback, Sightlines and Product Selection
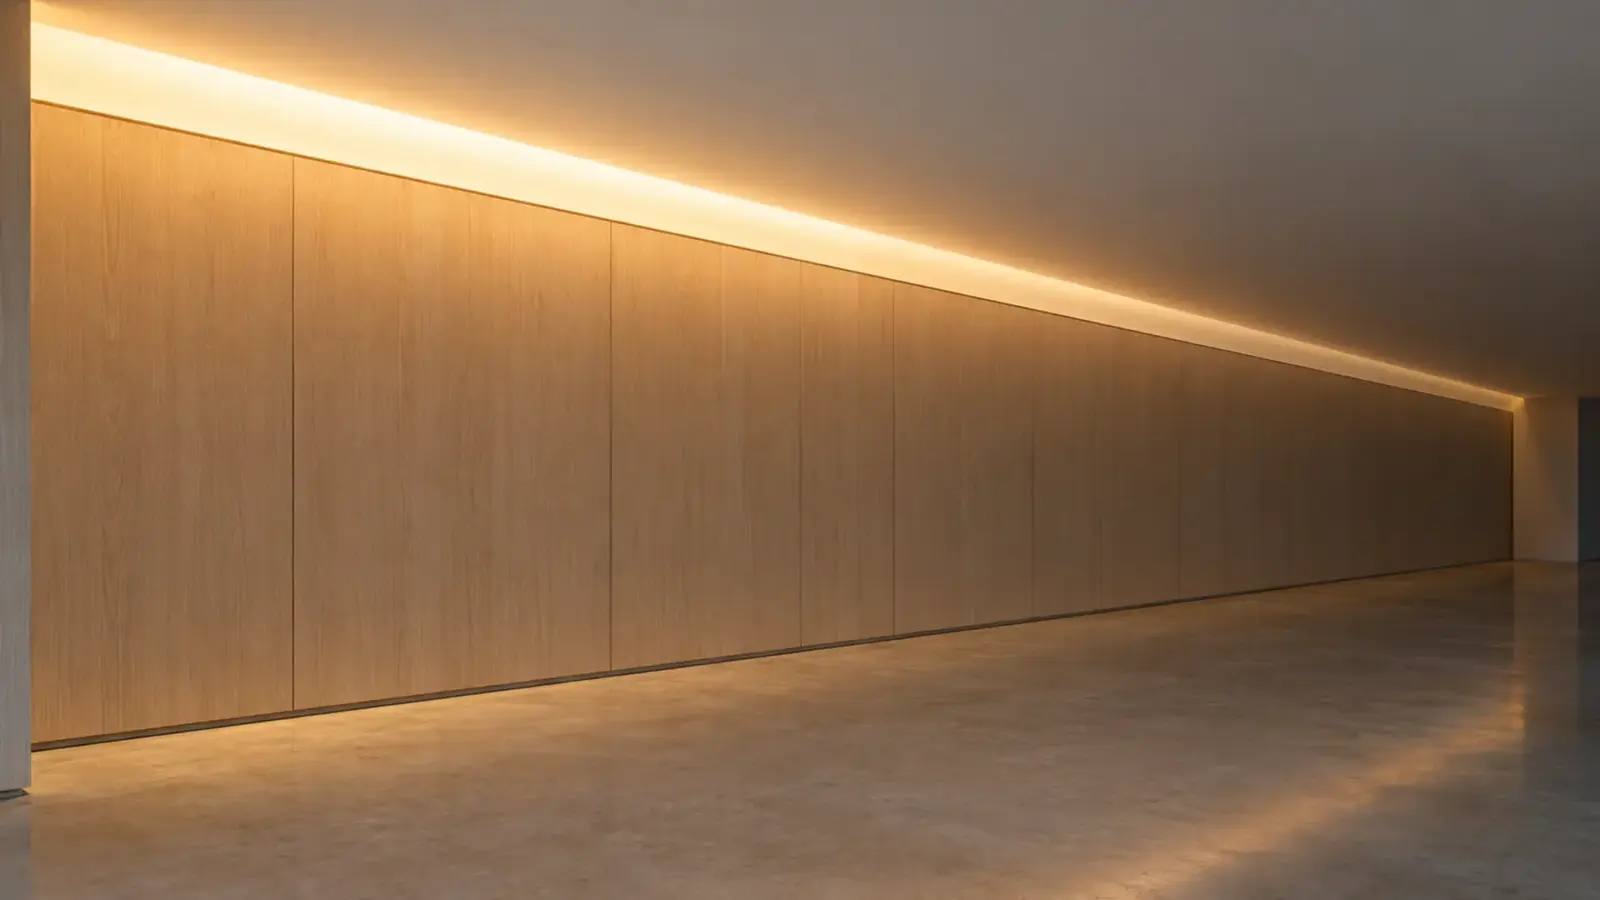
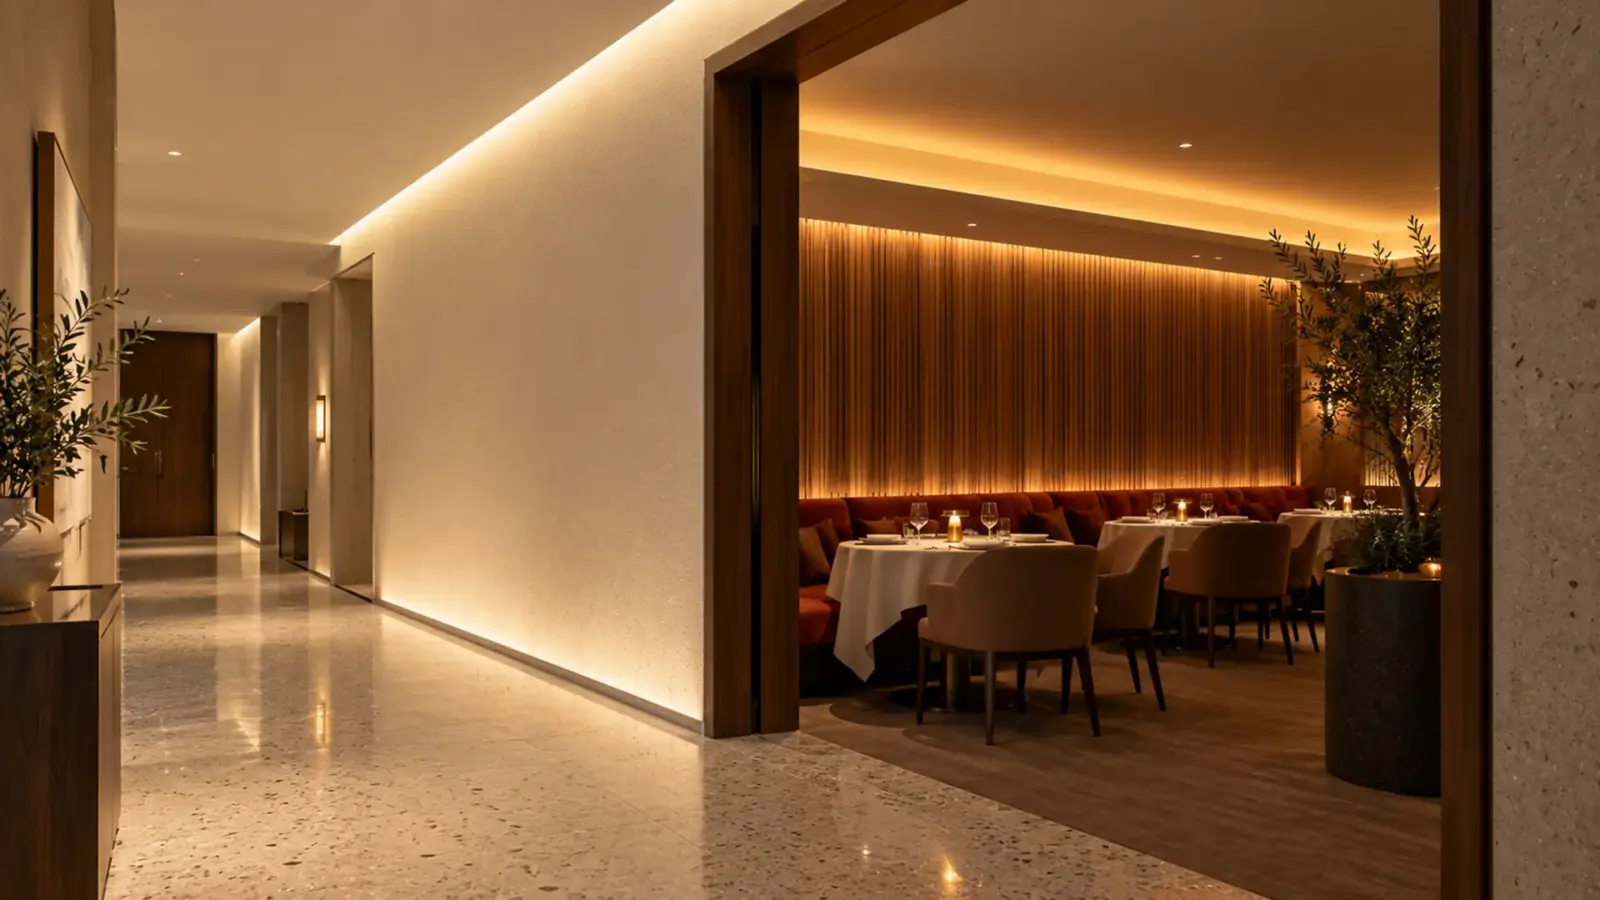
Coves light the ceiling first and the room second, so the section decides the result: how far the strip sits from the ceiling, what the lip hides, and what the finish reflects.
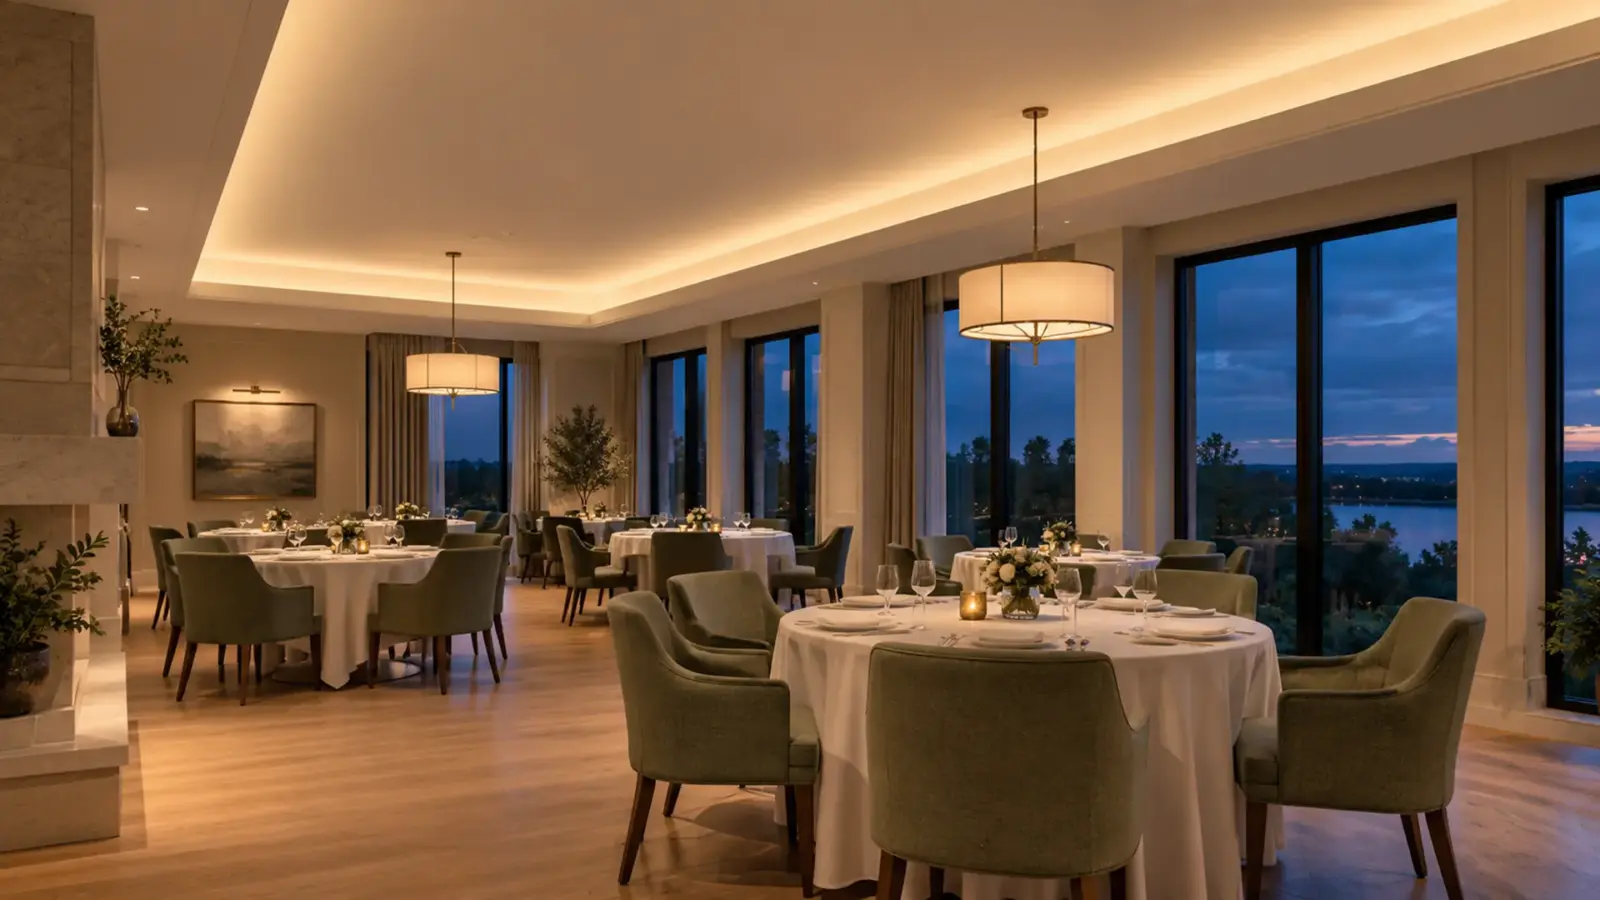
Good LED cove lighting reads as an even wash with no visible source, no scallops and no hot line above the lip. That comes from decisions made on the section drawing: the setback from the ceiling, the lip height against every sightline, the finish of the lit surface, and the strip, channel and driver that fit the space. This page walks through each one and lists the configurations we usually supply for commercial coves.
Cove configurations we usually supply
A starting point by cove type. Every model comes from its category spec table, and the final pick is confirmed on your section and a mockup.
| Cove situation | Strip | Example models | Channel / power | Watch for |
|---|---|---|---|---|
| Fully hidden cove, matte ceiling | High-efficacy SMD | UT-S2835-128-HE (2.9 W/ft, Ra≥90) | Channel optional; 24V Class 2 drivers | Hot spots above the strip if the setback is short |
| Visible line, low lip or gloss finish | Dot-free COB | UT-C480-8 (3.2 W/ft), UT-C320-8 (2.4 W/ft) | UT-CH2415 with opal diffuser | Reflections in stone, glass and gloss paint |
| Corner cove, aimed wash | Dot-free COB | UT-C480-8 | UT-CH1616 corner channel, 45° aim | Strip width up to 10 mm |
| Shallow millwork or slim reveal | Narrow COB · CSP | UT-C400-3 (3 mm PCB), UT-CSP-320-N | Slim surface or recessed channel | PCB width must fit the channel |
| Runs past 32 ft (10 m) | 48V or constant-current COB | UT-C480-8-48V, UT-C480-8-CC (65 ft / 20 m single feed) | Feed plan on the drawing | Class 2 rules at 48V |
| Color temperature by daypart | Tunable white or dim-to-warm | UT-T624-8, UT-T672-10-DTW | Matching tunable or DTW driver | Control pairing at quote |
| Color scenes plus white | RGBW COB | UT-RW784-12 | RGBW controller, 5-pin connectors | Feed points on long runs |
Full spec tables: COB · SMD · CSP · Channels & diffusers
Nine decisions on the cove section
Settle these on the drawing and confirm them on a full-scale mockup with the real finish before the order.
Setback: how far the strip sits from the ceiling
Scalloping, the row of bright arcs on a ceiling, is the classic sign of a strip mounted too close to the surface it lights. The fix is distance and aim, not a brighter strip.
Published guidance on setback varies widely, from about 4 in to well over 12 in. Treat 4 in (100 mm) as the minimum and go deeper when the cove allows it. The closer the strip sits to the ceiling, the more you need dot-free COB or a diffuser to hide the individual sources.
Aim matters as much as distance. A strip lying flat throws most of its light straight up and leaves a hot band above the lip; tilting it toward the wall-ceiling joint spreads the wash further. Our UT-CH1616 corner channel aims the strip out at 45° and takes strip up to 10 mm wide.
Lip height and sightlines
A lip only hides the strip from the angles someone checked. Draw the sightline from every common viewing position: the main floor, a mezzanine or balcony that looks down into the cove, a stair landing, and a person standing close to a low wall cove.
If any of those positions can see the strip, raise the lip, move the strip back, or specify dot-free COB so that what people see is one continuous line rather than a row of dots. Maintenance staff on ladders will see into the cove too, which is one more reason to keep joints and feeds reachable.
A full-scale mockup with the real finish settles setback, lip height and color together, and it is the check to approve before the order.
Sizing the cove pocket
Most cove questions arrive after the drywall or millwork is built, and the most common one is whether the channel fits the pocket. Draw a full-scale section for every cove type with the channel model, the diffuser, the strip's PCB width, the setback, the lip height and the access route for service.
Size the ledge for the channel, not the bare strip. UT-CH1616, the corner channel, measures 16×16 mm (0.63×0.63 in) and takes strip up to 10 mm wide; UT-CH2415, the deep surface channel that gives a dot-free line even with standard-density strip, measures 24×15 mm (0.94×0.59 in) and takes strip up to 15 mm. Add room behind the lip for the feed wire and the connectors.
Leave a way in. A joint buried in a sealed cove or a driver above a plaster ceiling with no hatch turns a ten-minute repair into a ceiling repair, so mark the joint and feed locations on the plan.
Reflections in gloss finishes
Even a cove that hides the strip can show it in a reflection. Gloss paint, polished stone, glass and lacquered millwork mirror the source, and SMD strip appears as a row of bright dots.
Where the lit surface or anything below the cove is glossy, specify COB, because the reflected source is a continuous line. A matte ceiling behind a proper lip is where high-efficacy SMD earns its place.
Ceiling color and reflectance also decide how much light reaches the room, since a cove lights the ceiling first and the room second.
Corners, joints and long straight runs
Corners and joints are where a cove most often shows a dark gap or a bright spot. Cut only at the marked cut points, plan where each length ends so joints fall at corners or hidden positions, and keep the strip continuous through the visible stretch where the run allows.
Over a long straight cove, small differences between reels show up side by side. Order the whole cove at once, from one batch and one binning, and keep the approved sample as the reference for any later order.
Brightness: lumens per foot from the target
Lumens per foot on a datasheet is measured at the bare strip. What reaches the ceiling depends on spill, distance, reflectance and any diffuser, so the strip output is worked back from the target on the surface.
Light needed from the strip = target footcandles × surface area ÷ delivered fraction. We do not publish one general number, because it changes with every cove and every finish; a mockup gives the delivered fraction for your detail.
Diffusers cost output. A PC clear cover transmits roughly 90 to 95% and leaves the LEDs visible; an opal cover transmits roughly 70 to 80% and blends them into one line. When opal smooths an SMD strip, size the strip one step up.
Color temperature and color quality
Pick the color temperature by what sits next to the cove, not only by room type. A 3000K cove beside 2700K downlights looks cooler than intended, so match the white to the surrounding fixtures and finishes.
Ra≥90 covers most commercial coves. Spaces where color is part of the product, such as retail, restaurants and galleries, justify Ra≥95 or higher; ask for R9, the saturated red, along with Ra, and budget for the lower efficacy of the higher tiers.
Power, run length and feed points
Standard 12V and 24V strip runs 16 ft (5 m) per feed before voltage drop shows. A few 24V COB series, such as UT-C384-8, reach 32 ft (10 m), and the 48V and constant-current series (UT-C480-8-48V, UT-C480-8-CC, UT-S2835-140-CC) feed 65 ft (20 m) from one end. Longer coves feed from both ends or at the middle, and the feed points belong on the drawing.
Our Class 2 drivers are rated 60 W each, so a long cove splits across several drivers and circuits. Keep each driver's load at or below 80% of its rating: 40 ft of 3.2 W/ft strip loads 128 W and needs at least 160 W of driver rating.
Put drivers and joints where they can be reached without opening a finished ceiling, with the access route marked on the plan.
Dimming and control
Low-voltage strip dims through its driver: 0-10V, TRIAC, ELV or DALI, matched at quote. Hospitality coves often use tunable white (2700–6500K) or dim-to-warm, so one run covers both daytime and evening scenes.
120V line-voltage strip removes the remote drivers on very long coves, but it dims with TRIAC or ELV phase-cut dimmers only, cuts at longer intervals and renders color at Ra≥75–80. It suits long perimeter and back-of-house coves better than color-critical spaces.
Go deeper on cove design
Cove lighting questions
How far should LED strip sit from the ceiling in a cove?
Published guidance varies from about 4 in to well over 12 in. Treat 4 in (100 mm) as the minimum and go deeper when the cove allows it; the closer the strip, the more you need dot-free COB or a diffuser. Confirm the setback on a full-scale mockup.
Should I use COB or SMD LED strip in a cove?
Use COB wherever anyone can see the strip or its reflection: low lips, mezzanine views, gloss ceilings, stone and glass. Use high-efficacy SMD in a fully hidden cove with a matte ceiling, especially on energy-code jobs.
How many lumens per foot does a cove need?
There is no single number. Work back from the target footcandles on the lit surface: target × area ÷ delivered fraction gives the light the strip must supply, and a mockup gives the delivered fraction for your detail.
Do I need a channel and diffuser in a cove?
Not always. A deep, hidden cove with a matte ceiling can take bare strip; a visible line, a shallow cove or a gloss finish usually needs COB, a diffuser, or both. A channel also aims the strip and helps it run cooler.
How long can one cove run be?
It depends on the model: standard 12V and 24V strip takes 16 ft (5 m) per feed, a few 24V COB series 32 ft (10 m), and the 48V and constant-current series 65 ft (20 m) from one end. Longer coves add feed points, drawn on the plan.
What is cove lighting?
Indirect lighting from a source hidden in a ledge, recess or dropped-ceiling edge and aimed at the ceiling or wall, so the room is lit by the reflected surface rather than the fixture. With LED strip the cove is a continuous line with no scallops, and the result is set by four numbers on the section: the gap to the ceiling, the lip height, the pocket width and the strip's lumens per foot.
What color temperature works best for LED cove lighting?
2700K to 3000K in hotels, restaurants and residential-style interiors, 3500K to 4000K in offices, healthcare and retail where the ceiling is white and the room is a work space. The ceiling finish shifts what the eye sees, so confirm the Kelvin on a mockup against the real paint, and keep one value across every cove that is visible at the same time.
Spec your cove
Send the cove section, run lengths and finish. An engineer replies with the strip, channel and driver plan for it.
We typically respond within 24 hours. No spam, ever.