LED channel selection is three decisions in order: whether the surface is open or finished, which strip width goes in the channel, and how much depth the light needs before the diffuser. Get the first wrong and the channel cannot go in, the second and the strip does not fit, the third and the line shows dots.
The figures below come from our channel, COB, SMD and CSP spec tables. Where a number is an industry rule of thumb instead of a spec, it carries an asterisk, and the footnote says so.
Short Answer: Pick by Substrate, Then Match the Strip
Spec a recessed channel while the ceiling or millwork is still open. Spec a surface channel once the surface is finished. Spec a corner channel where two surfaces meet at 90°. Then match the strip’s PCB width to the channel’s maximum strip width, and only then check depth. Each step narrows the list for the next one.
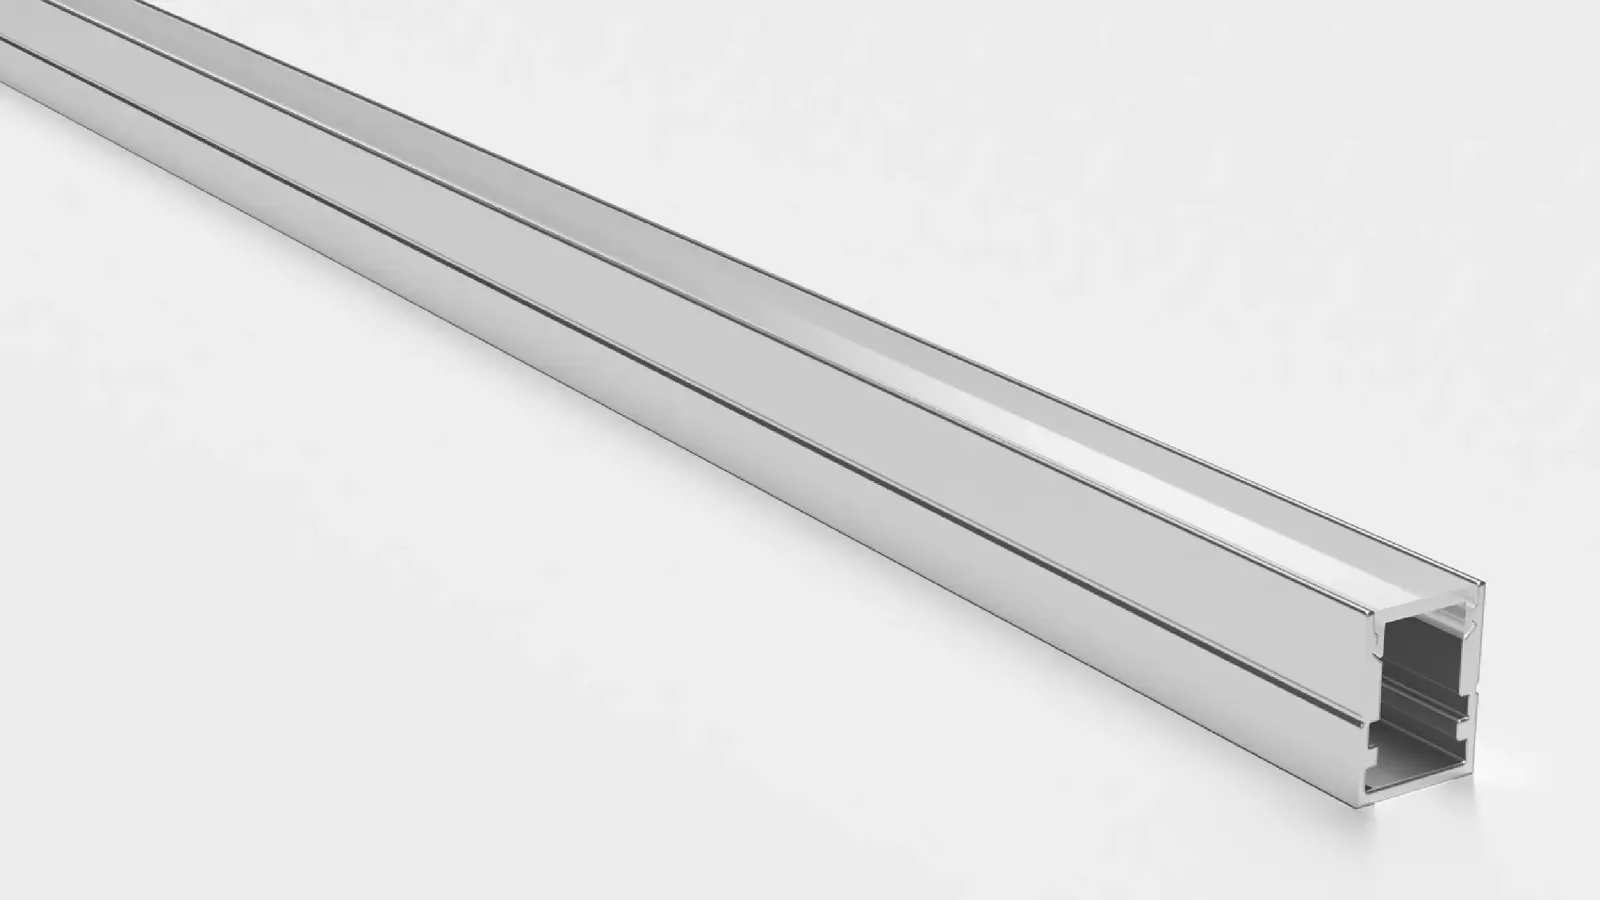
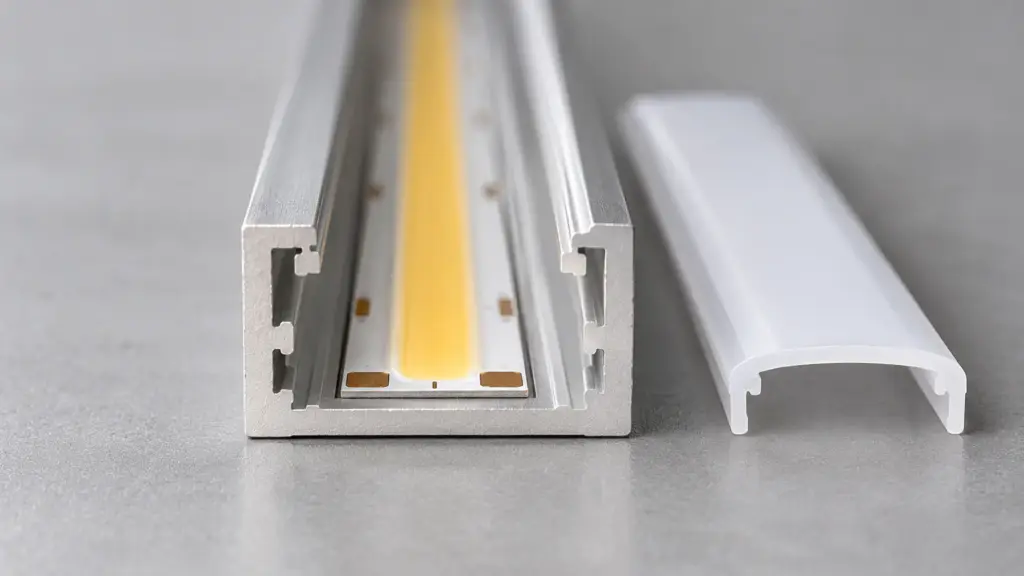
Our LED channels and diffusers come in eight AL6063 anodized aluminum profiles. Each one ships as a kit with a click-in diffuser (PC clear or PC opal), two end caps, and mounting clips. Standard lengths are 6.6 ft (2 m) and 9.8 ft (3 m).
| Model | Type | Size W×H | Max strip width |
|---|---|---|---|
| UT-CH2020 | Recessed, trimless plaster-in | 20.2×19.5 mm (0.80×0.77 in) | 12 mm |
| UT-CH1708 | Recessed, flanged | 17×8 mm (0.67×0.31 in) | 10 mm |
| UT-CH1715 | Recessed, flanged | 17×15 mm (0.67×0.59 in) | 12 mm |
| UT-CH1013 | Surface, slim | 13×10 mm (0.51×0.39 in) | 10 mm |
| UT-CH1207 | Surface, compact | 12×7 mm (0.47×0.28 in) | 8 mm |
| UT-CH2415 | Surface, deep | 24×15 mm (0.94×0.59 in) | 15 mm |
| UT-CH3020 | Surface, wide | 30×20 mm (1.18×0.79 in) | 20 mm |
| UT-CH1616 | Corner, 45° aim | 16×16 mm (0.63×0.63 in) | 10 mm |
Mounting Type: Recessed, Surface, or Corner
The only question that matters here is whether the substrate is still open. Everything else follows from the answer.
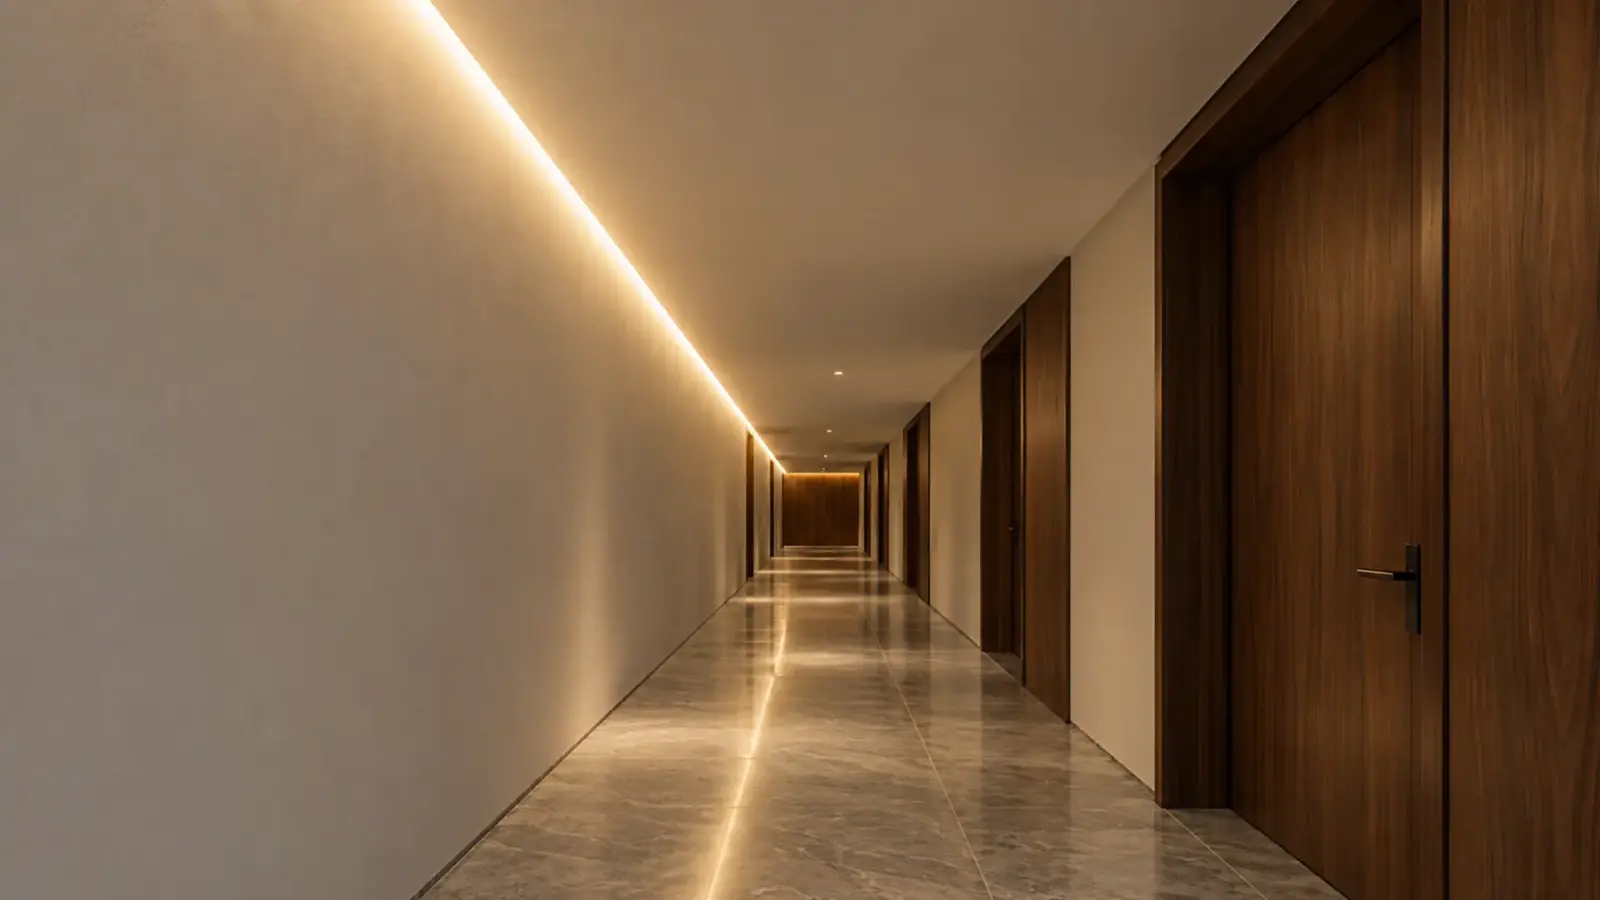
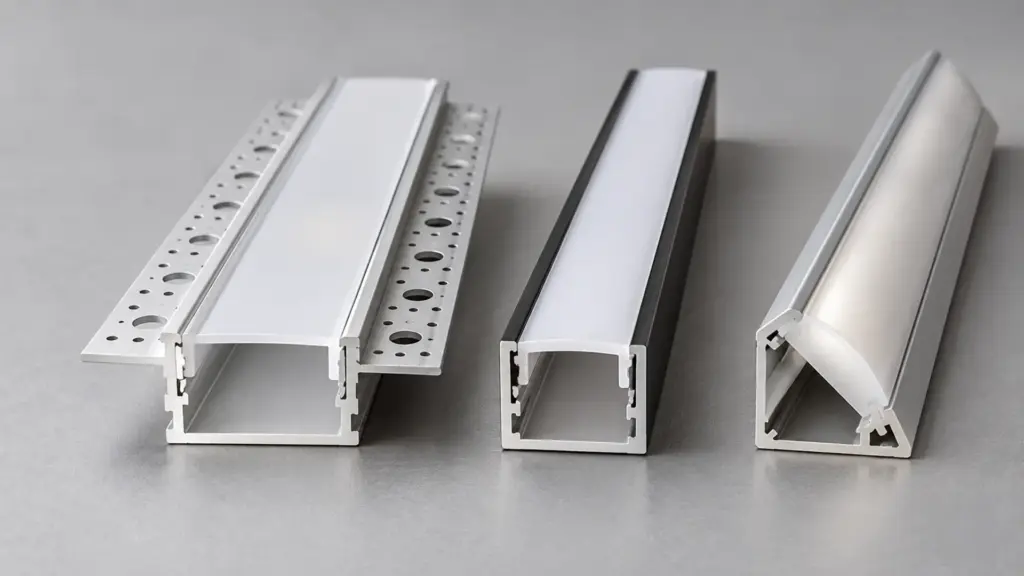
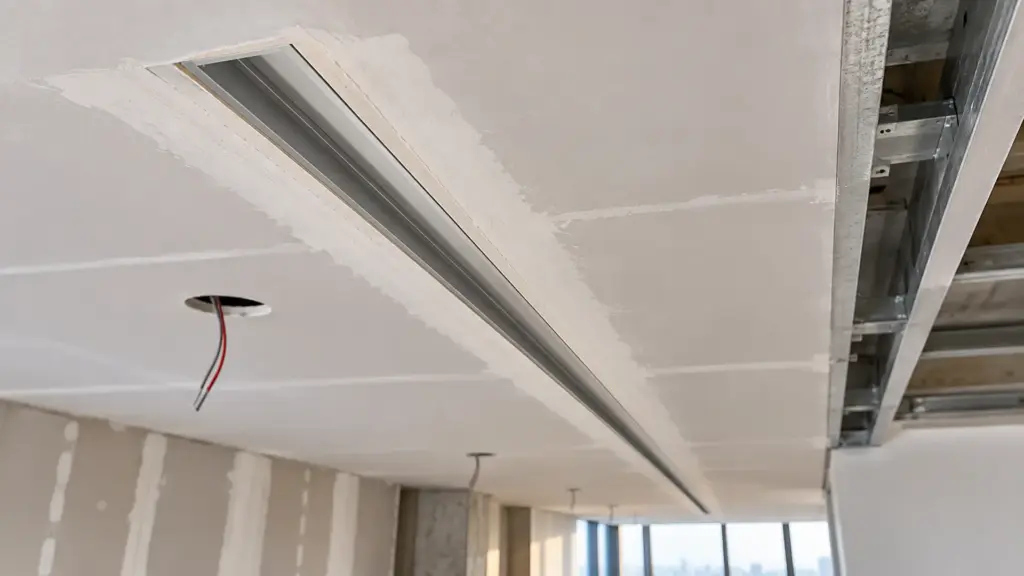
Recessed channels go in before the surface is closed. UT-CH2020 has mounting wings that take joint compound directly, so it plasters in trimless and the channel disappears into the ceiling plane. UT-CH1708 and UT-CH1715 are flanged recessed profiles, so the edge is finished by a visible lip instead of by compound. They suit routed millwork and similar details where only the lit line should show.
If the drawings show a trimless reveal but the ceiling is already boarded, the recessed option is gone. Change the detail to a surface profile rather than cutting into finished board.
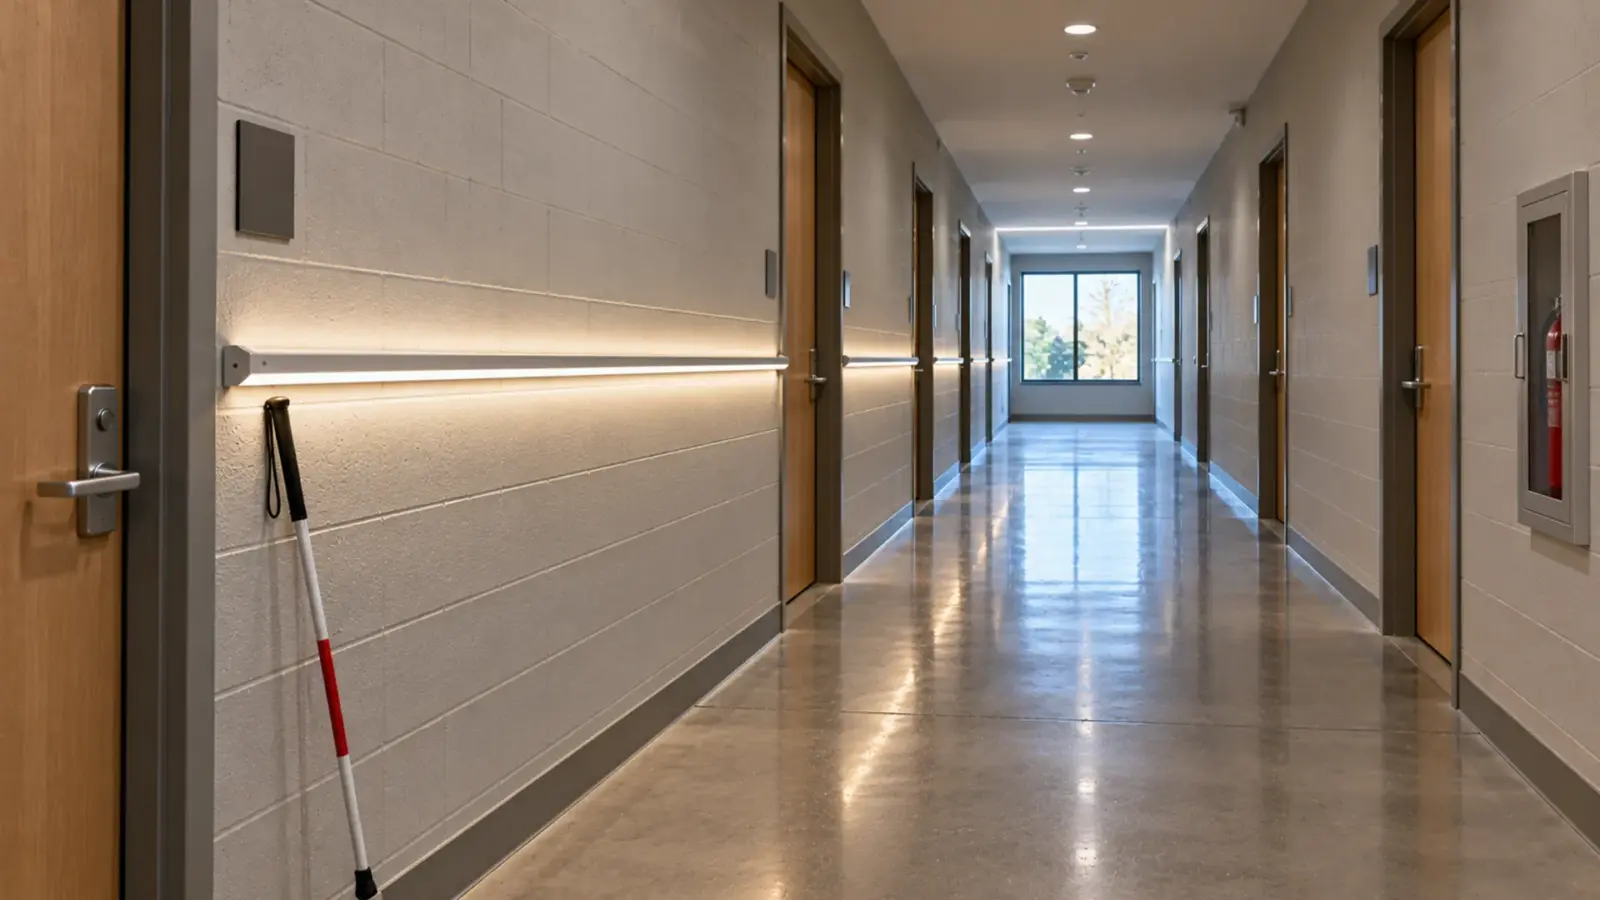
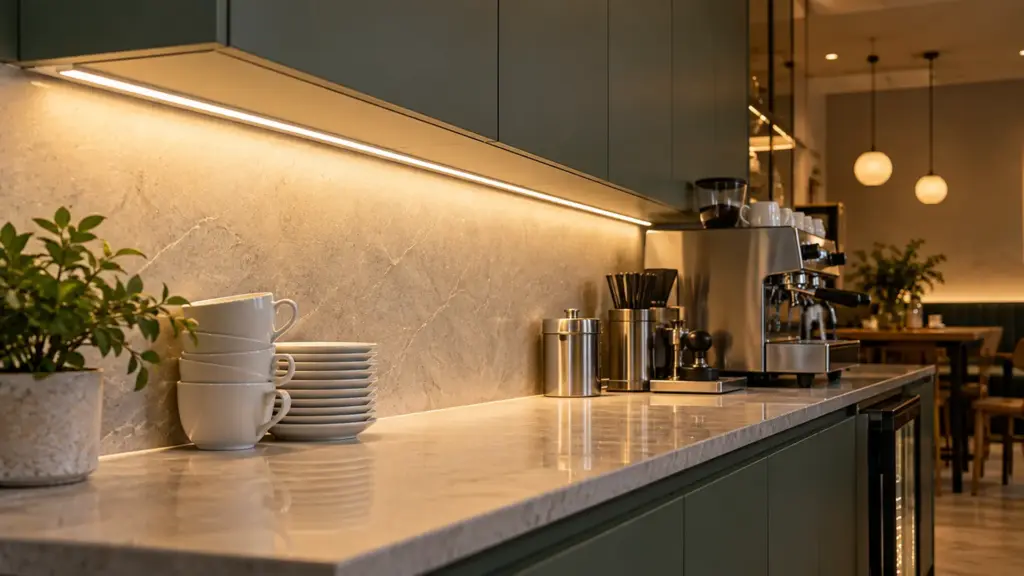
Surface channels clip or screw to a finished surface, with no cutting and no substrate work. That makes them the retrofit answer. UT-CH1013 sits under upper cabinets at just 10 mm tall. UT-CH1207, at 7 mm tall, tucks into shelving reveals. UT-CH2415 is the deep profile for a dot-free line, and UT-CH3020 takes wide or doubled strip when output matters more than profile height.
Corner channels solve a different problem. UT-CH1616 has a triangular body that seats in a 90° corner and aims the strip out at 45°, which is the natural geometry for coves, closet interiors, and display case joinery. Our COB vs SMD cove lighting guide covers how setback and aim work with this profile.
Strip Width: Match the PCB to the Channel Floor
Strip width is where most channel orders go wrong. The PCB has to sit flat on the channel floor with about 1 mm of clearance. So the number to check is the channel’s maximum strip width, not its outside width.
| Strip PCB width | Example strips | Channels that fit |
|---|---|---|
| 8 mm | UT-C480-8, UT-CSP-320-N | All eight profiles |
| 10 mm | UT-C280-10, UT-C1328-10 | UT-CH1708, UT-CH1013, UT-CH1616, UT-CH1715, UT-CH2020, UT-CH2415, UT-CH3020 |
| 12 mm | UT-C600D-12 (dual-row) | UT-CH1715, UT-CH2020, UT-CH2415, UT-CH3020 |
| 15 mm | UT-C960-15 | UT-CH2415, UT-CH3020 |
| 30 mm | UT-C1600-30 | None in this range |
The last row is a real trap. COB LED strip above 800 LEDs per meter should always be channel-mounted, and UT-C1600-30 is 30 mm wide. The widest channel we make, UT-CH3020, takes 20 mm. If a job calls for that strip, send the run details with the quote request so the mounting can be worked out before anything is ordered.
On a mixed job, list every strip by PCB width before choosing channels. A project with 8 mm COB in the coves and a 12 mm dual-row strip in a feature wall needs two channel sizes, not one. Every profile uses the same two diffuser types, PC clear and PC opal, so the diffuser system stays common across the job.
SMD strip widths are on the model datasheet. Check the PCB width there before matching, because the model number does not state it.
Depth and Diffuser: How Deep Before the Dots Disappear
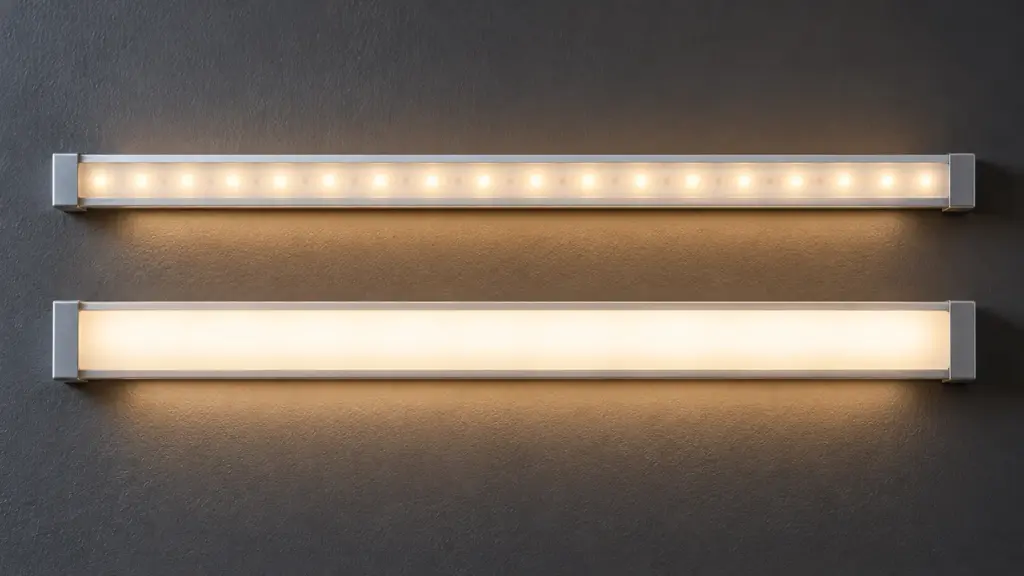
Depth is the distance from the emitters to the diffuser. The light needs that distance to overlap before it reaches the cover. A row of LEDs under a shallow diffuser shows as a row of dots, even behind opal.
The needed depth depends almost entirely on the strip:
| Strip class | Example | Optical depth with an opal diffuser |
|---|---|---|
| Standard density, around 60 LEDs/m | UT-S2835-60 | ~12–15 mm* |
| Higher density, around 120 LEDs/m | UT-S2835-120 | ~7–10 mm* |
| COB | UT-C480-8 | ~3–5 mm* |
*Rule of thumb for opal diffusers, not a Unitop test result. Confirm with a sample mock-up before ordering.
Optical depth cannot exceed the height of the profile, and it is always less, because the strip sits on the floor. That settles several choices on its own. In practice, UT-CH1207 (7 mm tall) and UT-CH1708 (8 mm tall) are channels for COB. Neither can give a standard-density strip the room it needs. Of the eight profiles, UT-CH2415 is the one documented for standard-density strip: its 14.5 mm optical depth delivers fully diffused, dot-free output. For the other profiles, section drawings ship with your quote.
Build a mock-up before you order for the whole job. Cut about 12 in of channel, fit the strip and the diffuser, power it, and look at it from the real sightline against the real finish. It takes little time, and it settles the depth question for that strip and that profile better than any table, including the one above.
The diffuser sets the trade-off. Where the fixture is seen directly, spec opal. Where the light bounces off a surface first and the channel is out of sight, clear is fine and keeps the output. PC clear passes roughly 90–95% of strip output and leaves the LEDs visible. PC opal passes roughly 70–80% and blends the LEDs into one line, so size the strip output up one step when you use it. CSP strip is a row of separate emitters, so it needs more room than COB behind any diffuser. The CSP vs COB guide explains where dots show up.
Heat: What the Aluminum Is Doing
The channel is also the heat sink. Our COB page says COB strip runs warm, not hot, and that mounting in an aluminum channel lowers the operating temperature and protects lumen maintenance. Whether a given strip needs a channel at all is the subject of does LED tape need a channel.
That is why any COB series above 800 LEDs per meter belongs in a channel, and it feeds straight back into the width check. UT-C960-15 (15 mm) has two channels to choose from, UT-CH2415 and UT-CH3020. UT-C1328-10 (10 mm) has seven. Below that, a channel is still worth it for lumen maintenance, because rated life is L70 ≥ 50,000 hours and heat is the biggest factor in reaching it.
Install Order: Profile First, Strip Last
Recessed work has a strict order. Fix the profile to the framing or millwork, run the low-voltage wiring, then finish the surface: joint compound, sanding, paint. Only after that does the strip go in, followed by the diffuser. Plaster dust and wet compound do not belong on a strip. A channel hung from the ceiling on cables has its own order, and hanging a linear LED channel from the ceiling covers the cable, the feed and the alignment.
Check the substrate depth before ordering. A standard 5/8 in (15.9 mm) board is thinner than UT-CH2020, which is 19.5 mm tall, so that profile needs cavity behind the board. UT-CH1708 (8 mm) and UT-CH1715 (15 mm) are shallower than the board is thick. Confirm the actual board thickness and stud depth on the job.
Surface and corner channels are simpler. Clean the surface, fix the profile, stick the strip, and click the diffuser in. On every type:
- Mounting clips go at 19.69 in (500 mm) spacing.
- Channels and diffusers cut on site with a miter saw and a non-ferrous metal blade, and the end caps re-seat on the cut end.
- For larger jobs, channels can be pre-cut and labeled per run at quote, so each piece arrives marked for its location.
- Diffusers lift back out with a plastic trim tool, so the strip stays serviceable after the ceiling is finished.
- On long runs, 9.8 ft (3 m) lengths mean fewer butt joints than 6.6 ft (2 m) lengths, and each joint is a place where the line of light can break.
Finish is the last detail to confirm. UT-CH1708, UT-CH1715, UT-CH1013, UT-CH2415, and UT-CH1616 come in anodized silver or black. UT-CH2020, UT-CH1207, and UT-CH3020 come in anodized silver.
Job Picks: Which Profile for Which Job
| Job | Profile | Why |
|---|---|---|
| Trimless ceiling reveal | UT-CH2020 | Wings take joint compound; the channel disappears |
| Routed millwork slot | UT-CH1708 or UT-CH1715 | Flanged edge finishes the cut |
| Under upper cabinets | UT-CH1013 | 10 mm tall |
| Shelving reveal | UT-CH1207 | 7 mm tall; pair with COB |
| Dot-free line, standard-density strip | UT-CH2415 | 14.5 mm optical depth |
| Wide or doubled strip | UT-CH3020 | Takes strip up to 20 mm wide |
| Cove or closet interior | UT-CH1616 | Seats in a 90° corner, aims out at 45° |
One project usually needs more than one profile. A boutique retail fit-out might take UT-CH2020 for the trimless ceiling reveal, UT-CH1207 for the shelving reveals, and UT-CH1616 for the stockroom corner. Quote them together on one schedule so the diffusers, end caps, and clips are counted once.
Spec Mistakes: Four Ways These Get Misordered
- Ordering a channel narrower than the strip. A 12 mm strip does not fit UT-CH1207 or UT-CH1013. Check the max strip width column, not the outside width, before the order goes in.
- Pairing a shallow channel with standard-density strip and expecting no dots. UT-CH1207 and UT-CH1708 are COB channels, and standard-density SMD in them shows dots even behind opal.
- Sticking the strip on before the joint compound is finished. Set the strip last, after the surface is sanded and painted.
- Specifying a recessed profile without checking substrate depth. UT-CH2020 is taller than a 5/8 in (15.9 mm) board is thick, so find out what is behind the board before you commit to it.
FAQ
Do LED strips need an aluminum channel?
Not always, but COB series above 800 LEDs per meter should always be channel-mounted. A channel also acts as a heat sink, holds the strip in a straight line, and carries a diffuser that protects the strip from dust and contact.
What size channel do I need for a 10 mm LED strip?
Any channel with a maximum strip width of 10 mm or more: UT-CH1708, UT-CH1013, UT-CH1616, UT-CH1715, UT-CH2020, UT-CH2415, or UT-CH3020. UT-CH1207 takes 8 mm strip only. The PCB should sit flat on the channel floor with about 1 mm of clearance.
Recessed or surface-mount LED channel: which should I spec?
Spec recessed while the ceiling or millwork is still open. Spec surface-mount for retrofit and under-cabinet work, where the surface is already finished. The diffusers and light quality are the same. The difference is whether the substrate can be opened.
Can LED channel be cut on site?
Yes. Aluminum channel and PC diffuser cut cleanly with a miter saw and a non-ferrous metal blade, and the end caps re-seat on the cut end. For larger jobs, channels can be pre-cut and labeled per run at quote.
How deep should an LED channel be for no dots?
It depends on the strip. As a rule of thumb, about 12–15 mm of optical depth for standard-density strip, about 7–10 mm for 120 LEDs per meter, and about 3–5 mm for COB, all behind an opal diffuser.* UT-CH2415 has 14.5 mm of optical depth.
*Rule of thumb, not a Unitop test result. Confirm with a sample mock-up before ordering.
What to Send With the Quote
Choose in order: substrate first, then strip width, then depth. Recessed while the surface is open, surface once it is finished, corner at a 90° joint. Match the PCB to the maximum strip width, and use COB in shallow profiles.
For the channel schedule, send the strip model and its PCB width, the mounting type for each run, the run lengths, and the finish (silver or black where offered). We will return the channel, diffuser, end caps and clips counted per run, pre-cut and labeled if you want them that way: request a quote.