The ceiling you are building decides how LED strip gets hidden on it, not the room or the mood. Four ceilings, four families of concealment detail, and three gates settle the choice before the drywall crew or the grid installer leaves.
- A hard-lid gypsum ceiling takes a cove, a trimless recess or a shadow gap; the recess needs a 1 in (25 mm) pocket, a cove a 4 in (100 mm) gap at minimum.
- A grid ceiling takes a perimeter pocket at the wall angle, a channel along a tee, or a cloud edge; the tiles and the plenum decide which.
- Exposed structure takes a surface channel on the top of a beam or duct, aimed up, in a black finish where the structure is dark.
- A closed ceiling takes a surface detail unless the owner pays to open it.
- Every detail then passes three gates: the sightline from where people stand and sit, the gap that hides the dots, and a hatch that reaches the driver.
Gate 1: What the Ceiling Is Made Of
Concealing LED strip on a ceiling is a framing question before it is a lighting question; the project’s ceiling has already picked the detail.
| Ceiling | Details that work | What the detail needs | Who builds it | Driver access |
|---|---|---|---|---|
| Hard-lid gypsum, new | Cove on a ledge; trimless plaster-in recess; shadow gap at a wall or soffit | Cove: ledge sized for channel plus wire, 4 in (100 mm) gap minimum. Recess: a 1 in (25 mm) pocket for UT-CH2020 (20.2×19.5 mm). Shadow gap: a reveal that clears UT-CH1207 (12×7 mm) | Framer and drywall crew; EC pulls Class 2 at rough-in, sets strip last | Hatch, closet, or the cove ledge if it is reachable |
| Hard-lid gypsum, closed | Surface channel at the wall-ceiling joint; a flanged recess cut in | Flanged recess UT-CH1708 (17×8 mm) needs an 8 mm deep cut; surface UT-CH1013 (13×10 mm) needs a flat run | EC, plus a patch crew where cuts are made | Nearest accessible void or a surface box |
| ACT grid | Perimeter pocket at the wall angle; channel on a main tee; cloud edge | Pocket: stepped wall angle, about 2 in (50 mm) setback as a starting figure. Tee: tiles cut to the channel. Cloud: a lip at the edge | Grid installer; EC sets channel and strip after the grid is level | Any tile lifts; driver route and case follow the plenum rules |
| Exposed structure | Surface channel on a beam, joist or duct flange, aimed up; corner channel at a wall | UT-CH2415 (24×15 mm) or UT-CH3020 (30×20 mm) on the flange; UT-CH1616 (16×16 mm) at a corner; UT-CH2415 and UT-CH1616 are listed in black for dark structure | EC alone | Driver on the structure beside the run, reached by lift |
Hard-Lid Gypsum: Cove, Trimless Recess or Shadow Gap
A new gypsum ceiling offers the most choice, and the choice is about depth: cove, ledge and gap; trimless recess, pocket; shadow gap, reveal.
Cove. The strip sits in a channel on a ledge and lights the ceiling above it. Size the ledge for the channel: UT-CH1616, the 16×16 mm corner channel, aims at 45° toward the wall-ceiling joint; UT-CH2415, the 24×15 mm deep channel, takes strip up to 15 mm and hides dots. Our cove page sets 4 in (100 mm) as the minimum gap from strip to ceiling, and dot-free COB or a diffuser as the strip gets closer, and our cove lighting dimensions guide starts every dimension at 150 mm (6 in) and changes each one for a reason. The cove wins where the ceiling can lose 6 to 12 in and the owner wants a wash.
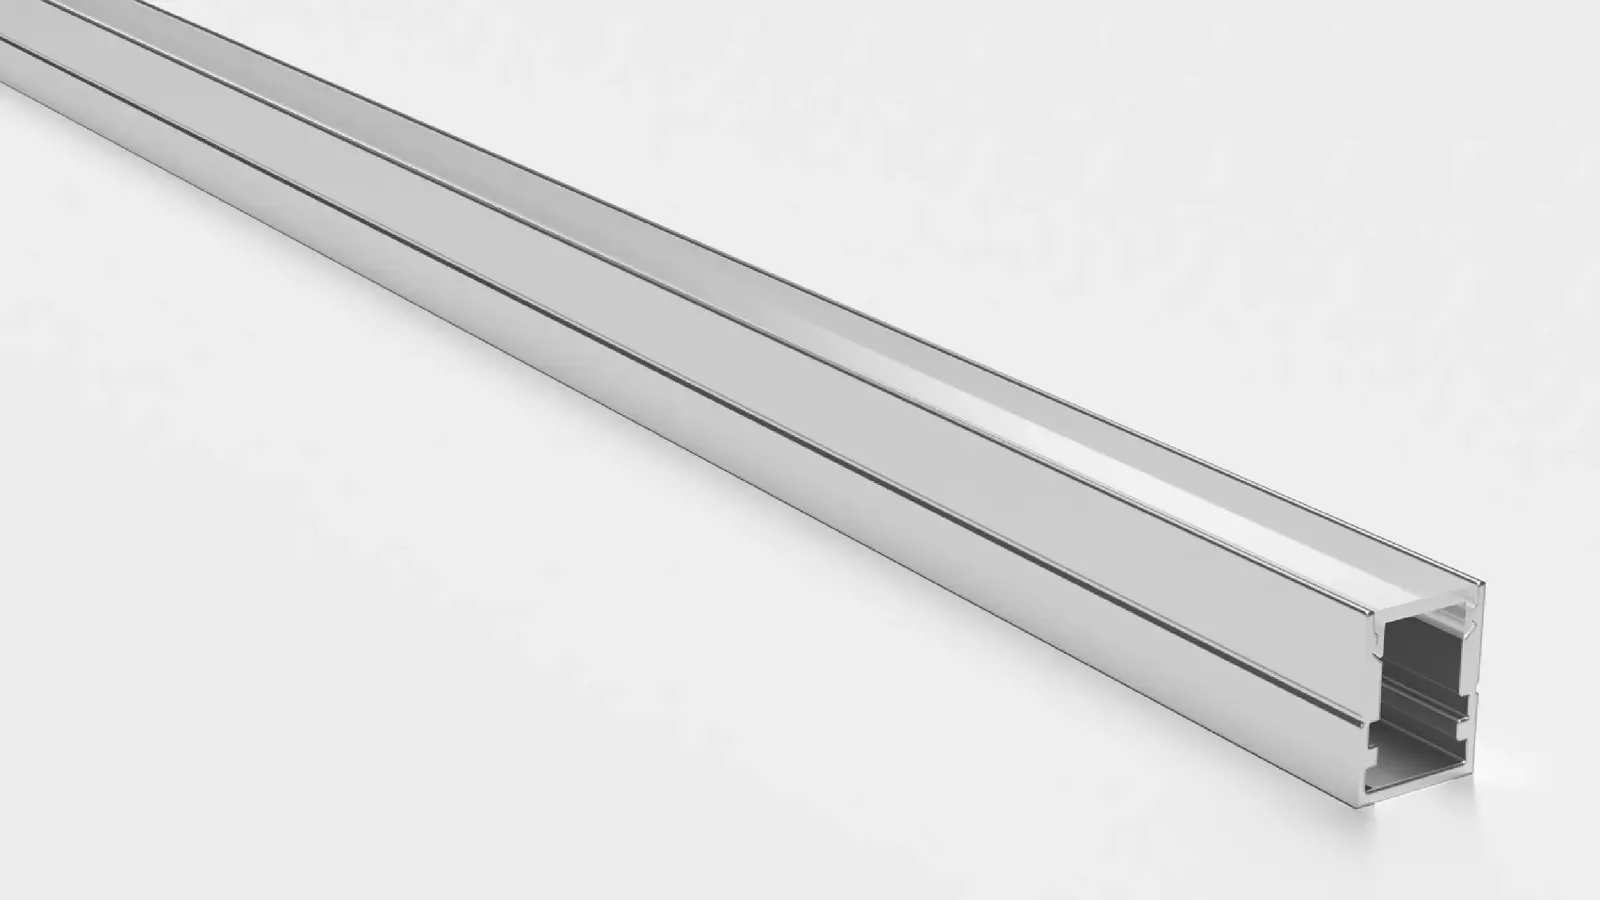
Trimless recess. Where the owner wants a line in a flat ceiling, the channel goes into the drywall. UT-CH2020 is the plaster-in profile: 20.2 mm wide, 19.5 mm deep, strip up to 12 mm, taped and mudded so only the cover shows. It needs a pocket about 1 in (25 mm) wide and deep, blocking behind it and a drywall crew that knows the sequence, which is what our trimless channel coordination guide is for. The flanged profiles UT-CH1708 (17×8 mm) and UT-CH1715 (17×15 mm) do the same job with a visible flange and a shallower cut, in a ceiling already boarded.
Shadow gap. A reveal where a wall panel, soffit or bulkhead meets the ceiling, with the strip inside the reveal aimed across it. The reveal has to clear the channel and the wire: UT-CH1207 at 12×7 mm is the smallest profile we list and takes strip up to 8 mm; it comes in silver only, so a dark reveal takes UT-CH1013 at 13×10 mm in black. A reveal only as wide as the channel shows the cover. The shadow gap hides best switched off, because nothing projects, and in our experience the hardest to keep straight over a long run; the framer’s line is the lighting line.
A wash on a high ceiling, cove; a crisp line in a flat ceiling, trimless recess; a glow at the edge of a plane with a reveal, shadow gap. Our channel selection guide covers the profile once the detail is set.
Grid Ceilings: Perimeter Pocket, Tee Channel or Cloud Edge
Acoustic grid ceilings hold much of the clinic, office and school square footage, and the vendor guides go quiet on them. Three details work, and all are grid-installer work first.
Perimeter pocket. The grid stops short of the wall, a stepped wall angle makes a pocket of about 2 in (50 mm), our starting figure, and a surface channel sits in it aimed up and out, so the ceiling reads as a floating plane with a lit edge. It needs the wall angle detail on the ceiling plan. According to LEDYi’s guide, strip behind a drop-ceiling lip belongs near the edge of the drop, away from the back wall; in a pocket that means the channel against the wall angle, not the tile edge.

Channel on a tee. A surface channel runs along a main tee with the tiles on both sides cut to clear it. It gives a line across the room at the cost of a cut on every tile along the run, so it suits a corridor or reception where the line has a job.
Cloud edge. A floating cloud over part of the room, with the strip at its edge washing the slab above; our ceiling cloud guide carries the setback, lip and scalloping rules. The cloud is the pocket, so no tile is cut.
Above the tiles the void is often a return-air plenum, and the driver’s case, position and cable route have rules an inspector asks about; our guide to whether an LED driver can sit in a plenum ceiling walks through the gates to ask the AHJ. Plan the driver route before the detail is drawn.
Exposed Structure: Aim Up and Hide It in the Beam
Exposed structure has no pocket. A surface channel on the top flange of a beam or the crown of a duct, aimed at the deck, is invisible from the floor if the flange is deeper than the channel: UT-CH2415 at 15 mm tall hides behind a 2 in flange, and UT-CH3020 at 20 mm tall takes a 20 mm strip for a longer throw to a high deck.

Two things change here. The finish: a silver channel on a black deck is visible from below, so channel, board and leads go black; UT-CH2415 and UT-CH1616 are listed in black, UT-CH3020 in silver only, and our guide to black PCB strip and black channels covers the off-state test. The run length: a big-box back aisle or a warehouse bay is a long single run, which is the case for 120V LED strip fed from line voltage, instead of a 24V run broken into drivers every few bays.
Closed Ceilings: Surface Details, and When to Open
A finished, occupied ceiling takes a surface detail: a slim surface channel such as UT-CH1013 at 13×10 mm at the wall-ceiling joint or on a crown molding, a corner channel, or a flanged recess cut in where a small patch is acceptable. Our guide to adding LED strip to a finished hotel room or corridor covers the power route without a ceiling cut, which penetrations a rated ceiling allows, and the point where opening the ceiling is cheaper than working around it.
Gate 2: The Sightline Test
Every detail hides the strip from somewhere and shows it from somewhere else, so the test is “can you see it from where people stand and sit”. According to Elstar’s guide, check the view from the sofa, bed, desk and doorway and move the strip deeper or change the profile if the LED points show; on a project add the reception desk, the stair and any mezzanine.
The geometry is the same for every detail: a standing eye is about 66 in above the floor, the figure our cove dimensions guide uses; for each position take the eye’s height relative to the lip and its distance to the lip, and draw the line. A cove lip that hides the strip from the doorway shows it from a mezzanine rail 10 ft up. A shadow gap that hides it from the room shows it from the corridor if the reveal faces the door. A trimless recess shows it to anyone directly below, so cover and depth, not the lip, do the hiding. Draw the worst position and raise the lip, deepen the pocket or change the cover until it is clean.
Gate 3: Dots, Access and the Off State
Three checks apply to every detail after the sightline.
Dots. Strip close to the surface it lights shows its emitters as hot spots. Our cove page sets a 4 in (100 mm) minimum gap for a cove, and we apply the same minimum to any wash detail; closer than that, dot-free COB or a diffuser and a mockup. Our guides to picking the channel cover by depth and to why dots show through a diffuser give the depth-and-cover pairs.
Access. Every run has a driver, and the driver outlives the ceiling crew: one reachable hatch per driver on the reflected ceiling plan, or a closet, millwork panel or cove ledge a ladder reaches. A driver sealed above a hard lid means a ceiling cut at the first failure. According to HitLights’ guide, strip should not be fully sealed in a tight cavity without a channel unless it is designed for enclosed installs; our guide to whether LED tape needs a channel covers the heat side.
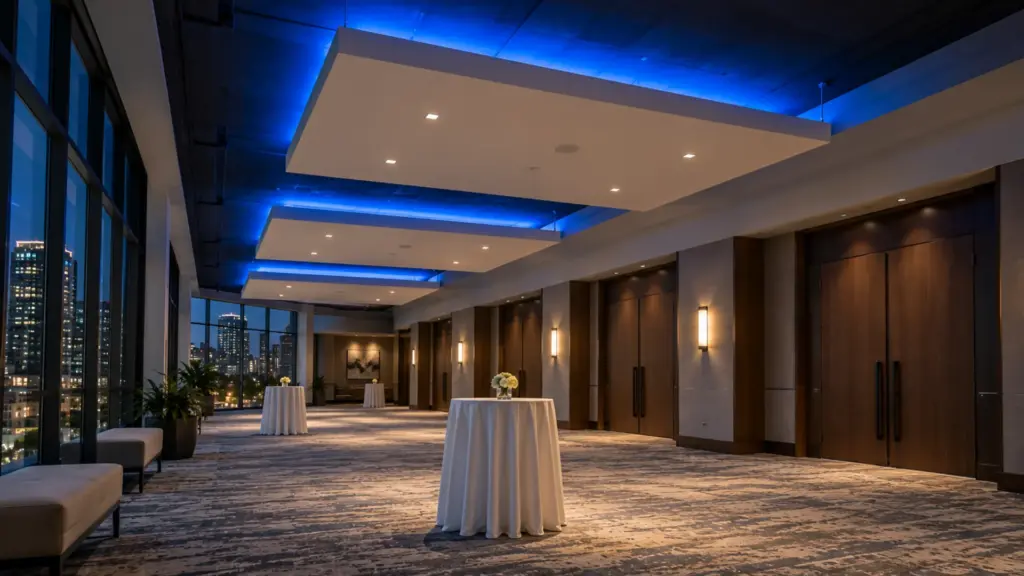
The off state. A hidden strip is judged lit and off in daylight. A silver channel in a dark reveal, a white strip board behind a black lip or a cover that catches the window all read as a mistake at 10 a.m. Order the finish to the ceiling, black channel, board and leads on dark ceilings, and view the mockup switched off before anyone signs.
Who Builds the Pocket, and When the Strip Goes In
The detail fails most often between trades. The sequence for all four ceilings: the designer draws the detail with the pocket dimension and the channel model; the framer, drywall crew or grid installer builds the pocket, ledge, reveal or cloud to it; the electrical contractor pulls the Class 2 cable and fixes the driver location at rough-in; after paint, the electrical contractor sets channel, strip and cover. The trimless recess is the exception, set before tape and mud. Whoever owns the pocket owns the straightness of the light; write that into the scope.
FAQ
Can you hide LED strip on a ceiling without a cove?
Yes. In a new gypsum ceiling a trimless plaster-in channel such as UT-CH2020 (20.2×19.5 mm) sits in a 1 in (25 mm) pocket and shows only its cover, and a shadow gap hides the strip in a reveal; in a grid ceiling a perimeter pocket at the wall angle does the same job.
How far should LED strip be from the ceiling it lights?
Our cove page treats 4 in (100 mm) as the minimum gap for a wash, with dot-free COB or a diffuser as the strip gets closer; our cove dimensions guide starts at 150 mm (6 in). Closer than 4 in, plan a mockup.
Can LED strip go in a drop ceiling?
Yes: a perimeter pocket behind a stepped wall angle, a channel along a main tee with the tiles cut to it, or the edge of a floating cloud. Settle the driver’s route and case above the tiles with the AHJ first.
Before You Order
Confirm the ceiling type and the detail from the matrix; the pocket, ledge or reveal dimension and the channel model on the detail; the worst sightline, mezzanine included; the gap and the cover; one hatch per driver on the reflected ceiling plan; the channel finish matched to the ceiling; and the trade that owns the pocket named in the scope.
Unitop Lighting supplies LED channels and diffusers and dot-free COB LED strip for commercial and multifamily ceilings across the US. Send the ceiling sections and reflected ceiling plan, and we mark channel model, pocket dimension and driver positions before anything is quoted: request a quote.