A hotel’s improvement plan puts a lit cove in every guest room, the ceilings were finished last year, and the owner will not pay to open them. The ceiling stays closed, the cable has to go somewhere, and the driver needs a place nobody has drawn.
To add LED strip to a finished ceiling, mount a surface or corner channel to the wall-ceiling junction with clips or screws, put the driver where it can be reached without opening a finished surface, and run the low-voltage feed on the surface or through spaces that are already open. Keep the feed out of rated ceilings, and plan the work floor by floor.
What Mounts on the Surface
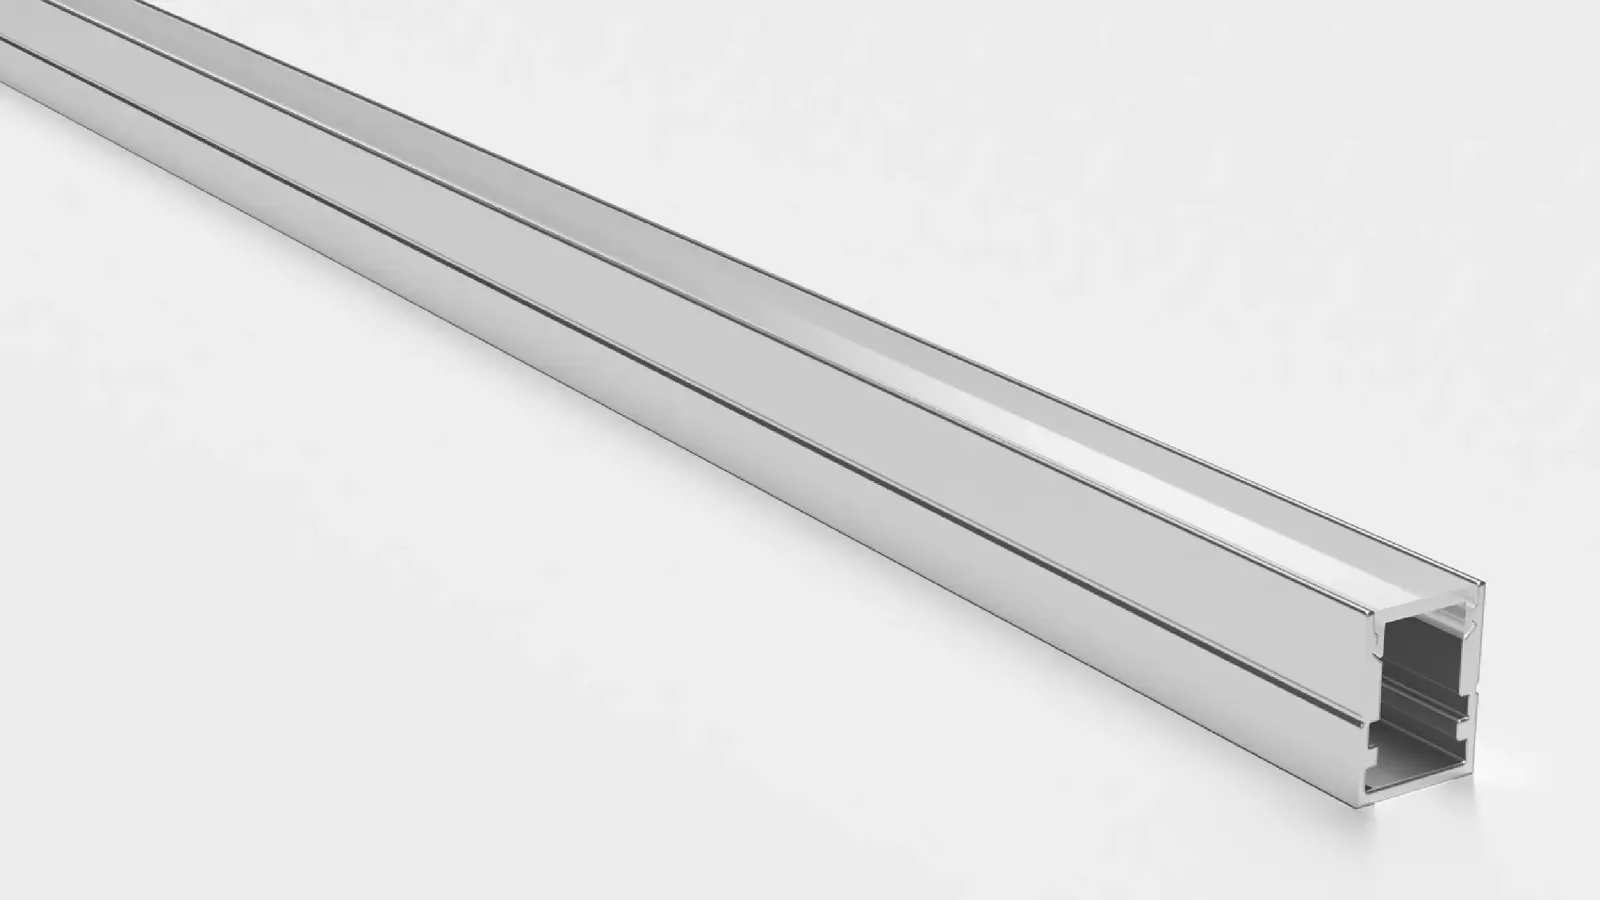
Our channels page lists surface profiles that clip or screw to the finished surface, with no cutting and no substrate work, and it names surface-mount as the choice for retrofit work. A recessed channel needs the board cut open, so on a finished ceiling the choice is between three surface shapes. Here they are by position, with the limits from our channel and strip tables.
| Position (our suggestion) | Channel | Size | Max strip | What it gives |
|---|---|---|---|---|
| Wall-ceiling junction, a diagonal wash across the ceiling and wall | UT-CH1616 corner channel | 16×16 mm (0.63×0.63 in) | 10 mm | A 45° aim from a 90° corner, with no cut |
| Face of a wall or a headboard panel | UT-CH2415 surface | 24×15 mm (0.94×0.59 in) | 15 mm | A deep channel that gives a dot-free line with an opal cover, even with standard-density strip |
| Under a cabinet or another slim visible edge | UT-CH1013 surface | 13×10 mm (0.51×0.39 in) | 10 mm | A slim line that stays small on a visible surface |
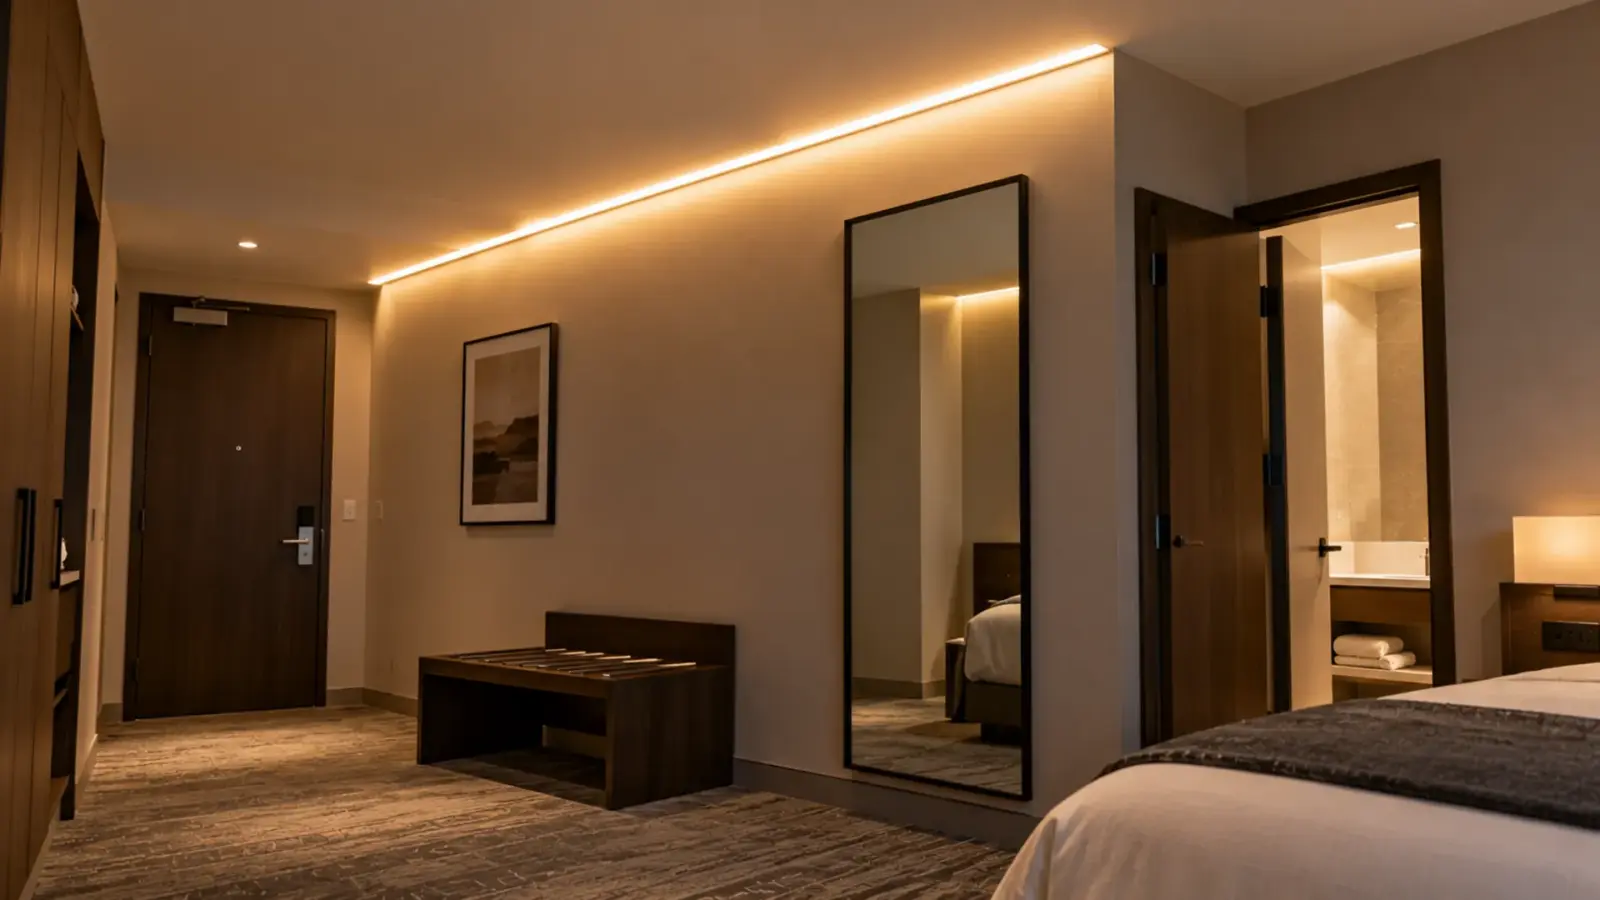
The corner channel is the one that matters on a hotel corridor or guest room, because where a ceiling meets a wall at a 90° corner the channel seats into it. The 45° aim sends the light diagonally into the room, across the ceiling and down the wall, which is a different wash from a cove’s upward one. It is not a cove with a lip, so the strip is visible from the right angles, and our cove lighting page covers that sightline; use dot-free COB or an opal cover where it can be seen. Our channels and diffusers range lists the cover options.
Fixing is the first field question on a finished board. Every kit ships with two end caps and mounting clips at 19.69 in (500 mm) spacing, and the profiles clip or screw to the surface. On drywall, fix into the framing or use an anchor made for the board, following the anchor maker’s instructions; our page lists clips and screws, not adhesive. Mark the run with a level line before the first screw, because, in our judgment, a corner channel that wanders shows against the paint.
Channels come in 6.6 ft (2 m) or 9.8 ft (3 m) lengths, or factory pre-cut and labeled per run, which suits a rolling job where each room is the same length. Where a length is cut on site, the channel cuts with a miter saw and the end caps re-seat.
Power Without a Ceiling Cut
The driver is the part nobody has drawn. Our drivers page puts it “somewhere you can reach without opening a finished surface, with air around the case and the shortest practical output run.” In a finished room we see four places, which are our own judgment.
| Location | Works when | Watch for |
|---|---|---|
| Above an existing lay-in tile in the corridor | The corridor ceiling is a grid | Access for service, and the tile’s weight limit |
| Closet ceiling or shelf | The room has a closet with an existing power point | Heat in a closed space and the cable path to the cove |
| Inside a vanity or cabinet | The room has a cabinet near the entry | The cable path and a clear service route |
| A small enclosure at the door head | Nothing else is open | A visible box that needs a finish and an accessible cover |
The room’s existing switch stays, which keeps the guest’s habit and the renovation’s scope small. If the AHJ and the existing circuit allow, feed the driver from the switched lighting outlet the room already has, and test the driver against the existing dimmer if there is one; our driver and dimmer compatibility guide covers the bench test, and our guide to wiring strip to a wall switch covers the four ways to do it.
Line voltage comes from an existing source, usually a switched lighting outlet that the renovation already touches, and our remote driver guide shows why the cable length to the strip limits the distance.
Here is a worked room with assumed numbers. A guest room entry runs about 13.1 ft along the wall-ceiling junction, two 2 m lengths of UT-CH1616. With UT-S2835-128-HE at 2.9 W/ft, the strip loads 38 W (13.1 × 2.9). That is inside the 16 ft per feed on our SMD table, and it is 63% of a 60 W Class 2 driver, below the 80% our drivers page keeps. One driver per room, one feed, and a cable path from the driver to the channel end.
The cable is the visible part. It needs to be listed for the use; according to EC&M’s 2016 article on Article 725, Class 2, Class 3 and PLTC cables installed in buildings must be listed. Our in-wall wiring guide covers the markings. Where the cable runs exposed on a surface, ask the AHJ whether it needs a raceway cover in this occupancy, and finish the run so it reads as a detail and not as an afterthought. Our preference is a cable that follows the wall-ceiling junction behind the channel’s end cap, not one that crosses a painted wall.
Penetrations: Rated Ceilings and Hospital Floors
Surface mounting avoids cutting the board, but the feed still has to leave the room’s lighting circuit and reach the driver. If the route crosses a fire-rated ceiling or wall, a hole is a penetration of a rated assembly, and the AHJ and the assembly’s listing govern it. Our guide to cable through fire-rated walls covers the questions an inspector asks. Prefer routes through spaces that are already open, such as an existing lay-in tile or an existing pass-through, and avoid new holes in anything rated.
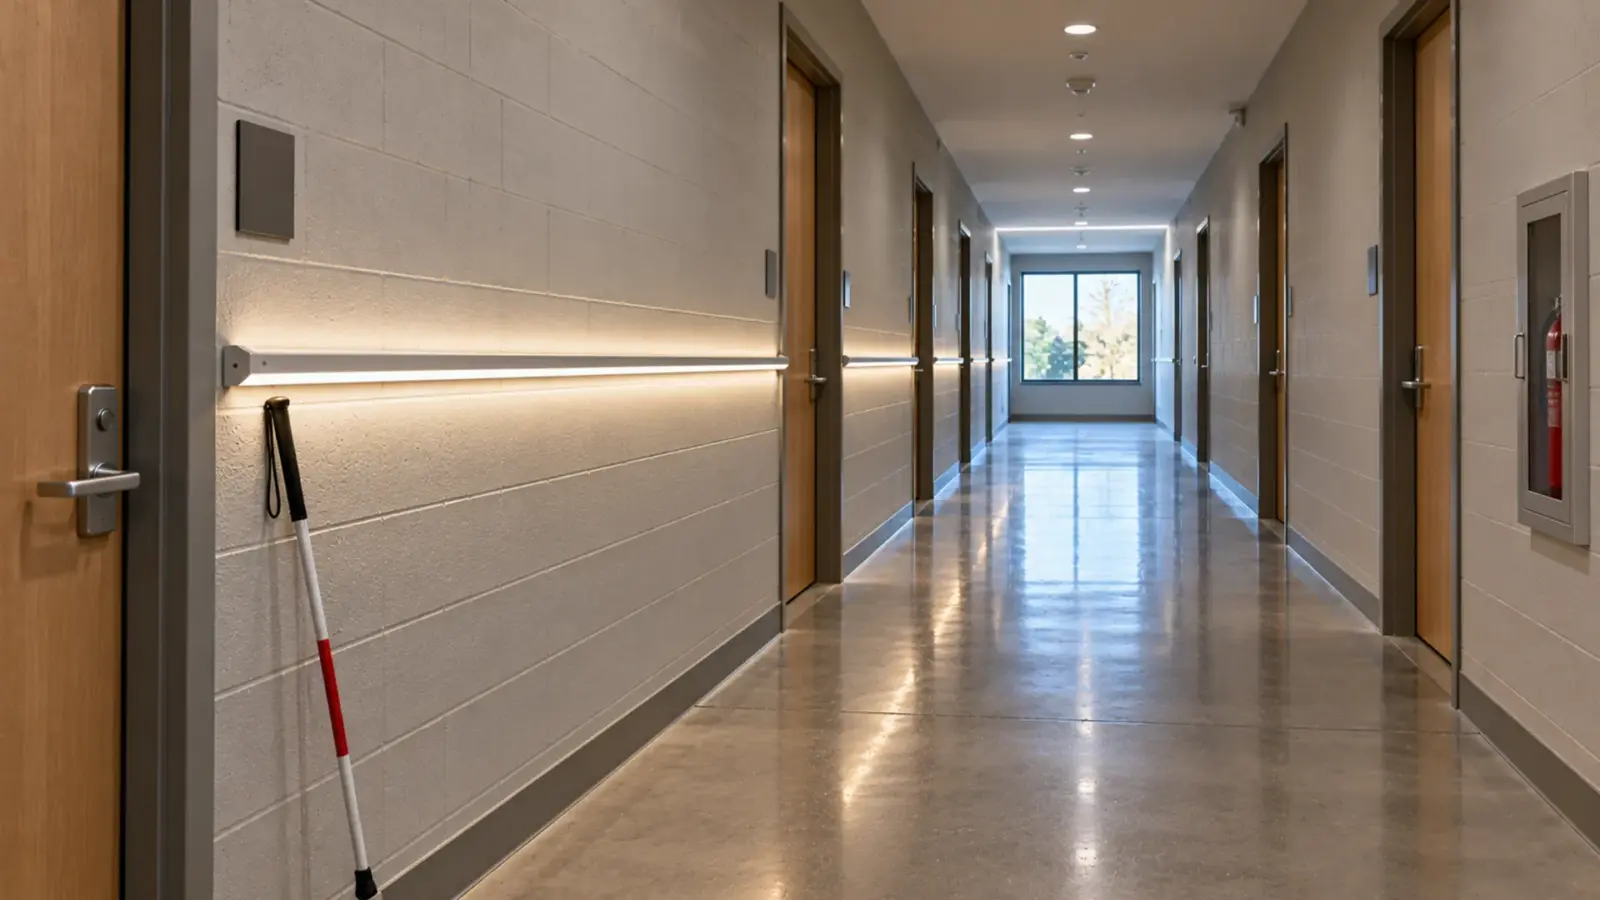
On a hospital or senior-living floor, a corridor surface may also be held to cleaning and infection-control rules. Our hospital guide covers what survives cleaning, and a hospital’s own infection-control permit decides how the crew works above and beside patient rooms.
Fit It to a Rolling Renovation
Hotels stay open by taking small groups of rooms offline. PMA’s example is two floors, roughly 20 to 30 rooms, offline at a time and renovated over a seven-week cycle, then the next group. That pattern is one firm’s example, not a rule, but it sets what the install has to do: finish a room in one visit and leave no hole behind.
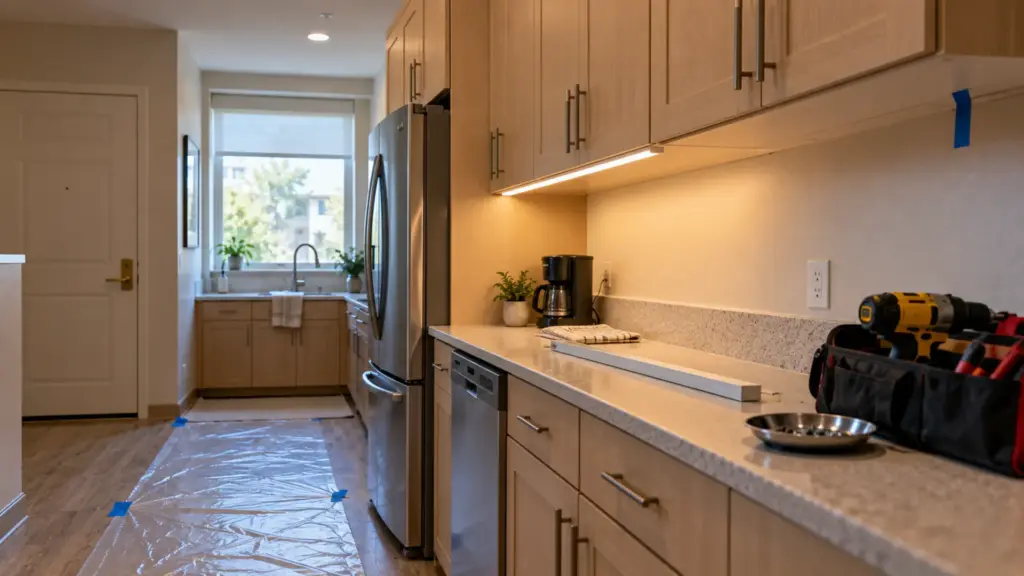
Three constraints follow from the same sources. Noise needs clear hours: PMA’s Alberto Lopez says to “set clear hours for noise, execute quickly, and get through the most disruptive work as fast as possible,” and tells of a contractor’s 6 a.m. start that “doesn’t work in an operating hotel.” Surface mounting avoids cutting the board and the dust that comes with it. Schedules need look-ahead: Lopez describes three-week forecasts that show what is coming. And older hotels hide surprises: PMA’s Mark Knott describes finding a junction box with several circuits spliced together in a wall. Survey the room and the route first, and name the existing box you intend to use.
One visit has an order: protect the floor, mark and fix the channel, land the feed and the driver, test at the existing wall switch, clean up, and photograph the finished room against the approved model. Keep screws in a magnet tray and cut dust off the carpet.
A rolling job also suits pre-cut channel. Order the run schedule by room type, label each piece for its room, and the crew fits a room in one visit. Our guest room guide covers where strip belongs in the room, and our T8 cove retrofit guide covers an existing pocket.
When to Open the Ceiling Anyway
Surface mounting is a compromise, and some rooms should not make it. Open the ceiling, or build a pocket, when the design needs a hidden source behind a lip, when the strip will be seen from a sightline the corner channel cannot hide, when the room has no reachable place for a driver, or when a rated assembly stands in the cable’s way. In those rooms a recessed or trimless channel is the right detail; our trimless channel guide covers the coordination with the drywall crew. The honest bid names which rooms are surface and which are not.
Mock Up One Room First
PMA reports that teams may spend nearly a year designing, prototyping and refining model rooms before the work starts. A strip retrofit does not need a year, but it does need one room built and approved: the channel in its corner, the cover, the color temperature, the cable path and the driver location, with the owner or brand reviewer looking at it. Our mockup approval guide lists what to check before you sign. Photograph the approved room and the driver location and use them as the standard for every room after.
Before You Order for the Floor
- A survey of every room type: the wall-ceiling junction length, the closet and the existing box you will use.
- The channel for each position and the strip’s width against its limit.
- A driver location for each room type, reachable without opening a finished surface, with the load at or below 80% of the driver’s rating.
- A cable route that avoids rated assemblies, and the AHJ’s answer on exposed cable.
- Pre-cut channel labeled per room, and a run schedule by room type.
- One approved model room, photographed.
The channels named above are in our LED channels and diffusers range, with the strip loads taken from the SMD spec table.