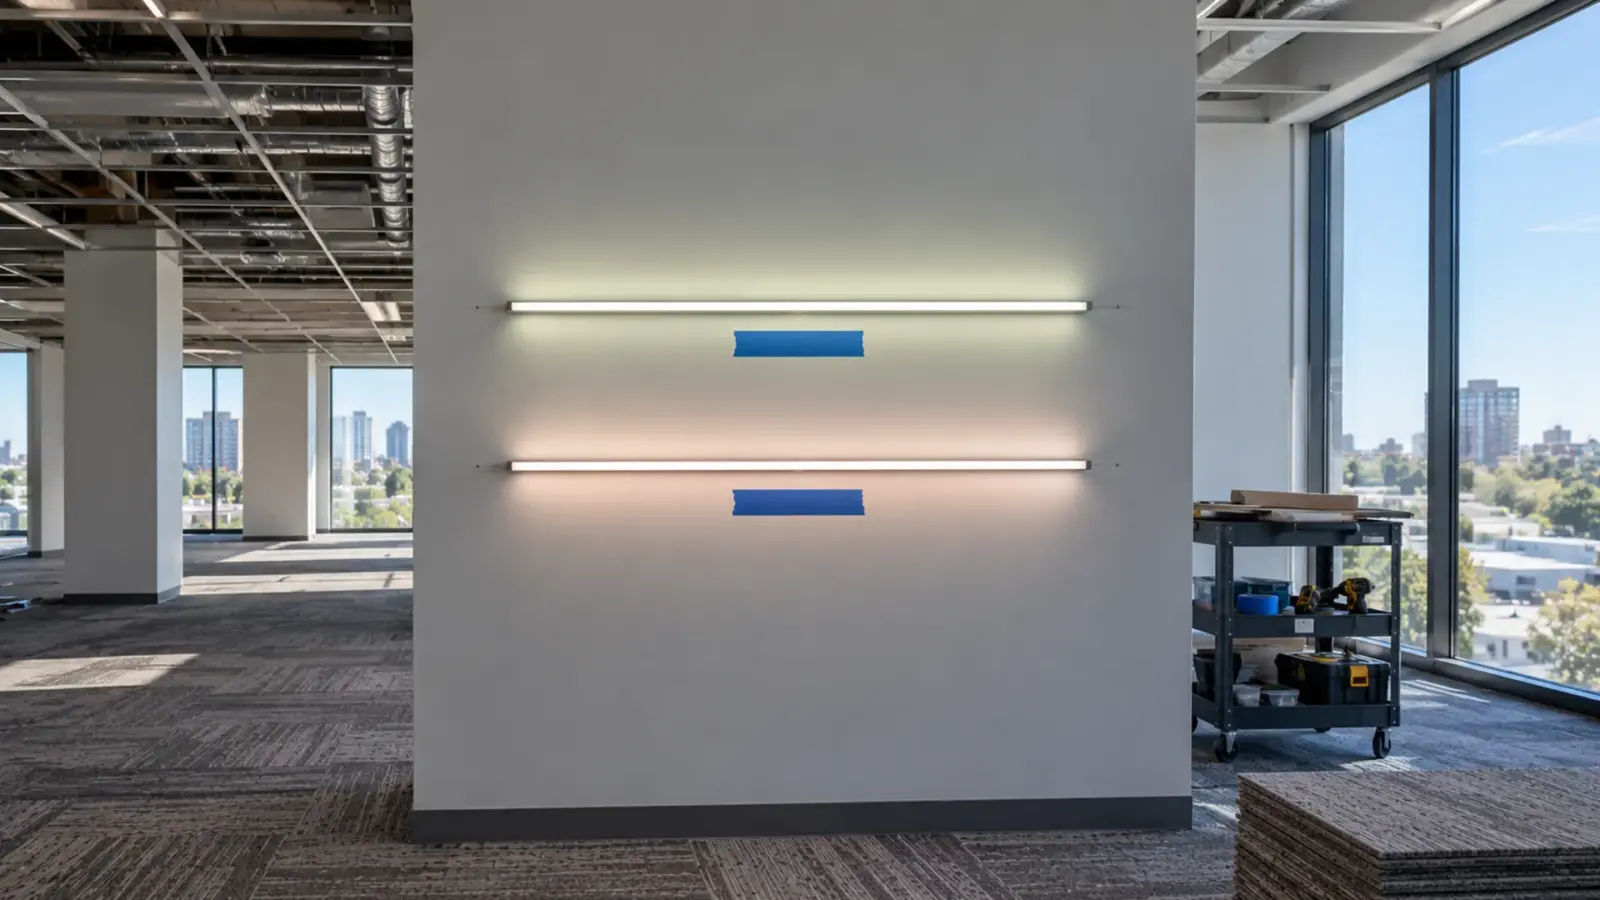
The citizenM Bowery hotel’s 300 guestrooms, built as 210 modules, were completed within four months in a factory, and the Modular Building Institute’s record says each room was fitted out with lighting before it was delivered. On a job like that, the lighting decisions a stick-built job makes in the field move to the factory’s line schedule.
To get LED strip into a modular room before it ships, split the scope between factory and site in the contract, keep every strip circuit inside one module, build the pieces to the module, secure them for the truck and keep a test record from the factory. Then the site crew only sets, bridges the seams and checks.
Split the Scope Before the Line Starts
A modular room is fitted out before it leaves the plant, so in our reading an open lighting submittal does not fit a line schedule. The Folsom Fairfield Inn, as BDC Network reported it, was 97 rooms in 52 modules, and the article says approximately 80 percent of the work had already been completed out of state; its listed benefits of factory installation included “reduced trade damage, eliminated storage and theft issues.”
Decide the split once, in writing, and put it on the module drawings. This is our suggested split, not a code requirement, and the owner, the GC and the module maker may draw it differently:
| Item | Factory, before the module ships | Site, after the set |
|---|---|---|
| Channel, strip and end caps inside the room | Installed, lit and tested | Check for transit damage, re-test |
| Driver and its leads | Installed, labeled with the circuit ID | Nothing, unless the driver sits across a seam |
| Control wiring from the room controller | Wired to the controller outputs | Controls vendor commissions and programs |
| Strip lines that cross a module seam | Built to the seam, each side with a lead or end cap | Bridge across the seam |
| Strip in areas finished after the set | Not built | Site crew, with the room-by-room list |
| Test record and photos | Made at each checkpoint | Read before the crew starts |
Our construction schedule guide covers release dates, and the question of who wires casework is in our millwork scope guide. On a modular job, both dates move earlier, to the line start rather than the ceiling close-in.
No Strip Run Crosses a Seam
A module is built to one set of dimensions and then joined to its neighbors on site, with the seam closed afterward. A strip that runs across that seam has to be spliced in the finished room, at the point where the ceilings and walls of two modules meet and access is the worst it will be. So our planning rule is that no strip circuit crosses a seam. Each circuit, with its strip, channel and driver, belongs to one module and ends inside it.
Two kinds of line break the rule on purpose. The first is a corridor or lobby line that has to read as continuous over two or more modules. Build each module’s piece to the seam, finish each end with an end cap or a short lead, and decide at the drawing stage whether the site crew bridges it. Our drivers page lists a strip-wire-strip connector, BXB, that “bridges two strips across a gap or corner with a wired jumper between them”, rated 5 A and made for 8, 10 and 12 mm PCB widths. Use it only after confirming that the seam can be opened and closed after the set, and we suggest planning a small dark break at the seam and placing it where the eye expects one, such as a door head.
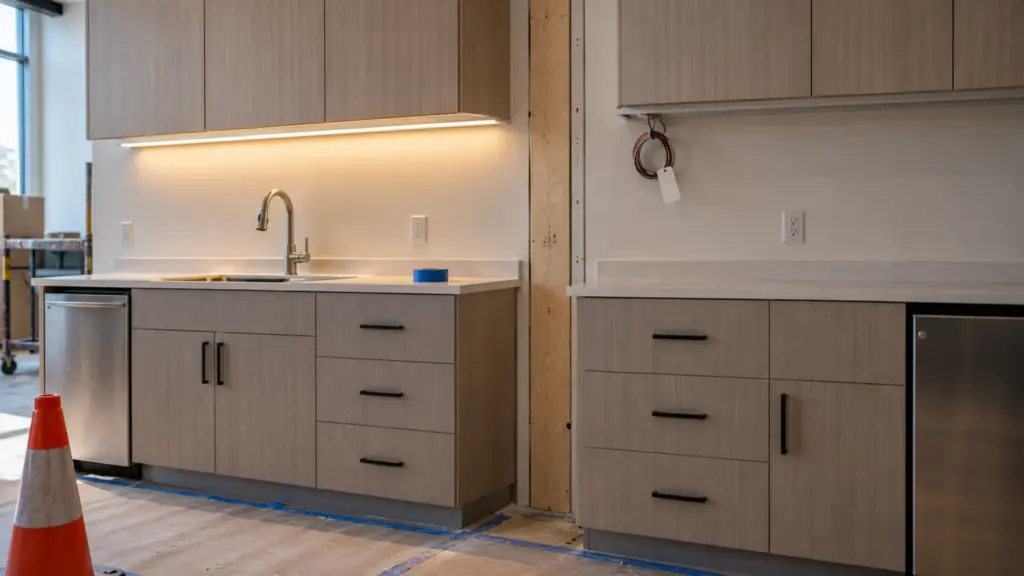
The second is the power or control feed that has to pass from one module to the next, such as a 0-10V control line. Treat it as wiring, not strip: the electrical contractor lands it at a junction on each side, and we suggest showing the connection as a site task on the module drawings, unless the module maker pre-connects it. Our pages do not list a module-seam connector, so ask for one in the quote.
Build Pieces to the Module
A piece built to the module is a piece that fits its room and nothing else. Our custom assemblies page describes pieces cut on the mark, wired, sealed, tested and labeled, with each piece carrying its ID from the drawing and packed by area, with a drawing and a piece list in each carton. Overall length is held to plus or minus 1/4 in (6 mm) unless the drawing says tighter, and a first article is approved before the rest are built.
On a modular job, make the ID say two things: the module and the circuit. A label such as a module number and a circuit letter is enough for a plant crew to place a piece without the drawing in hand, and for an inspector to match a lit circuit to the schedule. Approve the first article of each piece type before the rest are built, and treat the first finished module on the line as the mockup, not the last, because every change after the line starts costs a module that is already built. When a drawing changes, our project supply page says we send a list of what changes and what has already shipped; on a modular job, that list should name modules.
A multifamily or dorm job repeats the same room dozens of times, and a modular job builds those rooms in a run, so one wrong length or one swapped label repeats down the line. Our mockup approval guide describes what to check, and on a modular job that check should happen at the plant, in front of a finished first module rather than a drawing.
Pieces that depend on a driver location should follow our remote driver guide: a driver that cannot be reached through an access panel in the finished room is a site problem waiting for a module.
Surviving the Truck
Transport is the part of a modular job that a stick-built crew never meets. BDC Network’s Folsom article says operating supplies in the rooms were “tied down for shipping”, and finished interiors in a module have to survive transport and the crane lift. Neither source says how a luminaire or strip is braced, so what follows is our planning suggestion for the checkpoint list, to be agreed with the module maker:
- Fix channel with screws or clips into backing, and do not rely on tape alone, because a vibrating ceiling line has to stay where it was lit.
- Seat the end caps and the cover before the module is closed, so a cover cannot walk along the channel.
- Leave leads coiled and tied at a labeled point at the seam, never loose across the module opening.
- Keep drivers off any surface that will be loaded or moved during crane lift or set.
- Photograph each lit circuit just before the module is closed up or wrapped.
Damage in transit is a claim question with several parties, and our warranty lists physical damage such as crushing, abrasion and impact among its exclusions. The photos from the last factory checkpoint are the record that shows what the room looked like when it left. Our warranty documentation guide lists what to capture.
Two Inspections, Three Test Checkpoints
Modular work is inspected in two places. A NEEP fact sheet on off-site construction says 39 states regulate it at the state level, that 75 percent of states require third-party inspectors for at least some types of off-site construction, and that in the state-program states all on-site elements and the assembly at the job site are the responsibility of the authority having jurisdiction (AHJ). It also says the number of inspections should not change, but that the factory and site inspections need to be coordinated to avoid schedule delays, and that remote virtual inspections may be used. The fact sheet names the ICC/MBI 1200 standard, on planning, design, fabrication and assembly, and 1205, on inspection and regulatory compliance, as examples of an inspection policy an AHJ can adopt. We have not read the standards themselves, and state rules differ, so ask the module maker and the local authority which inspections apply before you plan around them.
The fact sheet does not mention lighting, so what follows is our suggestion: keep one test record that can serve both inspections, and make it available to the inspector. Set three checkpoints:
- Bench. Each piece is lit on the bench against its label before it goes to the line, in the same spirit as our assemblies page, where each piece is powered and checked end to end before it is packed.
- Factory complete. Each circuit is lit in the finished module, at full and at the lowest dim level the controls allow, and photographed with its label. Show this record, or the lit room, to the inspector if asked.
- After the set. The site crew re-lights each circuit after the module is set and the seams are closed, and compares it to the photograph.
A circuit that passes the second checkpoint and fails the third points first at transport or the seam, though site wiring, power and controls can also be the cause, and the record is what lets the parties sort out which.
Handover to the Site Crew
The site crew’s job is short if the factory’s was complete. Give them, per module: the circuit labels, the seam connections they make, the location of every driver and its access panel, the test photographs and the list of what was already tested. Our commissioning guide covers pre-power checks through handover, and our fire-rated wall guide covers a low-voltage cable through a fire-rated wall, which on a modular job means agreeing who makes that penetration, the plant or the site crew.
When a circuit fails after the set, read the record in the order of the seams. Check the seam connection first, because it is the task most often left to site. Then the lead and its connector, then the driver and its access panel. If the circuit lit at the factory-complete checkpoint, the record narrows the fault to what changed since: the truck, the set or the seam.
If a circuit has to be cut or reconnected on site, our guides to cutting and connecting strip and to connector types cover the cut point and the fitting.
Before the First Module Ships
- The factory and site split of the lighting, in writing and on the module drawings.
- Every strip circuit inside one module, with each seam crossing named and assigned.
- Pieces labeled by module and circuit, a first article approved for each piece type, and the first finished module treated as the mockup.
- Channel, caps and covers fixed for transport, leads coiled at labeled points.
- A test record with three checkpoints, and a check with the module maker and the local authority on which inspections apply.
The pieces, channels and drivers above are in our LED channels and diffusers and drivers, controllers and connectors ranges, and our custom assemblies service builds pieces to a drawing.