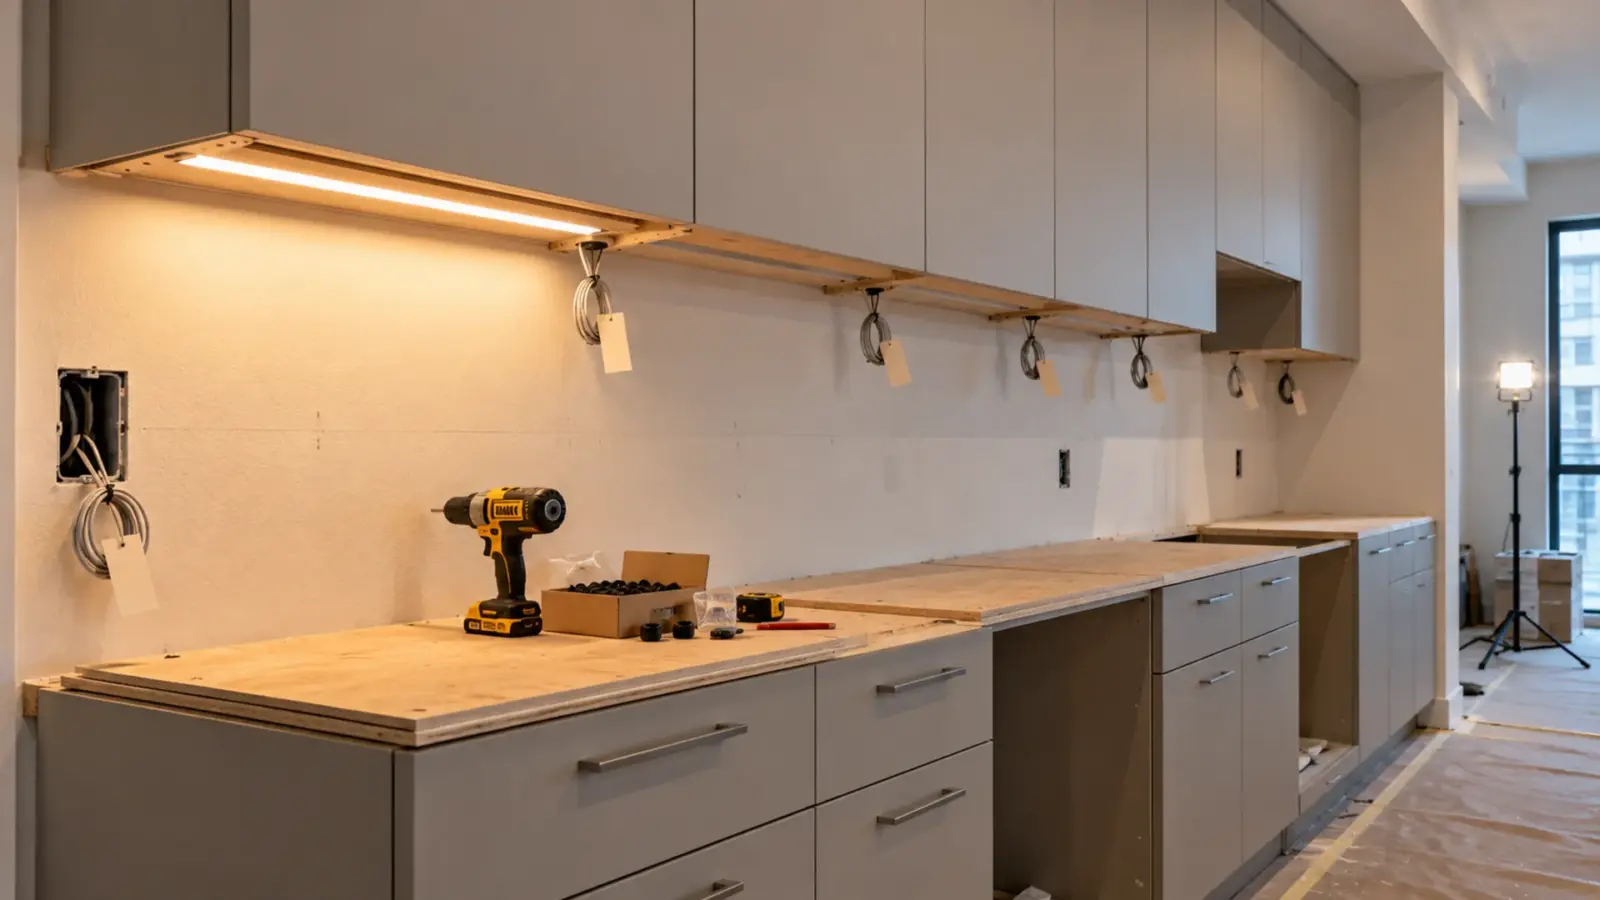
The casework arrives with a routed groove under every upper cabinet and no wire in any of them. The electrician thought the millwork shop was furnishing the lighting; the shop thought the electrician was. Who wires the LED strip in millwork is settled, or not, by three words on the drawings: furnish, install and connect.
The fix is cheap before fabrication and expensive after it. This guide sets out the three ways the scope usually splits, a matrix that assigns each part, and the one rule that keeps the inspection simple: line voltage stays out of the casework.
Why “Integrated With Millwork” Starts an RFI
The usual note is the problem. “LED task light integrated with millwork” reads two ways, and both are reasonable. In a 2013 Mike Holt forum thread a contractor asks what “Task light to be integrated with millwork” means on his job, where the fixtures were owner-furnished. An electrical engineer answers that it could mean the lights come with the millwork or that the electrical contractor builds them in, and “Sounds like it’s RFI time.”
The note fails because it names one task where there are at least three: someone furnishes the strip, channel and driver; someone installs them into the cabinet; someone connects them to the building’s power and controls. Each can belong to a different trade. When the drawings do not say which, the gap shows up the day the casework arrives, when cutting a wire chase means taking a finished cabinet back off the wall.
Three Ways to Split the Scope
Most jobs land in one of three models. Each is workable; the trouble comes from not choosing.
| Model | Shop does | Electrician does | Who answers to the inspector for the light |
|---|---|---|---|
| A. Shop furnishes lighted casework | Furnishes and installs strip, channel and Class 2 leads at its plant; may furnish the driver | Line-voltage box and connection, driver if not in the shop’s scope, controls | The shop’s assembly and its listing, plus the electrician’s connection |
| B. Shop prepares, electrician lights | Routes grooves, wire chases, driver access panels to the electrician’s layout | Furnishes and installs strip, channel, driver and leads in the field after the casework is set | The electrician, as for any luminaire installation |
| C. Lighting supplier furnishes, shop installs the Class 2 side | Installs channel and strip at its plant from material the contractor buys; leaves labeled 24V leads | Furnishes the driver, mounts it at the access point, connects line voltage and controls | Split: the strip install by the shop, the driver and wiring by the electrician |
Model A gives the cleanest finished product and puts one party behind the light, but only if the shop can stand behind an electrical assembly (see the listing section below). Model B keeps every electrical decision with the licensed trade and costs field time on finished cabinetry. Model C suits hotel and multifamily repeats: the strip goes in at the bench, where it is easiest to install straight and clean, and everything with a line-voltage side stays with the electrician.
The Matrix: Furnish, Install, Connect
Whatever the model, write the matrix into the drawings or the specification. Eight items cover a typical strip detail:
| Item | Furnish | Install | Connect | Notes |
|---|---|---|---|---|
| Routed recess, wire chase, grommets | Shop | Shop | n/a | Recess sized to a recessed profile, e.g. 17×8 mm; a surface profile needs none |
| Aluminum channel and diffuser | Per model | Shop (A, C) or electrician (B) | n/a | Fixed mechanically, not by tape alone |
| LED strip | Per model | Same as channel | Same as channel | Cut only at marked cut points |
| 24V leads from strip to driver location | Per model | Same as channel | Electrician at the driver | Labeled per run |
| Driver | Electrician (B, C) or shop (A) | Electrician | Electrician | At an access point, not in the toe kick |
| Line-voltage box and branch circuit | Electrician | Electrician | Electrician | Outside the casework, or in a box the electrician owns |
| Switch, dimmer or control input | Electrician | Electrician | Electrician | Coordinate dimmer type with the driver |
| Access panel for the driver | Shop | Shop | n/a | Size and location on the shop drawing |
The column that matters most is “Connect”. On a hard-wired detail the line-voltage connection is the electrician’s in every model, and on a cord-and-plug listed casework assembly that connection is the receptacle; confirm with the AHJ which applies. The matrix only decides who brings the strip and the leads to that point.
What the Listing Question Changes
Wiring at the shop raises a question that wiring in the field does not. The National Electrical Code expects luminaires to be listed; UL’s question column in IAEI Magazine notes that since the 2008 NEC, section 410.6 “requires all luminaires and lampholders to be Listed.” A field electrician installs listed strip and a listed driver per their instructions, as listed equipment generally must be. A shop that builds a cabinet with lighting wired inside it is making an electrical product.
UL’s furniture standard is where those products are evaluated. UL describes UL 962 as covering “electrified and non-electrified furniture, home and office furnishings, some commercial display products and built-in bathroom cabinets rated 600 V AC or less,” with electrical testing “for power distribution units and lighting.” UL lists powered furniture under two categories, IYNE and IYQX, and offers field evaluations for furniture already installed. A lighted display case or vanity whose assembly carries such a listing arrives as a product; one without it may leave the inspector asking for a field evaluation. In the same column an inspector describes millwork shops modifying listed luminaires and leaving open splices in wood cavities, which is the situation to avoid.
The way most jobs stay out of that question is simple: keep line voltage out of the casework. If the driver sits outside the cabinet or behind an access panel the electrician owns, and only the 24V Class 2 leads enter the millwork, the electrical parts inside the cabinet are listed products installed per their instructions, with no line-voltage splice in the wood. Our guide to cutting strip and its listing covers what happens to a strip’s listing when it is cut and reconnected, which applies whoever does the cutting. Where the AHJ draws the line on a particular assembly is the AHJ’s call; ask before the shop builds the first one.
Class 2 Leads Through Casework
With the driver outside, what passes through the cabinet is a pair of 24V leads per run. Treat them as installed wiring, not as a loose cable:
- Route them in the shop’s chase or a drilled path with grommets, so a drawer or a door cannot pinch them.
- Strain-relieve them where they leave the channel and where they leave the cabinet.
- Label each lead with its run at both ends, so the electrician lands the right run on the right driver output.
- Keep them apart from any line-voltage wiring at the point where they meet the driver; our in-wall wiring guide covers the cable types and separation once the leads leave the casework.
Mark the polarity at both ends too, and check it before power-up. A reversed pair on a single-color strip stays dark; on 3-wire tunable white and on RGB or RGBW strip the channels share a common positive, and a swapped lead lights the wrong channel; 2-wire tunable carries color temperature on the pair itself, so follow its pad labels. A label at the cabinet end saves the electrician from opening a finished cabinet to find out which is which.
Run length is part of the shop drawing too. Our under-cabinet page uses 24V “always when the driver is remote”, because the same load draws half the current and the lead loses less. A 60 W Class 2 driver at the 80% load we size to carries 15 ft of UT-C480-8 at 3.2 W/ft; a 40 W driver carries 10 ft. Those lengths decide how many drivers the detail needs and so how many access points the shop has to build.
Driver Location Decides Who Services It
The driver is the part that usually fails first and the one someone has to reach later. Our under-cabinet page says plainly that the driver “should not go in the toe kick”, and our driver placement guide works through the options, from a ventilated cabinet compartment to a remote location above the ceiling.
For the scope split, the rule is: whoever furnishes the driver also decides where it goes, and that location appears on the shop drawing with an access panel the shop builds. A driver sealed behind a fixed back panel turns a quick swap into a millwork repair, and the facility manager will call whichever name is on the closeout, the shop or the electrician. On a reception desk or nurse station the same logic applies at a larger scale; our reception desk guide shows where the access goes on a desk that is never empty.
Shop Install Moves the Strip Order Earlier
Models A and C put the strip into the cabinet at the bench, which means the strip has to reach the shop before fabrication, not before trim-out. That moves the order weeks forward. Our FAQ puts standard CCT and CRI combinations at 1 to 2 weeks to ship, with custom builds adding roughly two to three weeks and each ship date confirmed in writing on the quote; a shop that fabricates a floor of hotel vanities a month before installation needs the strip, channel and cut list in hand before that, with the CCT and model already approved on a mockup. Our construction schedule guide places the release against rough-in, mockup and trim.
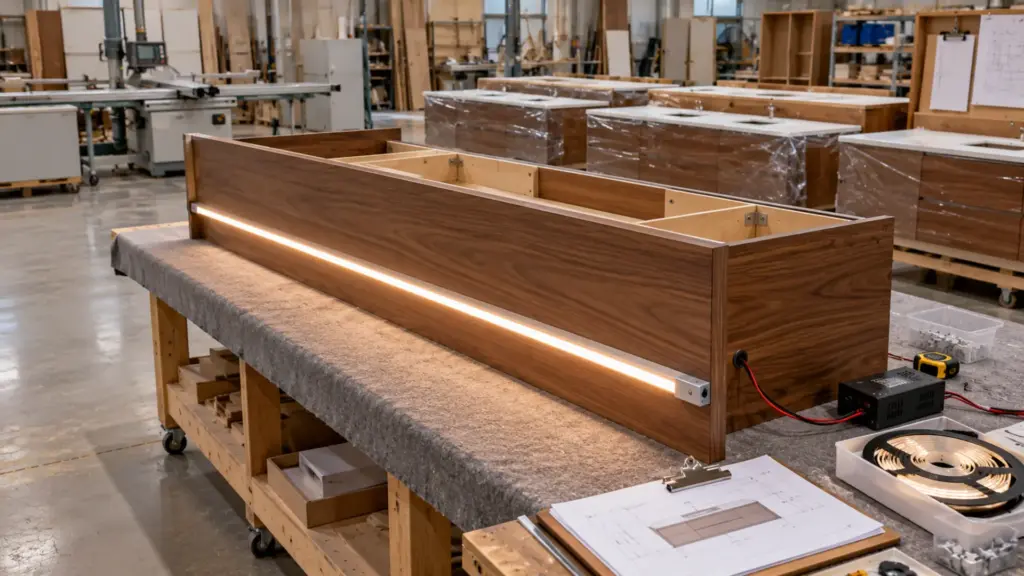
The mockup belongs to the shop in those models. Our under-cabinet page settles most of its design decisions, position first, “with a short length of strip taped in place and a look from standing height, before anything is cut or stuck”; at a millwork shop that look happens on the first production cabinet, with the designer present, before the rest are built.
Spec Language That Settles It
The fix is two cross-referenced sentences, one in each specification section. A pattern that works:
- In the casework section (Division 06): “Provide routed recesses, wire chases, grommets and driver access panels for LED strip lighting as shown. LED strip, channel and 24V leads are [furnished and installed by this section / furnished by others and installed by this section / furnished and installed by Division 26]. Line-voltage wiring and connections are by Division 26.”
- In the lighting section (Division 26): “LED strip in casework: [furnish only / furnish and install / connect only]. Drivers located at access points shown on the casework shop drawings. Coordinate recess and chase sizes with Section 06 41 00.”
The same idea appears in our acoustic baffle guide, where the ceiling goes in Division 09 and the lighting in Division 26 with cross-references in each. Pick the bracketed option per item from the matrix, and the RFI never gets written.
Before the Shop Drawings Go Out
- One scope model chosen, A, B or C, and named on the drawings.
- The matrix filled in for every lighted cabinet type.
- Drivers outside the casework or behind access panels shown on the shop drawing.
- 24V leads, routes, labels and lengths on the shop drawing; no line voltage inside the cabinet unless the shop’s assembly is listed for it.
- Strip, channel and cut list ordered in time for fabrication if the shop installs.
- First production cabinet mocked up and approved.
Unitop Lighting supplies the strip, the LED channels sized to the shop’s recesses and the Class 2 drivers on our drivers page, cut and labeled per cabinet if the shop installs. Send the casework elevations with the scope model marked and we will return the strip, channel and driver plan, with the cut list and driver count, with the quote: request a quote.