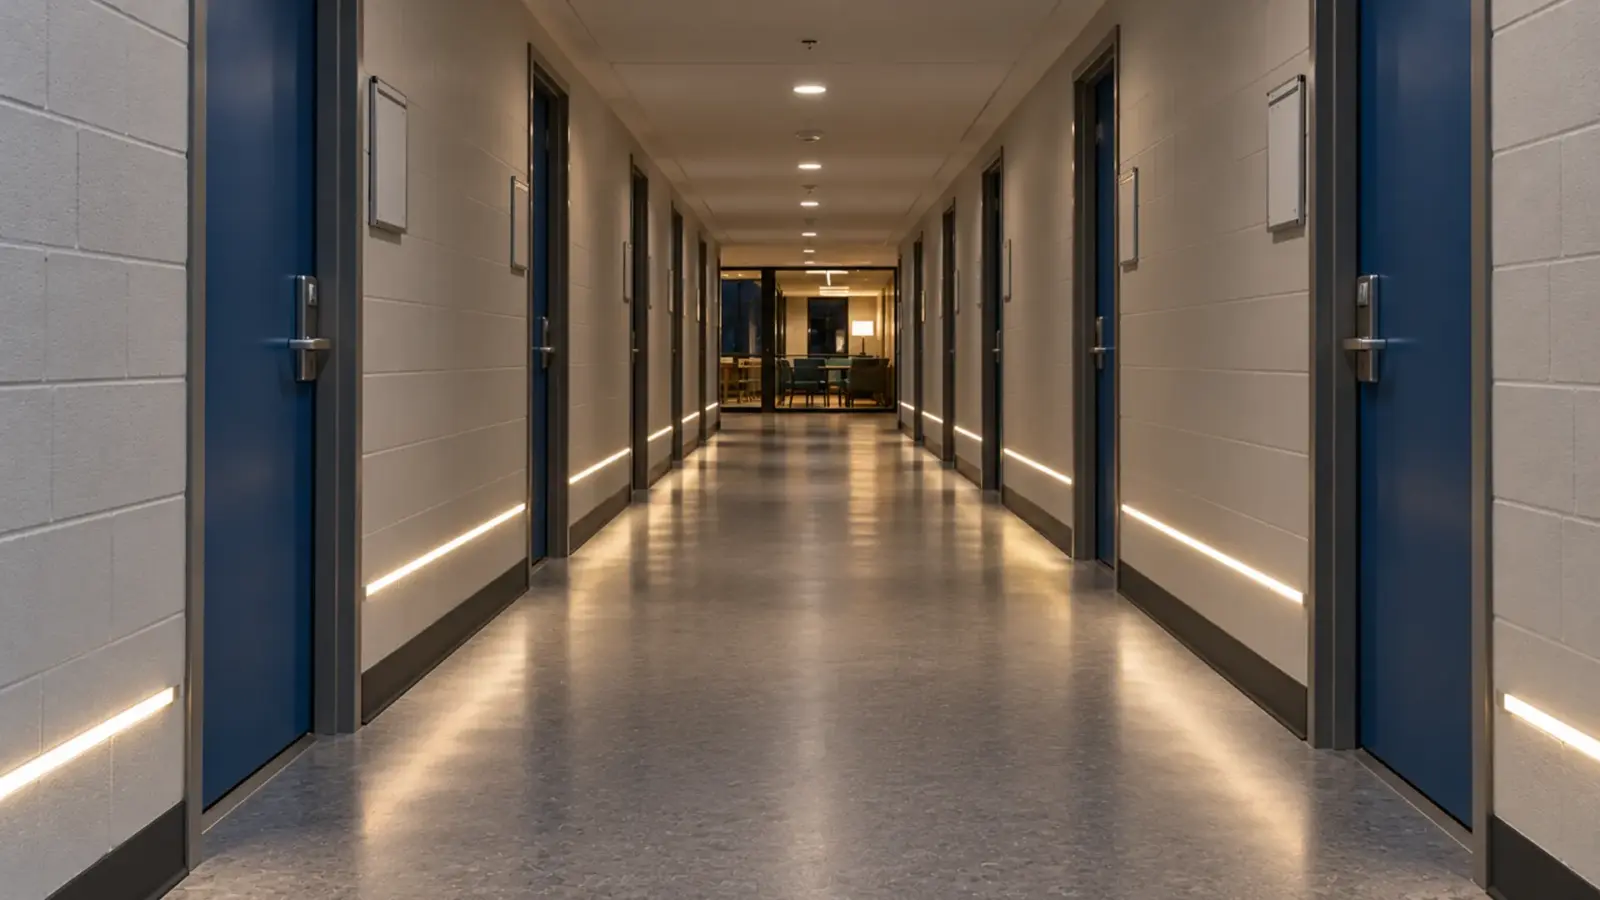
Two feet above the finished floor is the highest the night-lighting guidance summarized in our senior living guide puts low-level night lighting, and a baseboard LED channel puts a line of light well under it. In a corridor the light is the easy part. The doorways, the mop and the cart decide whether the line survives the first year.
The steps below follow the order the job goes in, from the drawing to the walkthrough, each with a checkpoint before the next one.
Step 1: Decide What the Line Is For
A baseboard line does one of three jobs, and the job sets everything after it.
- Night path. In senior living, the guidance our senior living guide summarizes asks for low-level night lighting mounted no higher than 2 ft above the finished floor, so residents can find the bathroom or the nurse station without a bright ceiling. Hospitals use the same idea between the bed and the bathroom door, on its own circuit, as our hospital guide describes.
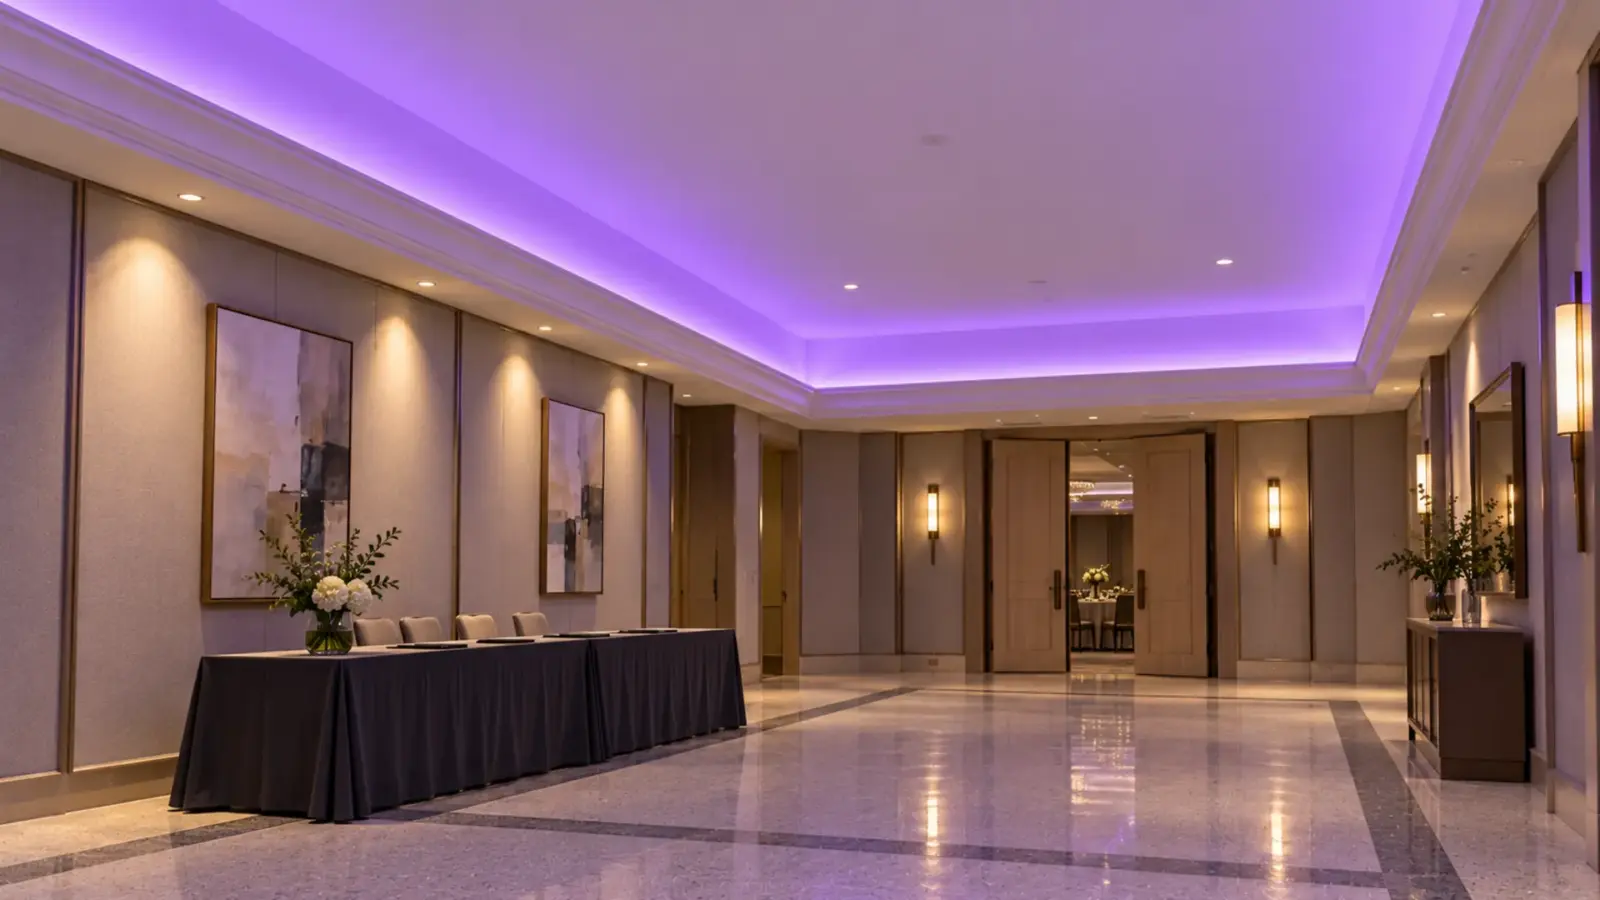
- Wayfinding. A line along the base of a hotel corridor or an amenity floor leads the eye to the elevator lobby and marks the walls when the ceiling light is dimmed.
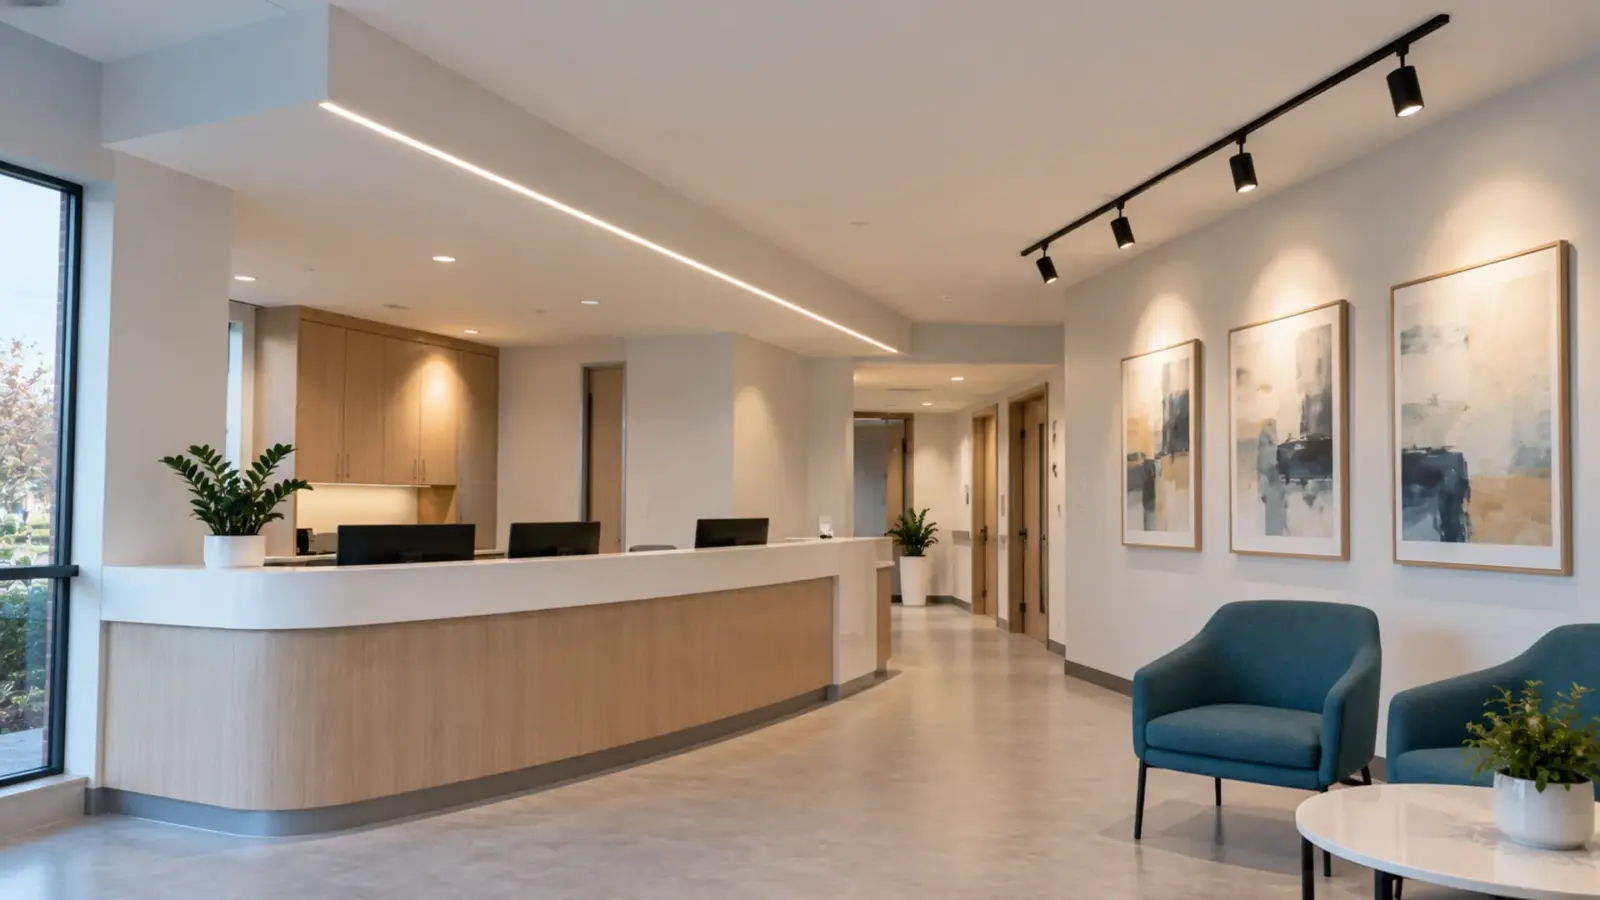
- Accent in a lobby. A line under a feature wall or a reception desk base lifts the wall off the floor. It runs at full level and can follow the lobby’s scene control.
None of these is egress lighting by default. A corridor needs at least 1 footcandle at the walking surface under normal power, and our corridor night dimming guide explains why a strip line counts toward that only if the designer builds it into the egress system. Treat the baseboard line as an addition to the corridor’s general lighting, never as its replacement.
*Checkpoint:* the drawings say which of the three jobs the line does, which circuit it is on, and that the egress light comes from somewhere else.
Step 2: Pick the Detail
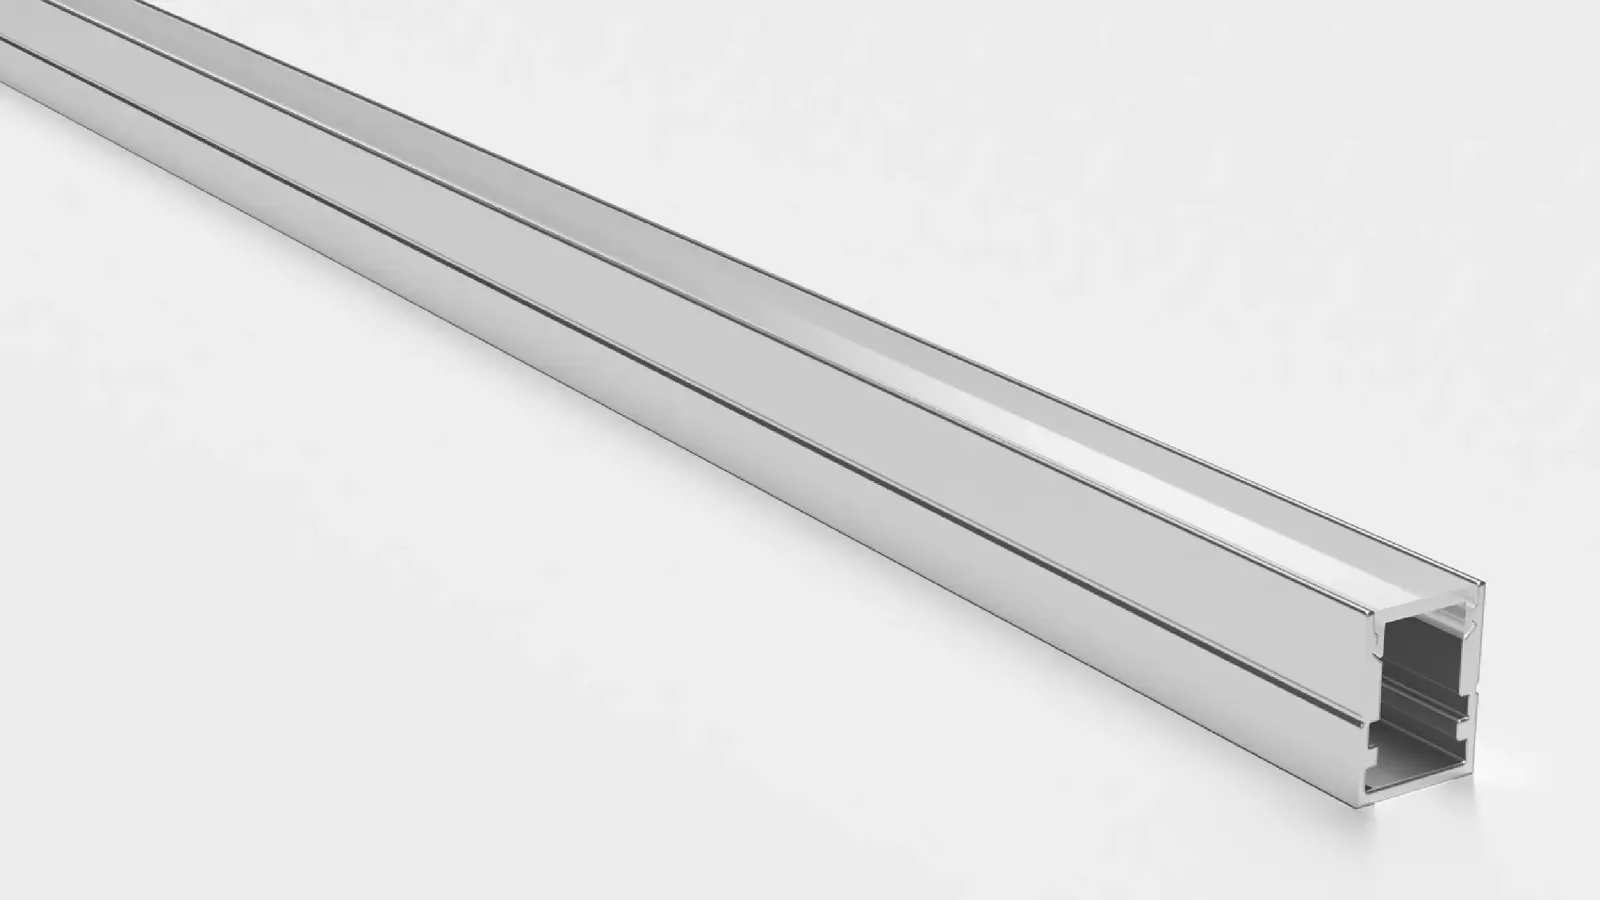
Our range has no dedicated skirting profile, so the line is built from standard channels. Three details cover most corridors and lobbies:
| Detail | Channel | What shows | Who builds it |
|---|---|---|---|
| Plaster-in slot just above the base | UT-CH2020, 20.2×19.5 mm, trimless | A flush line in the wall | Drywall contractor sets and tapes it; EC sets strip and feeds |
| Routed slot in a millwork or solid-surface base | UT-CH1715 flanged, 17×15 mm | A line with a thin lip, the base stays one piece | Millwork shop routes it to the shop drawing |
| Ledge or projecting base cap, light washing down | UT-CH1616 corner, 45° aim, in the corner under the ledge | No source, a wash on the floor | Millwork or drywall trim builds the ledge |
The first two read as a line of light. The third hides the source and lights the floor, the same geometry as a toe kick: in the inside corner under the ledge, the 45° channel throws the light down and forward, as our toe kick guide shows for casework. On a finished wall that cannot be opened, the slim surface UT-CH1013 (13×10 mm) under a handrail or a crash rail gives a line without cutting the board.
Keep the top of the line under 2 ft where it is a night path, and above the top of the wall base so the base can be replaced without touching the channel. Every profile here is in our LED channel range and offered with an opal cover, which a low line needs because every passer-by looks down at it.
*Checkpoint:* the section on the drawings shows the channel, its height above the floor, the base and who installs each part.
Step 3: Keep It Alive Through Mops, Scrubbers and Carts
The wall base is the dirtiest place in a corridor. Mop water splashes it, auto scrubbers run along it, and housekeeping and meal carts hit it all day.
Water first. Our channels carry no IP rating; the strip inside does, as our waterproof channel guide explains. At the base, specify a silicone-coated strip such as UT-O320-8-65 from our outdoor LED strip range: IP65, 2.4 W/ft, 24V, cut every 1.97 in (50 mm). Check its coated width against the channel’s maximum strip width at quote, because a coating can be wider than the board. Seal every cut end before the strip goes in.
Height second. Our walk-over floor channel guide places a corridor’s low floor line under the handrail line, where the scrubber’s brushes do not reach the wall, and a wall line follows the same logic. Find the scrubber model the owner uses and keep the cover clear of its deck and splash.
Impact third. Set the line below or behind a handrail or crash rail where the corridor has one, so carts hit the rail first. A line mounted proud of the wall with nothing in front of it gets chipped at cart-bumper height. The ADA protruding-object rule does not reach this far down, though clear width still applies: as our ADA channel guide notes, section 307.2 covers leading edges between 27 and 80 in above the floor.
*Checkpoint:* strip IP rating, cut-end sealing, line height against the scrubber, and the rail position are all on the submittal.
Step 4: Plan the Feeds Around the Doorways
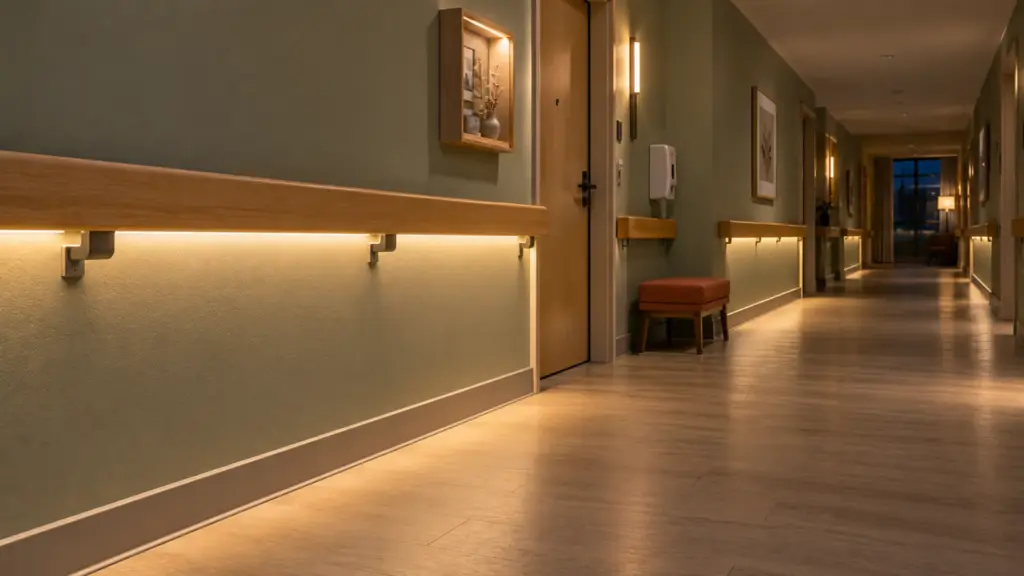
A corridor wall is not one run. Every doorway breaks the base, so the line arrives in pieces, and each piece needs its own A place where driver cable lands on the strip. The model's run limit per feed sets how many a run needs.. The doorways set the feed and cable count, the load sets the drivers, and voltage drop sets neither.
Here is a typical guest-room corridor with assumed dimensions: about 155 ft long, 11 doors of 3 ft on each wall, leaving twelve lit pieces of 10 ft per wall.
| Item | Count |
|---|---|
| Lit pieces | 24 (12 per wall), 10 ft each |
| Lit length | 240 ft |
| Load at 2.4 W/ft (UT-O320-8-65) | 576 W |
| Feeds | 24, one per piece |
| Drivers at 48 W each (60 W Class 2 loaded to 80%) | 12, each feeding two pieces |
Each 10 ft piece sits well inside the strip’s 16 ft (5 m) per feed, and each pair loads its driver to exactly the 80% line, so a piece longer than 10 ft goes on its own driver. A 48V strip such as UT-C480-8-48V, with its 65 ft (20 m) single feed, would save no feeds (the doorways set them) and no drivers (576 W over 48 W per Class 2 driver is 12 at any voltage). It is also IP20, which Step 3 rules out at a mopped base, and it would need 48V drivers matched at quote.
The cost is in the walls. Twenty-four feeds mean twenty-four cable drops from the ceiling to the base, and they have to be in the wall before it is boarded. Put the drivers where they can be reached, such as a corridor electrical closet or an access panel above the ceiling, never in the base. Corridor walls in hotels and multifamily buildings are often fire-rated, and the life-safety plan says which ones are. In a rated wall every box, feed hole and plaster-in slot is a penetration; our fire-rated wall cable guide covers what each asks for.
Jumping a doorway inside the wall can halve the drops, but only where a cable path exists over the door head and the frame allows it. Decide that with the framer, not on site.
*Checkpoint:* a feed schedule lists every piece, its driver, the drop location and the wall rating, before rough-in.
Step 5: Put the Night Level on Its Own Circuit
A night path stays on while the room or the corridor is dimmed, so it gets its own circuit and its own driver group. A dimmable Class 2 driver such as the UT-D60-24-C2-010 (60 W, 0-10V) on our drivers page lets the controls set a low night level and a higher level for staff rounds or cleaning.
Two settings matter. Set a floor on the control so no scene can drop the corridor’s general lighting below the egress level, and use no dim-to-off scene on the corridor’s egress lighting; the baseboard line keeps its own night level. An occupancy sensor can raise the line when someone walks by; our occupancy sensor guide covers wiring it to a strip driver.
*Checkpoint:* the controls narrative names the night level, the floor and which zones the baseboard line belongs to.
Step 6: Mock Up on the Real Floor
A low line lights the floor beside it, and the floor answers back. Polished concrete, terrazzo and waxed sheet vinyl reflect the line as a second stripe, and a wet-look finish after stripping and waxing makes it worse. Mock up one wall piece on the real flooring, at the night level, before the order is released.
Look at color too. Twenty-four pieces down one corridor are seen together, so order the run from one lot, as our floor channel guide advises, and check one piece against the next under the corridor’s own ceiling light.
*Checkpoint:* the owner signs off the mockup at night level, with the floor finish in place.
Final Checks
- The line has a job (night path, wayfinding or accent), and the egress light comes from another system.
- The detail is drawn in section with its height, under 2 ft for a night path.
- The strip is IP65 or better with every cut end sealed; the coated width fits the channel.
- The line sits out of the scrubber’s reach and behind the rail line.
- Every piece has a feed, a driver and a drop in the wall before boarding; rated walls are flagged.
- The night level has its own circuit and a control floor.
When the feed schedule is ready, we can check the strip, channel and driver for every piece against it, using the models in our LED channel range.