An LED tape bid priced by the foot is usually right on the tape and wrong on everything that feeds it. To quote an LED strip lighting job, walk the site, take off each run, turn runs into a bill of materials with feeds and drivers, price labor by run type, add allowances, apply margin correctly and write the scope.
That is seven steps, and each one has a checkpoint. Skip one and the error shows up after the contract is signed, when the cove needs three more feeds than the bid assumed or the drivers have nowhere to go.
Walk the Site Before the Takeoff
The drawings show where the strip goes. They rarely show how hard it is to get there. According to Zigaflow’s guide to quoting electrical work, a structured pre-quote survey comes first, and on strip jobs it answers questions the drawings leave open:
- Access. Ceiling heights, lift or scaffold needs, occupied or empty building, night work. Electricians on the Mike Holt forum note how much lift moves and ceiling height change the pace.
- Driver locations. Where can drivers live so they are reachable and cool? A closet, an access panel, a millwork cabinet?
- Substrate. Plaster-in channel needs the drywall crew; surface channel needs a straight, solid surface.
- Controls. Existing dimmers, a building control system, or a new one.
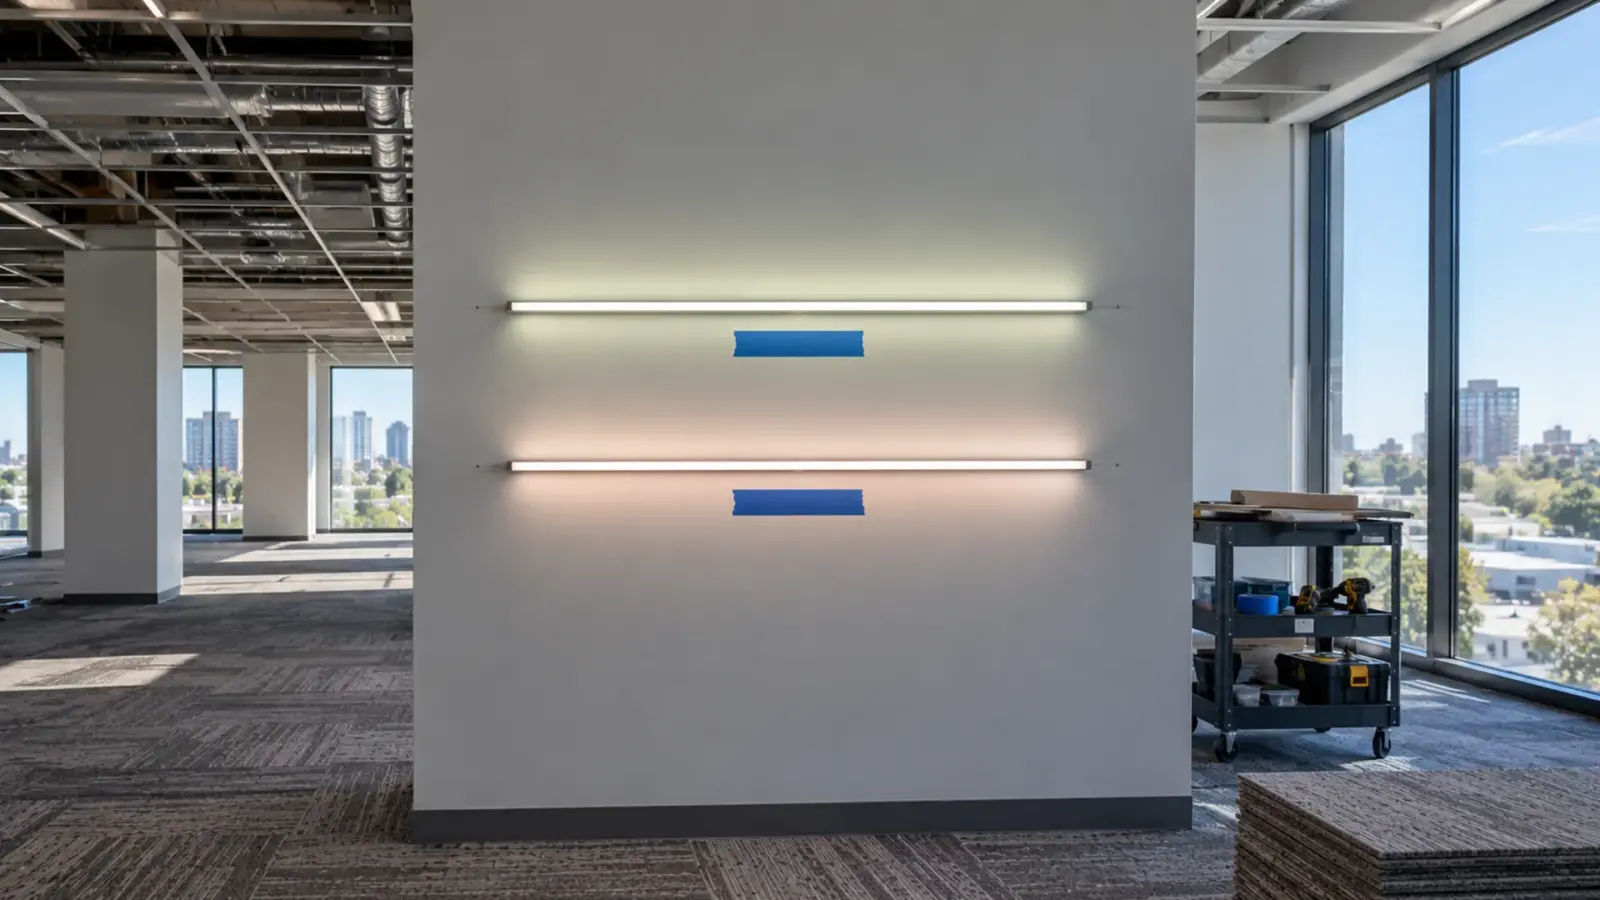
- Other trades. Who builds the coves, the millwork reveals and the access panels, and when. Strip goes in late; a cove that is not finished on time delays your crew, not theirs.
Checkpoint: a written survey note per area, with photos, attached to the estimate.
Takeoff by Run, Not by Total Footage
A total footage number hides everything that matters. Take off each run separately: its length, its location, where it can be fed, and where it turns a corner. Countfire describes linear measurement and zones for exactly this, so one symbol on a drawing becomes separately priced items.
For each run, record:
- Length, measured, not scaled from a small plan.
- Feed point or points.
- Corners and breaks.
- Channel type and cover.
- Dimming zone.
Checkpoint: the run list adds up to the total footage, and every run has a feed point marked.
Turn Runs Into a Bill of Materials
This is where most strip bids go wrong. Each run becomes parts, and the rules come from the strip’s datasheet. Our cut length and reel calculator turns a run list into that parts list, with feeds, connectors, channel sticks and end caps counted.
| From the run | Becomes | Rule |
|---|---|---|
| Length | Strip | Round down to the cut interval: 1.97 in (50 mm) on UT-C480-8 at 24V, 3.94 in (100 mm) on UT-S5050-30, 19.7 in (500 mm) on UT-H120-60 |
| Length vs rated run | Feeds | One feed per rated run: 16 ft (5 m) on most 24V strip |
| Watts per run | Driver capacity | Load each driver to 80% at most: 48 W on a 60 W Class 2 driver |
| Joints and feeds | Connectors | One per joint and feed, rated for the current (ours are 5 A) |
| Length | Channel | Sticks of 2 m or 3 m (6.6 or 9.8 ft), plus corners and end caps |
| Length | Clips and covers | By the channel maker’s spacing |
| Zone | Controls | Dimmer, decoder or controller per zone |
- 1Strip42 ftRound down to the cut
- 2Feeds316 ft rated run per feed
- 3Drivers3 × 60 WEach run ≤ 48 W (80%)
- 4Connectors3 feeds + 2 cornersRated for the current
- 5Channel4 × 3 m + 1 × 2 mPlus corners and end caps
According to Hitlights, drivers are sized at 120% of strip watts, which is the same headroom as our 80% rule seen from the other side. Our power supply sizing guide shows the full calculation, and our guide to cutting and connecting strip covers joints.
Checkpoint: every run on the takeoff has a strip line, at least one feed, driver capacity and its connectors.
Worked Example: One 42 ft Cove
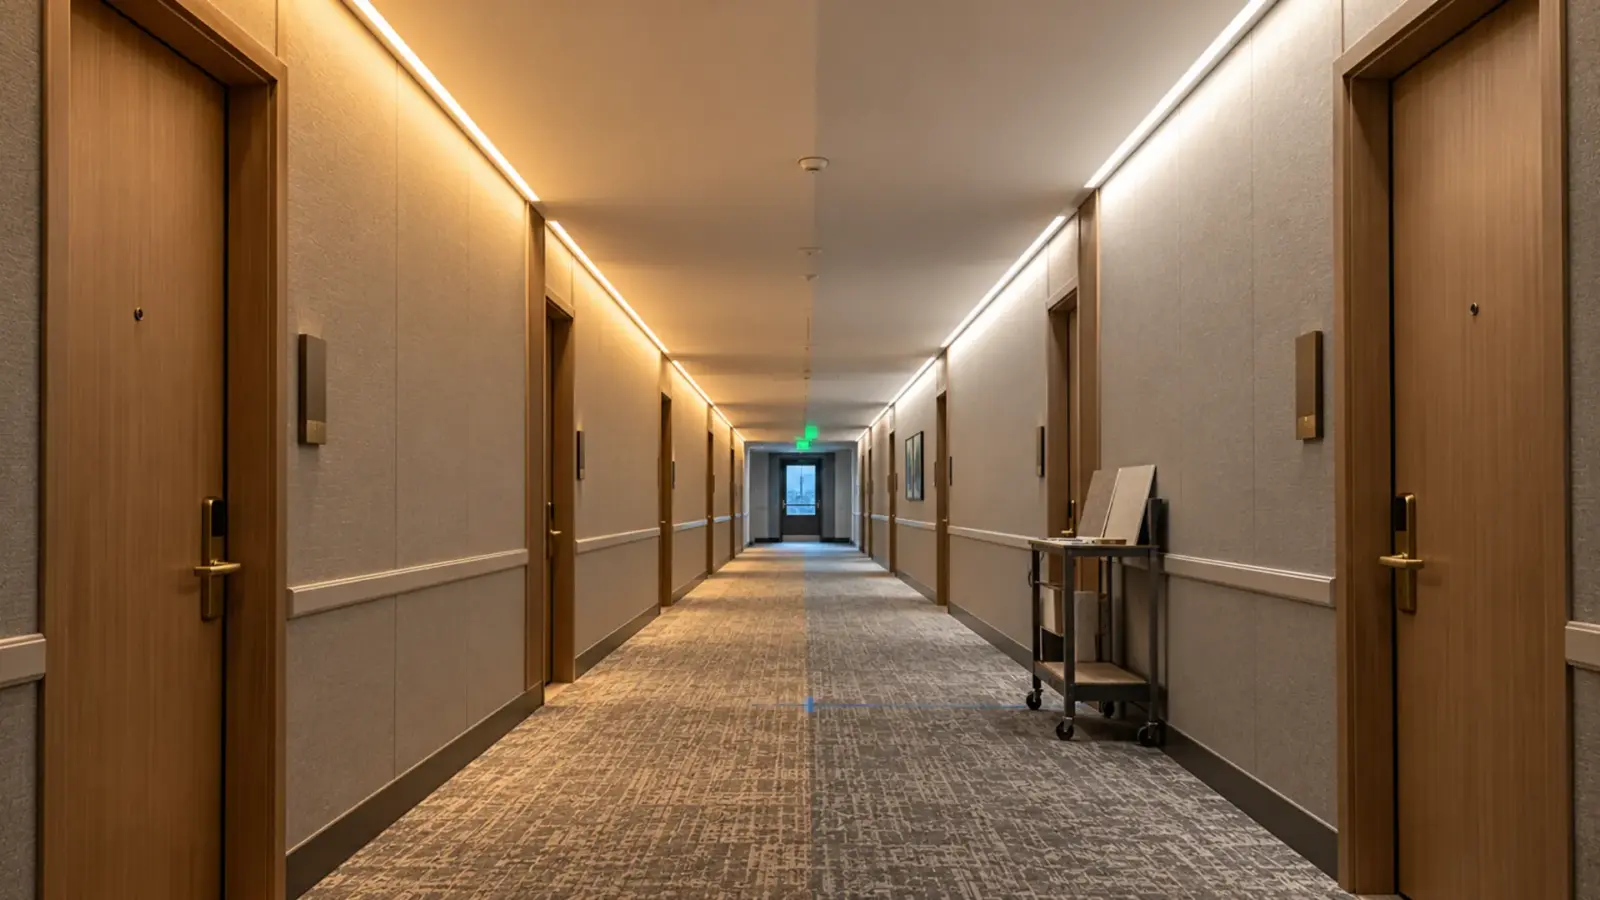
One cove, 42 ft long with two inside corners, in UT-C480-8 (24V COB, 3.2 W/ft, rated 16 ft (5 m) per feed), on 60 W Class 2 drivers:
- Watts: 42 ft × 3.2 W/ft is about 134 W.
- Runs and feeds: split into 3 runs of 14 ft. Each run is about 45 W, under the 48 W that a 60 W driver carries at 80%, and under the 16 ft rated run.
- Drivers: 3 × 60 W Class 2, one per run, each needing a reachable location and a home run.
- Connectors: 3 at the feeds, plus 2 at the corners unless the corners are soldered.
- Channel: 42 ft is about 12.8 m, so four 3 m sticks and one 2 m stick, plus 2 inside corners, 2 end caps and clips at the maker’s spacing.
- Labor: on Hitlights’ 30–45 minutes per 10 ft of cove, about 2 to 3 hours for the strip and channel, plus the feeds, the driver mounting and commissioning.
Priced by the foot, this cove looks like 42 ft of tape. Priced by the run, it is three circuits, three drivers and five joints, and that is the version that holds after the contract is signed.
Supply-Only or Supply and Install
The same job can be quoted two ways, and the scope changes with it.
- Supply-only: you price the BOM and deliver it. The installer’s labor, the wiring and the commissioning sit with someone else. Make the quote say which parts are included, the cut lengths or reels, and who matches drivers to runs.
- Supply and install: you carry the whole chain. Warranty questions come to you whether the fault is the product or the installation, so the quote should name the products exactly and exclude what you do not control, such as existing dimmers or a building control system you did not program.
On either route, the supplier’s terms flow into yours. If your supplier quotes EXW or FOB, freight and receiving are yours to price; if the supplier ships in phases, your install schedule follows their release dates.
Labor by Run Type
Labor scales with the kind of run, not just its length. Hitlights publishes typical install times that make a reasonable starting point:
- Simple under-cabinet run: 20–30 minutes per 8 ft section.
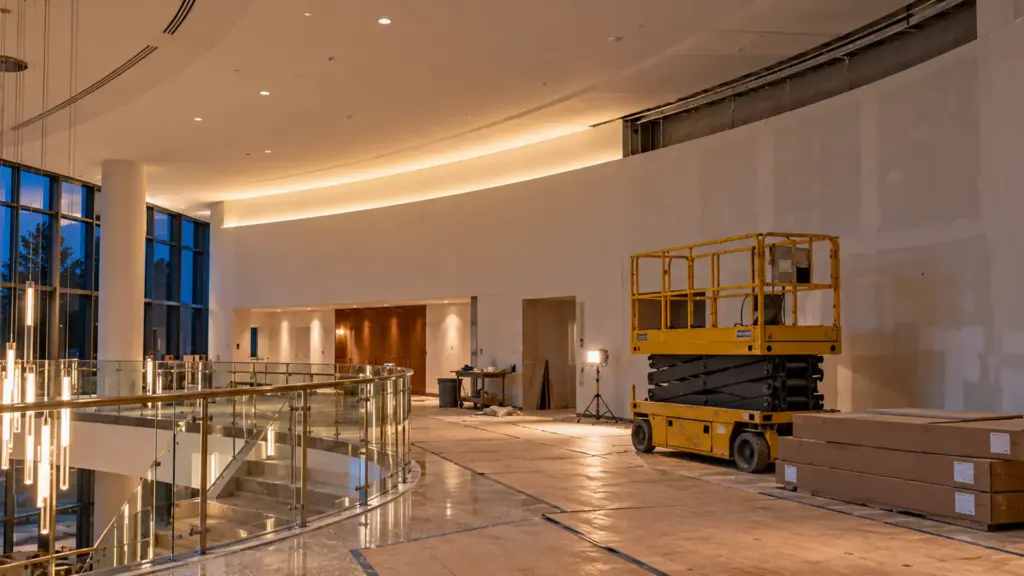
- Cove or soffit: 30–45 minutes per 10 ft run.
- Recessed custom channel: 45–90 minutes per run.
- Multi-zone wiring with a dimmer: 60–120 minutes per zone.
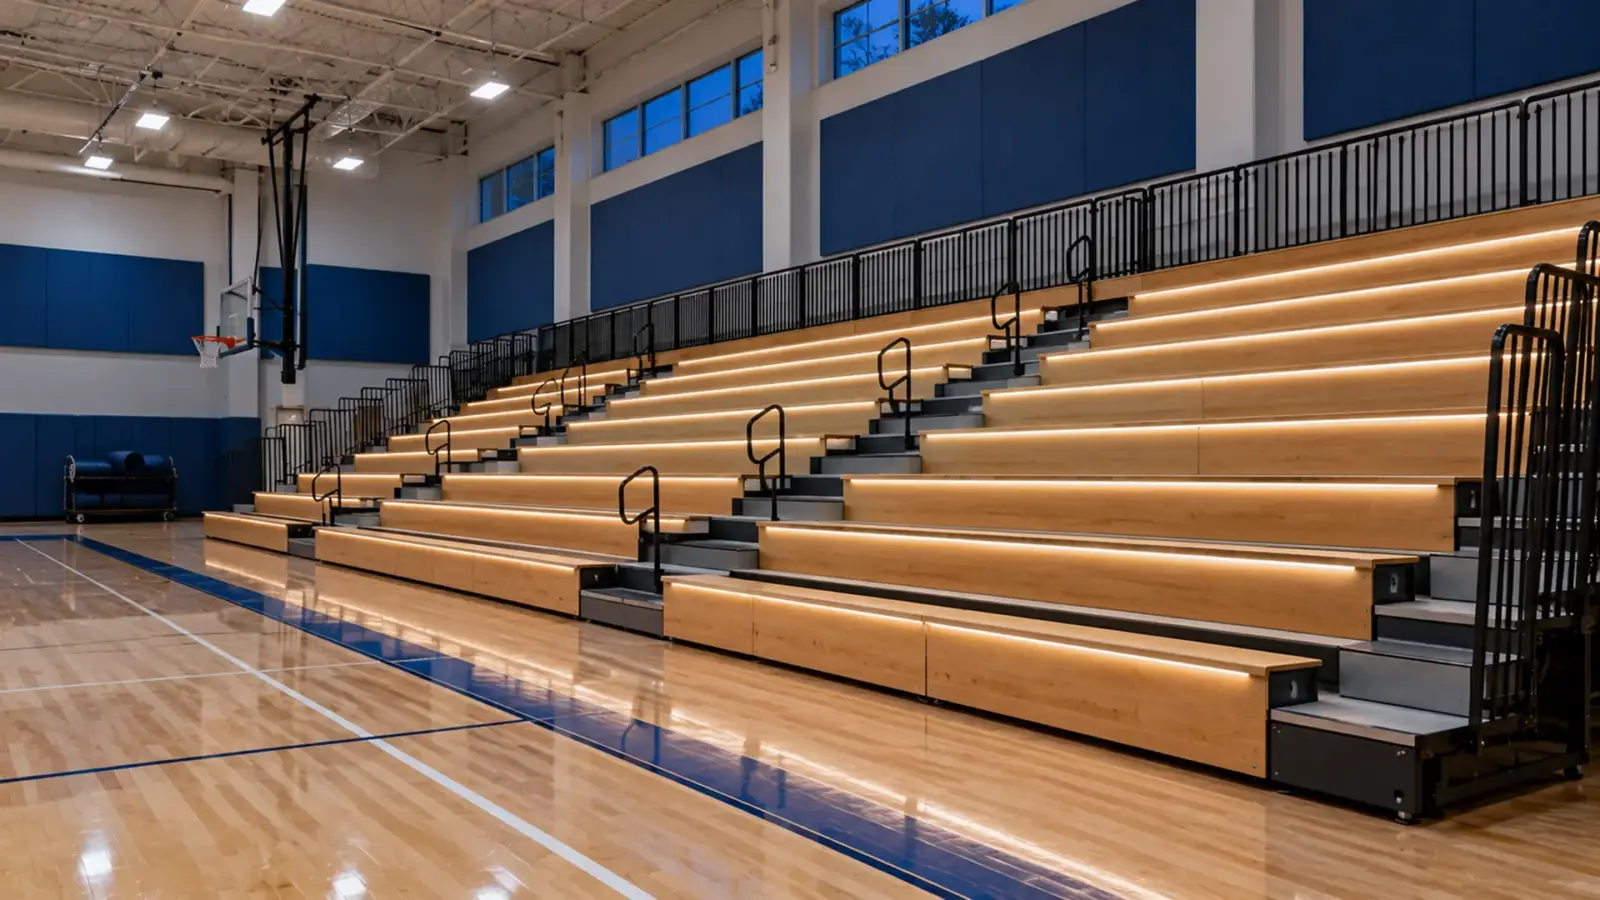
- Stair risers: 3–6 hours per flight.
Calibrate them against your own crews’ history, and price wiring, feeds and controls as their own labor lines. Zigaflow recommends calculating labor by stage, which on strip jobs means first fix (boxes, feeds, driver mounting), channel installation, strip and covers, and commissioning.
Checkpoint: labor hours per run type, plus wiring, plus commissioning, plus programming if controls need it.
Allowances: Mockups, Lifts and Supervision
Some costs do not belong to any one run. EC&M’s estimating column lists supervision and site logistics as separate items rather than hiding them in unit labor. On strip jobs, add:
- A mockup of one bay, with the hours to build and adjust it.
- Lifts and scaffolds where the survey found them.
- Supervision for jobs with several crews or night work.
- Contingency. Hitlights suggests 10–15% on LED strip quotes.
- Spares. A small quantity of strip from the same bin, handed to the owner at closeout, saves a color-matching problem at the first repair. Owners of hotels and offices often ask for it; price it rather than give it away.
Checkpoint: each allowance is a separate, named line, so it can be discussed rather than cut silently.
Markup Is Not Margin
The arithmetic that costs contractors the most is the simplest. According to Zigaflow, a 20% markup does not give a 20% margin.
Put cost at 100 units. A 20% markup gives a price of 120 units. The margin is the profit divided by the price: 20 divided by 120, about 16.7%. To reach a target margin, divide cost by one minus the margin: for a 20% margin, 100 divided by 0.8 is 125 units.
Zigaflow’s lighting guide also recommends showing freight and supply margin as separate lines from product cost, because bundling them hides where margin is lost. On strip jobs, freight is often the first thing to slip through.
Checkpoint: the margin is calculated on the price, not the cost, and freight is its own line.
Scope, Lead Time and Substitutions
The quote document protects the margin after it is signed. Write down:
- Inclusions and exclusions, run by run where it matters: who provides drivers, controls, programming, access panels and patching.
- The basis of the material price. Our quotes, for example, are normally EXW or FOB at the port of shipment, with freight paid by the buyer, and each quote states its Incoterm. Carry that into your own quote as a freight line.
- Lead time. Standard CCT and Color Rendering Index, 0–100: how truthfully the light shows colors next to a reference source. Ra≥90 is the usual bar for interiors. combinations on our range ship in 1 to 2 weeks, custom builds take about two to three weeks more, and phased releases can be agreed at quote. Match your install dates to them.
- Minimums. One full reel per SKU on our range; a schedule with many small SKUs buys many reels.
- Substitutions. State that a proposed substitute must match the specified strip on the listed parameters and pass the mockup. Our article on value engineering LED tape lists them.
According to Zigaflow, the luminaire schedule should be signed off, with version control, before any purchase order is raised. On a strip job, that sign-off is the approved mockup and submittal; our guide to the LED strip submittal package covers what goes in it.
Mistakes That Cost the Margin
- Pricing strip by total footage, with no feeds or drivers per run.
- Assuming one driver per room rather than per run and per zone.
- Forgetting the channel corners, end caps and the waste at cut points.
- Pricing labor at floor level for work at ceiling height.
- Leaving controls “by others” without saying who.
- Calculating margin on cost.
Final Checks Before You Send It
- Every run has a feed point, and the feed count matches the rated run per feed.
- Driver capacity is loaded to 80% or less, and every driver has a place to live.
- Strip lengths are rounded to the cut interval, with waste counted.
- Channel is counted in stick lengths, with corners and end caps.
- Labor is by run type, plus wiring, commissioning and programming.
- Mockup, lifts, supervision and contingency are separate lines.
- Margin is calculated on price, and freight is its own line.
- Lead time, minimums and the substitution rule are written into the scope.
The budget structure behind these steps is in our guide to where the money goes on a commercial LED strip job, and driver ratings for the BOM are on our drivers, controllers and connectors page.