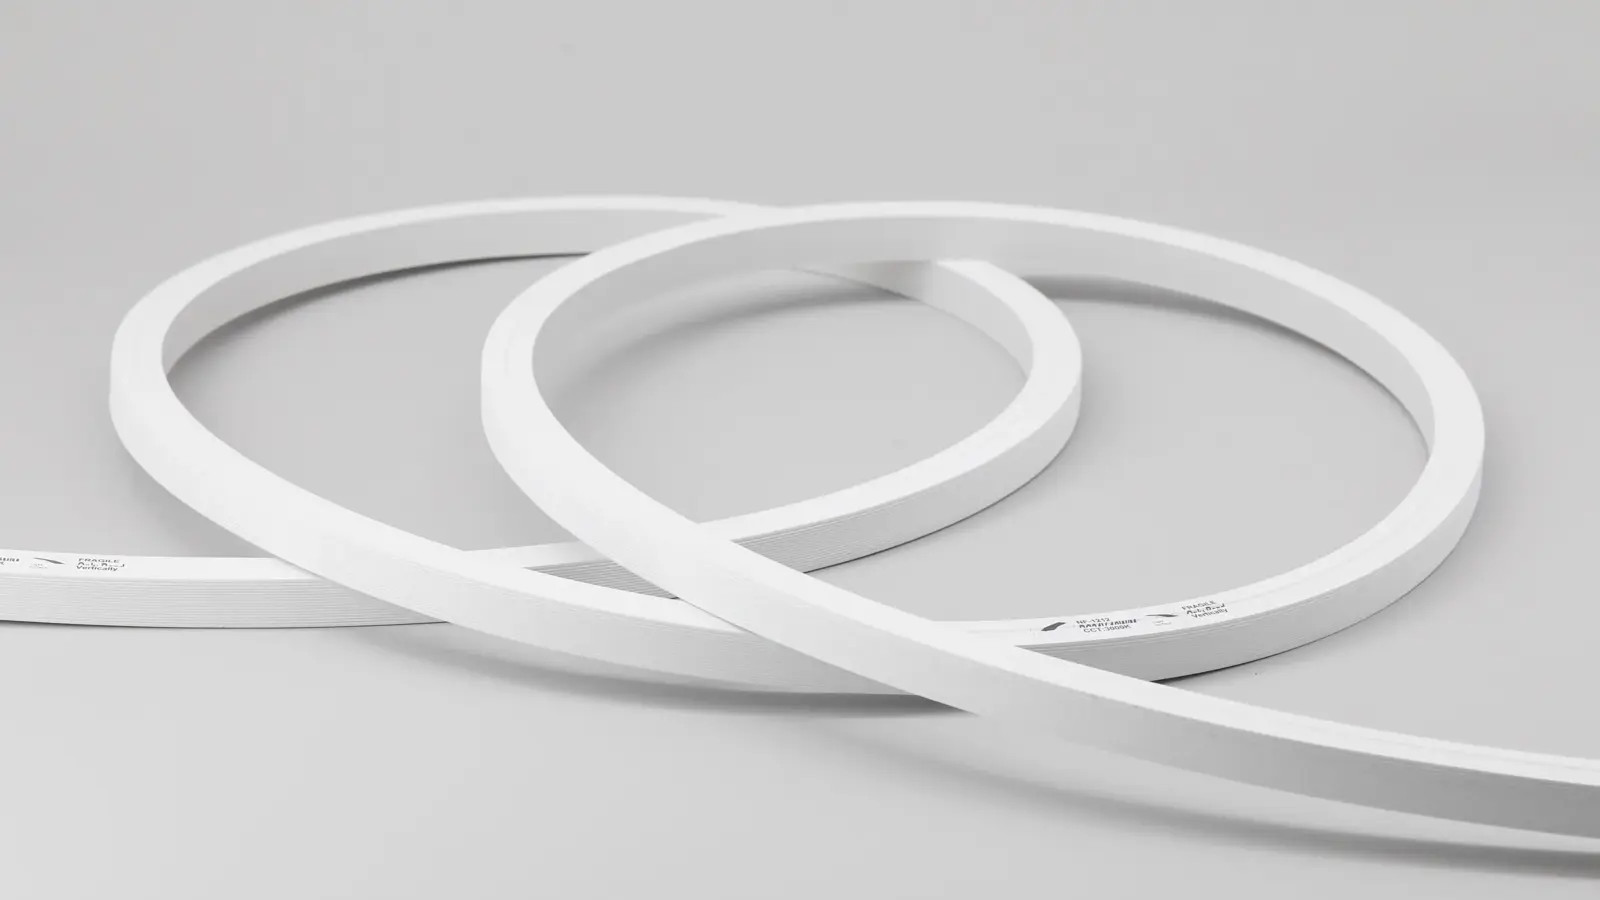
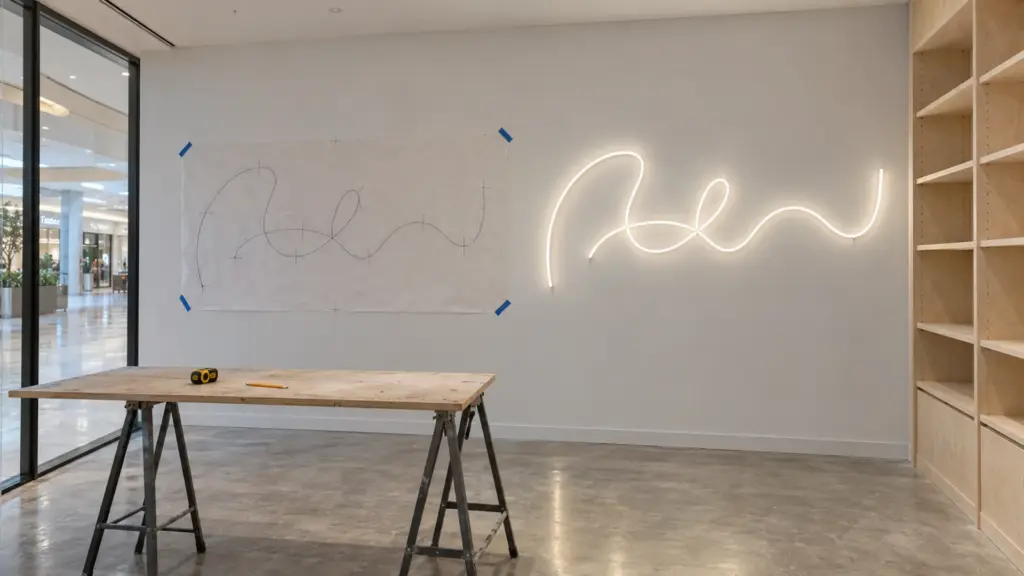
A hotel bar sends its logo as a screenshot of its website and wants a neon sign on the back wall in two weeks. The sign contractor has a script wordmark with loops, a wall already painted, and no idea whether the factory can bend it.
A factory can build a neon flex sign from a logo when it gets a full-size drawing of the path, the profile and bend direction for each stroke, the smallest curves checked against the profile’s minimum radius, and the feed points, lead exits and location. A common failure is the smallest loop in the artwork against the minimum bend radius.
Start From a Full-Size Drawing
Our custom assemblies page says what it wants for neon formed to a shape: a full-size template or a scaled drawing with the radii marked. A screenshot is neither, and it usually has no stated scale. A neon sign is a path, not a picture, so the drawing has to show the centerline each strip will follow, where each piece starts and ends and the radius of every curve.
Ask the factory which file types it accepts, because our page asks for the drawing and not for a format. A vector file is the usual starting point for a logo, and a designer can trace a path from a screenshot, but the radii and the piece breaks are decisions, and they go on the drawing.
Our custom assemblies page lists six things for any assembly: piece lengths and quantities, profile and color, lead exit and length, termination, the shapes, and the location. For a shaped neon sign, the drawing adds these five:
- The centerline path of every stroke, drawn full size or to a stated scale.
- A radius callout on every curve that comes near the profile’s limit.
- The piece breaks: where one strip ends and the next begins, with the end cap shown.
- The feed end and the lead exit of each piece.
- A scale bar or a stated height, so a printout can be checked against the wall.
Draw the tightest curve at full size and bend a short piece of the exact profile to it; ask us for a sample piece. It shows a loop that will not hold before a quote does.
Sign Customiser, a neon sign configurator, makes the same point about type. Its help page says no font is sized the same, because each letter’s curves set how large the sign ends up, and that certain bends or loops cannot be achieved because of the physical limits of neon material. It tells you to check each font with the manufacturer and to test at the minimum size, since the smaller the sign, the tighter a loop or bend would be. The check is the one below.
The Smallest Loop Picks the Profile
Every neon profile has a minimum bend radius, and the smallest loop in the logo has to be no smaller than it. Our FAQ says to bend only in the rated direction and never below the rated radius. Here is what the profiles most used for signs hold, from the neon flex tables, with the smallest circle each can make (twice the radius). Larger and round profiles have larger radii; our bend type guide lists them by model.
| Profile | Bend | Min radius | Smallest circle |
|---|---|---|---|
| Ø8 mm nano | Top bend | 1.57 in (40 mm) | 3.1 in (80 mm) |
| Ø12 mm nano | Top bend | 1.97 in (50 mm) | 3.9 in (100 mm) |
| 6×6, 10×10, 12×12 mm | Top bend | 2.36 in (60 mm) | 4.7 in (120 mm) |
| 10×10 mm | 3D bend | 3.15 in (80 mm) | 6.3 in (160 mm) |
| 16×16 mm | Top bend | 3.15 in (80 mm) | 6.3 in (160 mm) |
| 6×12, 12×12 mm | Side bend | 4.72 in (120 mm) | 9.4 in (240 mm) |
| 16×16 mm | Side bend | 5.91 in (150 mm) | 11.8 in (300 mm) |
Take a worked case with assumed numbers: a 24 in tall script wordmark whose smallest loop has a radius of 2 in (50.8 mm). The 6×12 mm side-bend profile, the one our neon page says channel letters typically use, needs 4.72 in (120 mm), so the loop is too tight for it. Two choices follow. The nano profiles are the only ones with a radius small enough: Ø8 mm bends to 40 mm and Ø12 mm to 50 mm, so 50.8 mm clears Ø8 by about 11 mm and Ø12 by under 1 mm. But our table lists both as top bend, so confirm with the factory that a nano can be formed in the plane of the wall before you rely on it. Or scale the logo up. The loop must grow from 50.8 mm to 120 mm, a factor of 2.36, which makes the wordmark about 57 in tall. A sign that has to stay 24 in tall takes nano; a sign that can grow takes the larger profile.
Direction matters as well as radius. Our neon page describes top bend as bending along the emitting face, in one plane, and side bend as bending edgewise, which suits letterforms and script curves, and 3D bend as turning in more than one plane. Our bend type guide covers which one fits which curve. The factory may need a different profile for each stroke of one logo.
Where the Drawing Usually Fails
Five faults are common, and each is cheaper to catch on paper than on a wall.
- A screenshot sent as the drawing. It usually has no centerline, no radii and no stated scale.
- A loop smaller than the minimum radius. The tightest bowl of a script letter is the usual culprit.
- Strokes that cross or touch. Two strips cannot share a point in one plane, so a crossing needs a break, or the factory has to agree how it is built; confirm it before the drawing is final.
- No feed end or lead exit. Our assembly drawing defaults to an end exit at the left end of the drawing, which may not match where your wall has a hole.
- The cut-mark rounding ignored. The lit length lands on a mark, so a stroke drawn to meet its neighbor comes back short.
Cut Marks Set the Lit Length
Neon cuts only on printed marks: every 3.94 in (100 mm) on our standard profiles and every 1.97 in (50 mm) on the nano series. Other families have finer or different steps, and our lead exit guide lists them. Our assemblies page builds the lit length on the nearest mark at or below the drawn length, never longer, with overall length, end caps included, held to plus or minus 1/4 in (6 mm). Here is what that does to three strokes.
| Stroke as drawn | Standard, 100 mm marks | Nano, 50 mm marks |
|---|---|---|
| 43 in (1,092 mm) | 39.4 in (1,000 mm) | 41.3 in (1,050 mm) |
| 18 in (457 mm) | 15.7 in (400 mm) | 17.7 in (450 mm) |
| 9.5 in (241 mm) | 7.9 in (200 mm) | 7.9 in (200 mm) |
A drawn stroke can lose just under a full mark, 3.94 in on a standard profile, so a letter drawn to touch its neighbor comes back a little short. Draw the stroke ends with that in mind, and expect the assembly drawing to show the exact lit length before production. Our guide to lead exits and cut marks draws the ends to scale.
Feeds, Leads and Power
Plan each continuous stroke as its own piece with its own leads, unless the drawing joins pieces. Our assemblies page sets leads at 3.3 ft (1 m) unless drawn longer, leaving from the end, the back or the side where the profile allows it, with two conductors for single color. On the drawing, mark the feed end of each piece and where its lead goes: through the backer, down the wall or into a channel.
Power is a total of the strokes. The 6×12 mm side-bend model UT-N0612-SB draws 3.0 W/ft at 24V constant current, so a sign with 40 ft of neon in all is 120 W. Constant-current neon takes a constant-current driver, not a constant-voltage supply, and the driver is matched at quote. A single feed on that model runs 49 ft (15 m), far beyond any letter, so the limit that matters on a sign is the number of pieces and where their leads meet. Our guide to reel length and run length covers feed planning.
Backer, Mounting and Listing
A sign needs something to hold it. SignLite, a neon flex maker, lists flexible stainless-steel mounting strips, aluminium clips, full-length aluminium channels and plastic clips, and says its flexible mounting strips suit letters, waves and complex curves. Our neon page does not list mounting hardware, so decide the method with the drawing and ask for the accessories at quote. Our installation guide covers mounting without kinks, gaps or wet ends, and our guide to neon flex versus strip in a channel covers what the eye sees in each.
A sign may also need a listing. Our UL 48 and UL 879 guide covers the certification scope for neon signs, and what an inspector asks for depends on the sign’s location and the AHJ.
Approval: Drawing, Then One Piece
Our process settles a sign on paper first and then on one approved piece. After the drawing, we return an assembly drawing for each piece type with lit lengths on the cut marks, leads, end caps and tolerances, and the piece types are quoted per job with the minimum stated. One piece of each type is built to the drawing and sent for approval, lit, before the rest are made, and the approved piece is the reference. Custom builds add roughly two to three weeks to the standard lead time, and the ship date is confirmed in writing on the quote.
For a two-week ask, that arithmetic matters. Standard neon items ship in 1 to 2 weeks and custom builds add 2 to 3 weeks, so a sign built to a logo cannot meet two weeks on those terms. Tell the hotel bar early, and say which approval gates the date: the drawing, then the first piece.
Before You Send the Artwork
- A full-size drawing of the centerline path, or a scaled drawing with the radii marked.
- The smallest loop’s radius, checked against the profile’s minimum, and the scale or the nano choice decided.
- The six items our custom assemblies page lists: piece lengths and quantities, profile and color, lead exit and length, termination, the shapes and the location.
- A profile and a bend direction for each stroke.
- The piece breaks, the feed end and the lead exit and length for each piece.
- The location, indoor, damp or wet, and the mounting method.
- The approval date for the drawing and the first piece, set against the install date.
The profiles named above are in our LED neon flex range, and the assembly process is on our custom neon assemblies page.