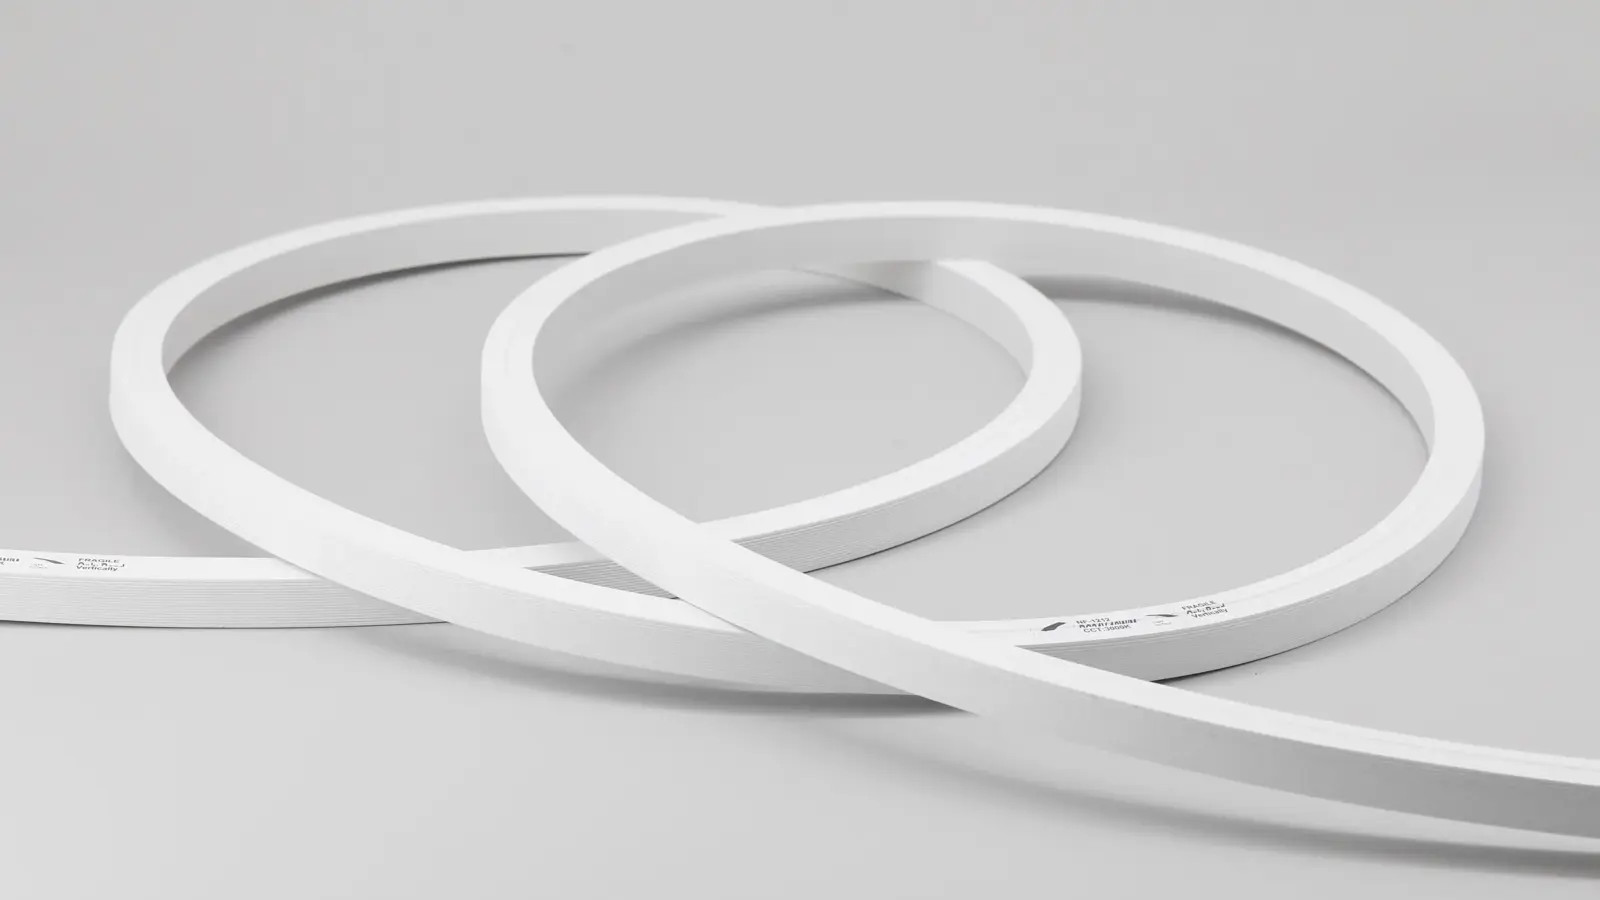
Plan on two people for any run over about 16 ft, the bend radius and cut step of the profile you are installing, one end-cap kit for every cut end, a neutral-cure silicone, and a driver already on site. Budget time for a full test on the reel before the first cut and again before the last clip goes in.
LED neon flex fails in three predictable ways: a kink from bending the wrong way or too tight, a dark gap from a cut off the mark, and a wet end that was not sealed. Each step below is built to prevent one of them, with a checkpoint before you move on.
Before You Cut: Test on the Reel and Count the Ends
Power the whole reel on the bench or on the floor at site with the job’s driver, before anything is cut. A dead section found now is a reel exchange; found after install, it is a repair at height.
Then count the cut ends on the drawing. Our outdoor strip page puts it plainly: every cut on the drawing needs a matching silicone end cap and adhesive. Count both ends of every piece, plus any ends at corners where the run is split, and order one kit for each, plus spares.
Check the run lengths against the feed plan at the same time. A reel is supply length, not run length; our guide to why a 50 m reel is not a 50 m run explains the difference.
Checkpoint: the reel lights end to end, and the number of end-cap kits on site matches the cut ends on the drawing.
Unreel It Flat, With Two People
Neon flex is heavy for its size and it remembers twists. Unreel it the way it was wound:
- One person holds the reel on a spindle or rolls it along the floor; the other walks the free end out.
- Lay the run flat on a clean surface, face up, with no loops.
- Let a cold reel warm to the room before bending; silicone is stiffer when cold.
- Never pull the run off the side of a reel lying flat; that puts a twist in every turn.
On a long run, support it along its length while it waits to be mounted. A section hanging under its own weight from a ladder or a scaffold rail can strain the board inside.
Bend Only the Way the Profile Allows
Every profile bends in one rated direction, and only to its rated radius. A top-bend profile bends over its light-emitting face; a side-bend profile bends sideways in the plane of its face, which is how letters and script are traced; a 3D profile bends both ways. Our neon page puts the rule directly: bend only in the rated direction, and never below the rated radius.
| Profile | Size | Bend | Minimum radius | Cut step | Run per feed |
|---|---|---|---|---|---|
| UT-NN08 | Ø8 mm nano | Top | 1.57 in (40 mm) | 1.97 in (50 mm) | 16 ft (5 m) |
| UT-N0606-TB | 6 × 6 mm | Top | 2.36 in (60 mm) | 3.94 in (100 mm) | 16 ft (5 m) |
| UT-N1010-TB | 10 × 10 mm | Top | 2.36 in (60 mm) | 3.94 in (100 mm) | 16 ft (5 m) |
| UT-N1212-TB | 12 × 12 mm | Top | 2.36 in (60 mm) | 3.94 in (100 mm) | 49 ft (15 m) CC |
| UT-N1616-TB | 16 × 16 mm | Top | 3.15 in (80 mm) | 3.94 in (100 mm) | 62 ft (19 m) CC |
| UT-N2020-TB | 20 × 20 mm | Top | 3.94 in (100 mm) | 3.94 in (100 mm) | 98 ft (30 m) CC |
| UT-N0612-SB | 6 × 12 mm | Side | 4.72 in (120 mm) | 3.94 in (100 mm) | 49 ft (15 m) CC |
| UT-N1616-SB | 16 × 16 mm | Side | 5.91 in (150 mm) | 3.94 in (100 mm) | 82 ft (25 m) CC |
| UT-N1010-3D | 10 × 10 mm | 3D | 3.15 in (80 mm) | 3.94 in (100 mm) | 16 ft (5 m) |
| UT-ND18-360 | Ø18 mm | 360° round | 3.15 in (80 mm) | 3.94 in (100 mm) | 16 ft (5 m) |
| UT-N5025-TB | 50 × 25 mm | Top | from 11.81 in (300 mm) | 3.27 in (83 mm) | On request |
CC = constant current, rated per feed on one supply. Our neon selection guide explains how to match the profile to the curve.
- 1Top bend60–100 mm on mostBends over the lit face
- 2Side bend120–150 mmBends sideways, traces letters
- 33D bend80 mm (UT-N1010-3D)Both directions
- 4Wrong wayAny radiusKinks or cracks the board
Checkpoint: before mounting, form each curve by hand to its template and look at the lit face; a bend that shows a dark spot or a bright crease has been forced.
Mounting: Clips for Curves, Channel for Straights
Two mounting methods cover most jobs:
- Clips or brackets hold curves, letters and logos. Space them as the profile’s install sheet says, closer on curves and at both sides of every bend. Install guides from different makers give spacings from a few inches to a few feet, which is why the sheet for the actual profile matters more than a rule of thumb.
- Aluminum mounting channel suits long straight runs, outdoors in particular. It supports the run along its whole length, so it cannot sag between clips. NPHIS, a neon maker, recommends channel for straight runs for exactly that reason.
Use corrosion-resistant screws outdoors, and pre-drill metal and masonry. Support every end within a short distance of the cap, and every corner on both sides. An unsupported end is where wind, vibration and the weight of the feed cable work the cap loose.
Cutting on the Mark
Cut only at the printed cut marks: every 3.94 in (100 mm) on our standard profiles, every 1.97 in (50 mm) on the nano series, every 3.27 in (83 mm) on UT-N5025-TB. A cut off the mark leaves a dead section at the end of the piece.
Use a sharp, straight blade and one firm cut, square to the profile. Do not saw back and forth; a ragged face will not seal. Lay out the pieces on the drawing so each lit length ends on a mark, and accept the short unlit end that the cut step leaves, rather than cutting past it.
On many neon products a cut end is sealed with an end cap and not rejoined. Check whether the profile you are using has a mid-run connector before planning a run in pieces; if it does not, plan each piece with its own feed. Our cutting and rejoining guide covers strip; neon follows the profile’s own instructions.
Feeding and Sealing the Ends
Every end is either a feed end, with a lead coming out through the cap, or a blind end. Both are sealed the same way:
- Clean the cut face; no dust, no grease.
- Fit the lead (feed end) or nothing (blind end) and fill the cap with a neutral-cure silicone. NPHIS notes that acidic-cure sealant can corrode the copper pads.
- Push the cap on square and wipe off the excess.
- Let it cure before power-on. UK LED Lights suggests at least four hours for its kit; the cure time on your sealant’s own sheet is the one to follow.
Our neon page states the purpose: the cut end is re-sealed with a matching silicone end cap and adhesive to restore the IP67 rating. A wet end is the most common outdoor failure; Signlite, a sign and strip maker, says most outdoor failures show up within the first year at unsealed connections. Our waterproofing guide explains how each seal fails.
Checkpoint: every cap seated square, sealant visible all around, cure time logged before the run is powered.
Feed Points and the Driver
Standard 24V profiles run 16 ft (5 m) from one feed; the constant-current profiles run 49 ft to 98 ft (15 to 30 m). Plan feeds so no piece exceeds its rating, and feed long runs at both ends or in parallel rather than daisy-chaining one piece from the end of another.
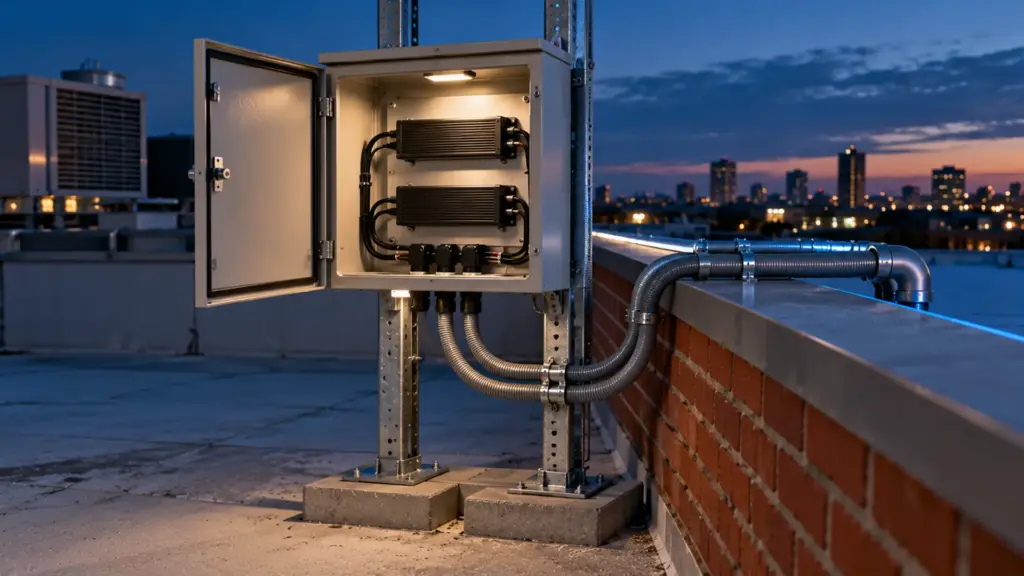
Outdoors, put the driver where it stays dry and can be reached: behind a parapet, inside the building or in a weatherproof enclosure. For the standard 24V profiles, our UT-D100-24-67 is a potted 100 W, 24V driver rated IP67, and UT-D60-1224-67 a 60 W, 12/24V potted unit; the constant-current profiles run on a constant-current driver matched to the profile, never on a 24V constant-voltage supply. Size the driver with headroom, as our power supply guide shows.
Where Neon Runs Fail
| Symptom | Likely cause | Prevention |
|---|---|---|
| Dark spot or bright crease at a curve | Bent the wrong way or below the radius | Bend in the rated direction; form to a template |
| Dead section at the end of a piece | Cut off the mark | Cut on the printed mark only |
| Section fails after rain | End cap not sealed or not cured | Neutral-cure silicone, full cure before power |
| Sagging run between clips | Clip spacing too wide on a straight | Channel for long straights |
| Cap pulled loose | End or corner not supported | Clip close to every end and both sides of corners |
| Far end dim | Piece longer than its rated run per feed | Add a feed; split the piece |
| Twisting light line | Pulled off a flat reel | Unreel by rolling, two people |
Test Before the Last Clip
Power each piece once it is cut, capped and cured, and again when it is clipped in place but before the last clips at the ends go on. Look at every curve, every end and every joint from the viewing position, at full output and at the dim level the sign or line will run. Fix anything now, while the ends are still reachable.
The bend radius, cut step and run per feed for every profile are listed on our LED neon flex page.