Edge lighting works the opposite way from a cove: the strip faces the glass, not the room. Light enters a polished edge, travels inside the panel and shows at the far edges and wherever the surface is etched, engraved or frosted. One light-guide maker puts the entry distance at 1 to 3 mm.
The Strip Faces the Edge
ACRYLITE, an acrylic sheet maker, publishes the clearest rules we found, for its light-guiding edge-lit sheet. Position the LEDs “as close as possible (within 0.040” – 0.118” / 1mm – 3mm)” to the edge for optimal light entry; polish the edge “to smooth the entry surfaces”; add a reflector behind the light source; cover non-lit edges with reflective tape to prevent light loss; and expect thicker edges to allow more light input. Those rules belong to that grade of sheet. Plain glass and plain acrylic behave differently, and no source we found gives an entry distance for them, so treat the numbers as a starting point for a mockup.
Close to the edge, the LED pitch matters. A strip that is dense enough to read as one line from the front can still show a bright spot at each LED when it sits 1 to 3 mm from a polished edge, because the distance is about the size of the pitch. A 2015 Display Daily report of Luminit’s claim about TV backlights says wide-spaced LEDs “can suffer from several issues, including hot spots,” and a Glowforge poster reports that acrylic “will light up much more” in direct contact with the LEDs, which is a brightness effect and not a pitch test. The arithmetic from our spec tables is ours and not a measured result:
| Strip | LEDs per m | Pitch | Against the 1 to 3 mm range |
|---|---|---|---|
| UT-S3014-120-SV (3014 side-view) | 120 | 8.3 mm | Above the range: spots likely |
| UT-C320-6-SV (side-view COB) | 320 | 3.1 mm | At the top of the range |
| UT-CSP-320-N (CSP) | 320 | 3.1 mm | At the top of the range |
| UT-CSP-480-N (CSP) | 480 | 2.1 mm | Inside the range: may still show spots |
Our guide to diffuser depth gives a rule of thumb that a 2.1 mm pitch wants a few millimeters of depth to blend, so even the densest strip here is not safe at 1 to 3 mm. The options to try on a mockup are a denser strip (Display Daily lists more LEDs as an option), hiding the first millimeters of the glass under the channel lip, a frosted entry edge (a Glowforge poster’s tip, which trades some efficiency for fewer spots) and a diffusing film like the one Luminit describes for light guides.
Glass or Acrylic: What Carries the Light
Ordinary clear float glass contains enough iron to look green, most visibly at the edge, and in our reading the cast grows with the distance the light travels. Pilkington Optiwhite, a low-iron float glass, is described by its distributor as having a “neutral edge color” and “naturally low iron content that eliminates the green hue and dark green edges apparent in traditional clear float glass,” with light transmission of 90 to 91 percent depending on thickness. A glass fabricator quoted in a search result says low-iron glass with polished edges works best for edge lighting. So the order line for a lit shelf is low-iron glass, polished edges on the lit sides, and a sample before the full order.
Acrylic is the other substrate, and ACRYLITE’s light-guiding grade is made for the job. A UK acrylic retailer says clear acrylic lights up where it is engraved or uneven, and ACRYLITE’s numbers do not transfer to other grades. For either material, specify the edge finish in the order. ACRYLITE asks for polished entry edges for maximum efficiency; a frosted entry edge trades some of that for fewer bright spots, and the mockup decides.
Shelves: Channel, Width and Wire
A lit shelf has three parts: the glass, a channel or bracket that holds the strip against the edge, and a wire path. Match the board to the glass:
- Board width against glass thickness. For a face-emitting strip such as CSP, 8 mm wide and 1.85 mm thick, keep the LED row within the glass thickness, which means glass at least 8 mm (5/16 in) thick, and use the ultra-narrow 4 to 5 mm strips on thinner glass. For side-view strip our page gives the 6 mm and 8 mm board widths but not the package height, so ask for it.
- Centering. One UK acrylic retailer says to make sure the LEDs are exactly in the middle of the sheet thickness when gluing strip to the edge, and the same page says position is not very important, so test it.
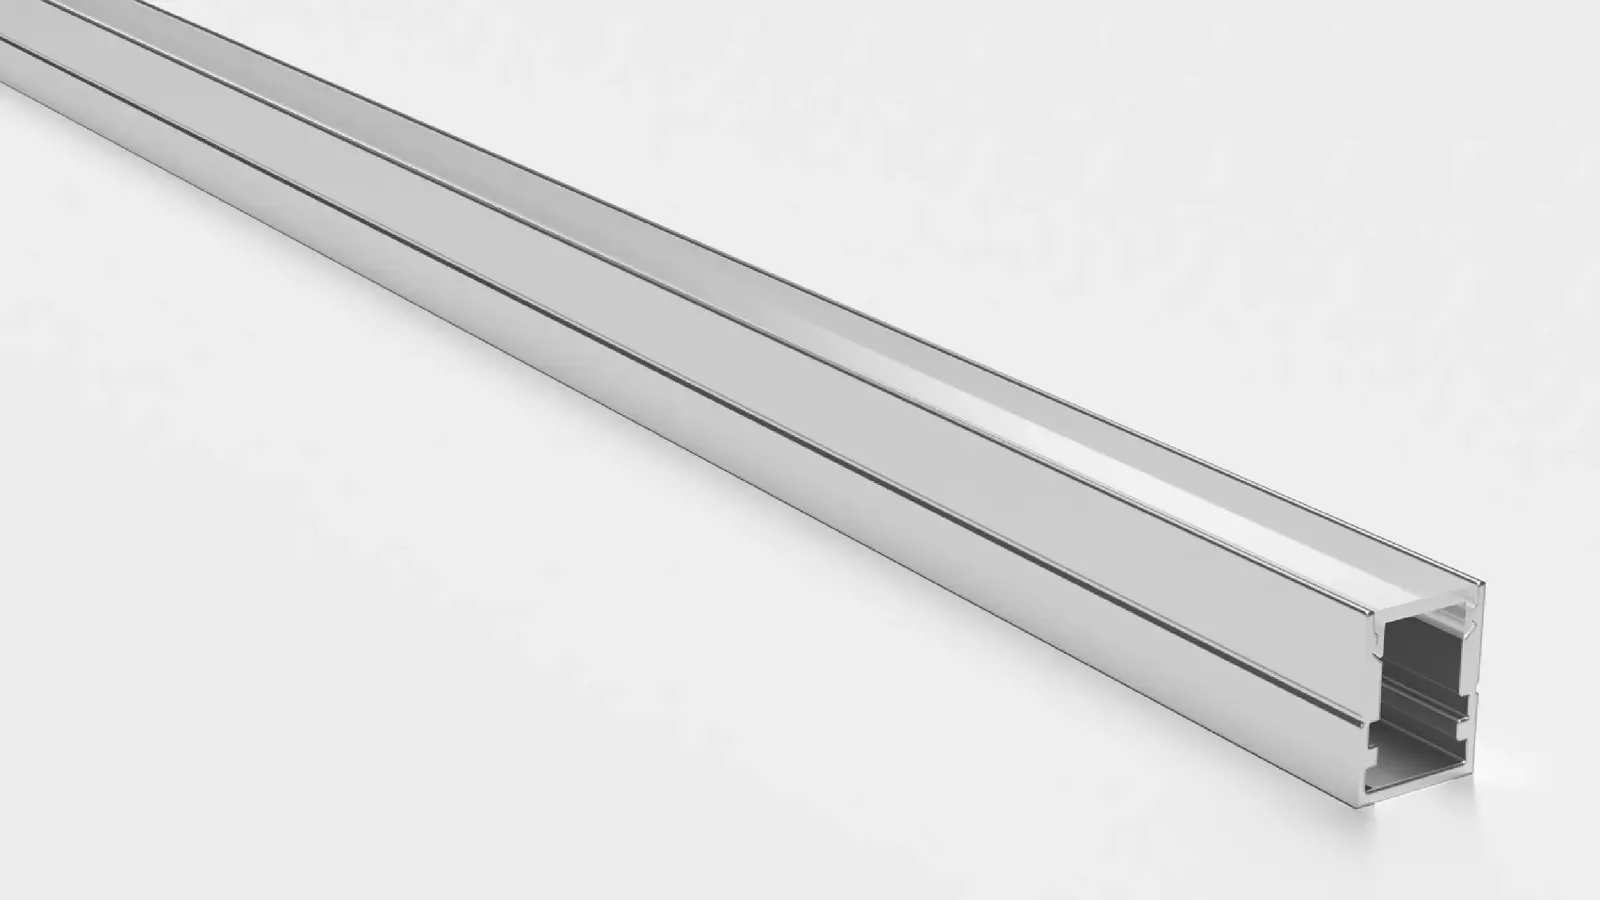
- Channel. The channel holds the strip at the entry distance and carries a lip that hides the first part of the edge. Our diffuser guide covers covers and depth.
- Wire. Bring the supply wire out through the bracket or the back of the case, not across the glass face, with the driver outside the case. That is our practice advice, not a rule.
A worked example, with our spec figures: a retail wall of five shelves, each 4 ft long, lit with UT-CSP-480-N at 4.39 W/ft. Each shelf loads about 17.6 W and the wall about 88 W, all on 24V. Our Class 2 drivers are rated 60 W and our drivers page keeps the load at or below 80 percent, which is 48 W. Two whole shelves load 35.1 W and three load 52.7 W, so five whole shelves take three Class 2 drivers, with short home runs, and every shelf stays far inside the 16 ft (5 m) feed limit. The same wall in UT-C320-6-SV at 2.4 W/ft loads about 48 W at 12V, which leaves no margin on a 60 W driver; confirm the 12V driver at quote.
In a mall or hotel retail case, a 4000K edge-lit cosmetics shelf looks like a bright glass edge with the light carried into the glass. Our guide to jewelry and display-case lighting covers reflections in the glass, which edge lighting changes: the light now comes from the glass itself.
Coordination is where these jobs go wrong. The glass is often ordered by the fixture or millwork supplier and the lighting by the electrical contractor. Settle on the drawing who orders the low-iron glass, who specifies the polished edge on the lit sides, who supplies the channel and who runs the wire. A shelf delivered with a ground edge and standard glass is a remake, not a lighting fix.
Cut Lengths, Color and Heat
UT-CSP-480-N cuts every 1.97 in (50 mm), UT-C320-6-SV every 0.25 in (6.25 mm), and UT-S3014-120-SV every 1.97 in. Round down to the cut mark: on a 47 in shelf, CSP lights 45.3 in (23 pieces of 1.97 in) and leaves 1.7 in for the channel cap, while the side-view COB lands within a quarter inch of the glass length. Place the cut and the wire joint under the bracket where the glass cannot show them.
Color follows the same profile. Our CSP family includes UT-CSP-512-CCT, a tunable white at 8 × 1.85 mm, and UT-CSP-540-RGB at 10 × 1.7 mm, both 24V, so an edge-lit shelf can shift from warm to cool or change color with the right controller; the controller and driver pair is matched at quote, and our wiring guide counts the conductors. Judge any color on the mockup.
Our CSP strips draw 3.05 W/ft in the 320-LED version and 4.39 W/ft in the 480-LED version, and ACRYLITE advises ventilation or heat management for high-power LEDs in a frame. In our advice, a sealed lightbox with a driver inside it is the case to watch; put the driver outside the frame.
Acrylic Panels and Signs
An edge-lit acrylic panel is a light box without the box. ACRYLITE’s build steps are written for its light-guiding sheet, and for other acrylic they make a good mockup list: LED strip along one or more edges, a reflector behind the strip, reflective tape on the unlit edges, a highly reflective backing for a single-sided display, a rigid frame, and ventilation or heat management for high-power LEDs. ACRYLITE puts a motif carrier, a printable film or paper, on the lit surface, and the UK retailer’s page says clear acrylic needs engraving or an uneven surface to show light. Our letter guide and cabinet sign guide are related reading. An edge-lit panel can suit a thin profile where a cabinet would be deep; the feed limit still applies, so a 16 ft (5 m) run of 24V strip per feed is the planning figure for our CSP and side-view SMD strips.
Railings and Partitions: Where Not to Light the Glass
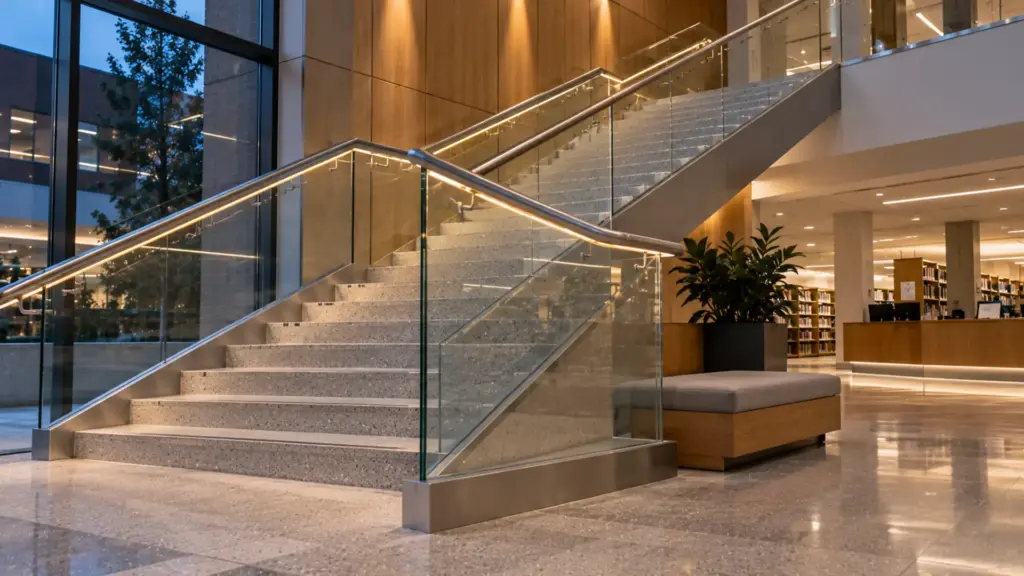
A glass railing’s glass is structural. As a caution of ours, clamping a lighting profile to its edge, notching it or drilling it is a question for the railing system maker and the engineer of record, not the electrician. Railing makers offer lighting in the handrail; Q-railing’s range, for example, includes stainless steel handrails with linear LED lighting. Our handrail guide covers the groove, grip rules and wire exit. For a non-structural glass partition in an office or hotel lobby, ask the glass supplier whether the edge can be polished and lit, and keep the strip’s wire out of the sightline.
Which Strip Fits an Edge
This table is our reading of our own spec tables, and it is a starting point for a mockup; none of these pages describes an edge-lighting product:
| Job | Strip | Why | Watch |
|---|---|---|---|
| Glass at least 8 mm (5/16 in) thick, dense line | UT-CSP-480-N, 8 × 1.85 mm | Thin board, 2.1 mm pitch | 24V, 16 ft (5 m) per feed |
| 6 to 8 mm shelf, side-view | UT-C320-6-SV | 6 mm board, dot-free COB | 12V, 10 ft (3 m) per feed, 0.25 in cut |
| Wider shelf, low cost | UT-S3014-120-SV | 8 mm, 12V or 24V | 8.3 mm pitch: bright spots at the edge |
| Thin glass or tight bracket | UT-S2835-120-UN | 4 to 5 mm | Pitch and output to confirm |
| Curved acrylic edge | Ask at quote | Face and edge orientation differ from our flat S-bend use | See the shape guide |
Our side-emitting, S-bend and ultra-narrow strip guide explains the shapes.
Build the Mockup First
Edge lighting can only be judged on the actual glass. Before the order, light one piece of the real glass or acrylic, with the real channel:
- Look from the front at normal viewing distance for a bright spot at each LED, and from the side for green.
- Try the edge finish: polished, then frosted if spots show.
- Check the unlit edges with and without reflective tape.
- Check the wire exit and the driver location.
- Photograph it, and approve the mockup in writing, as our mockup guide describes.
The strips named above are on our CSP LED strip, COB LED strip and SMD LED strip pages.