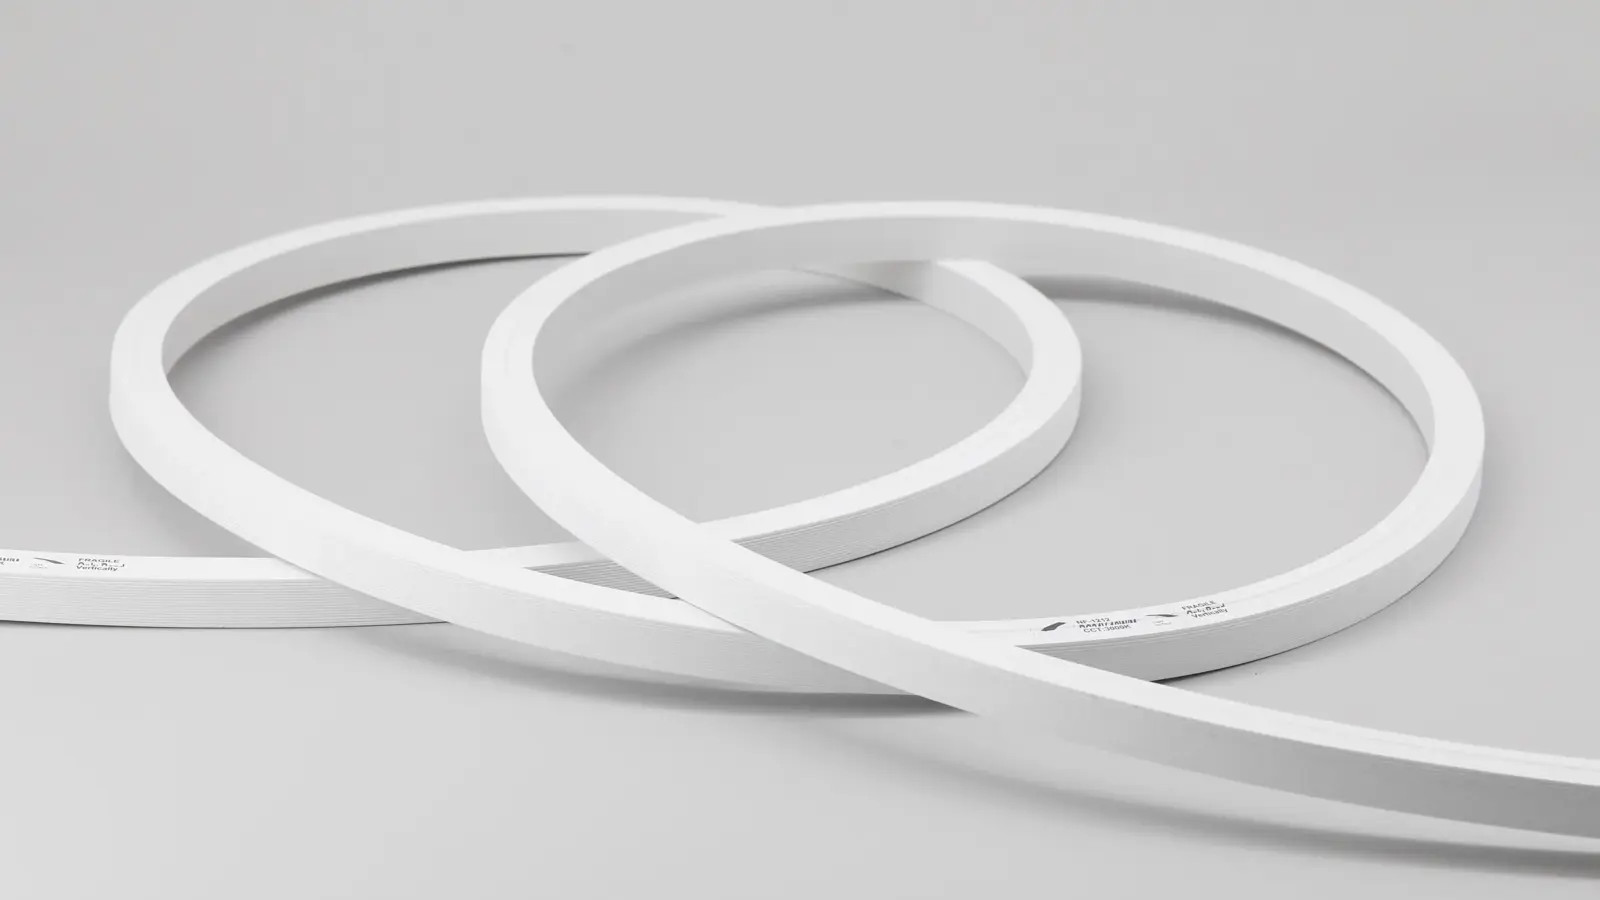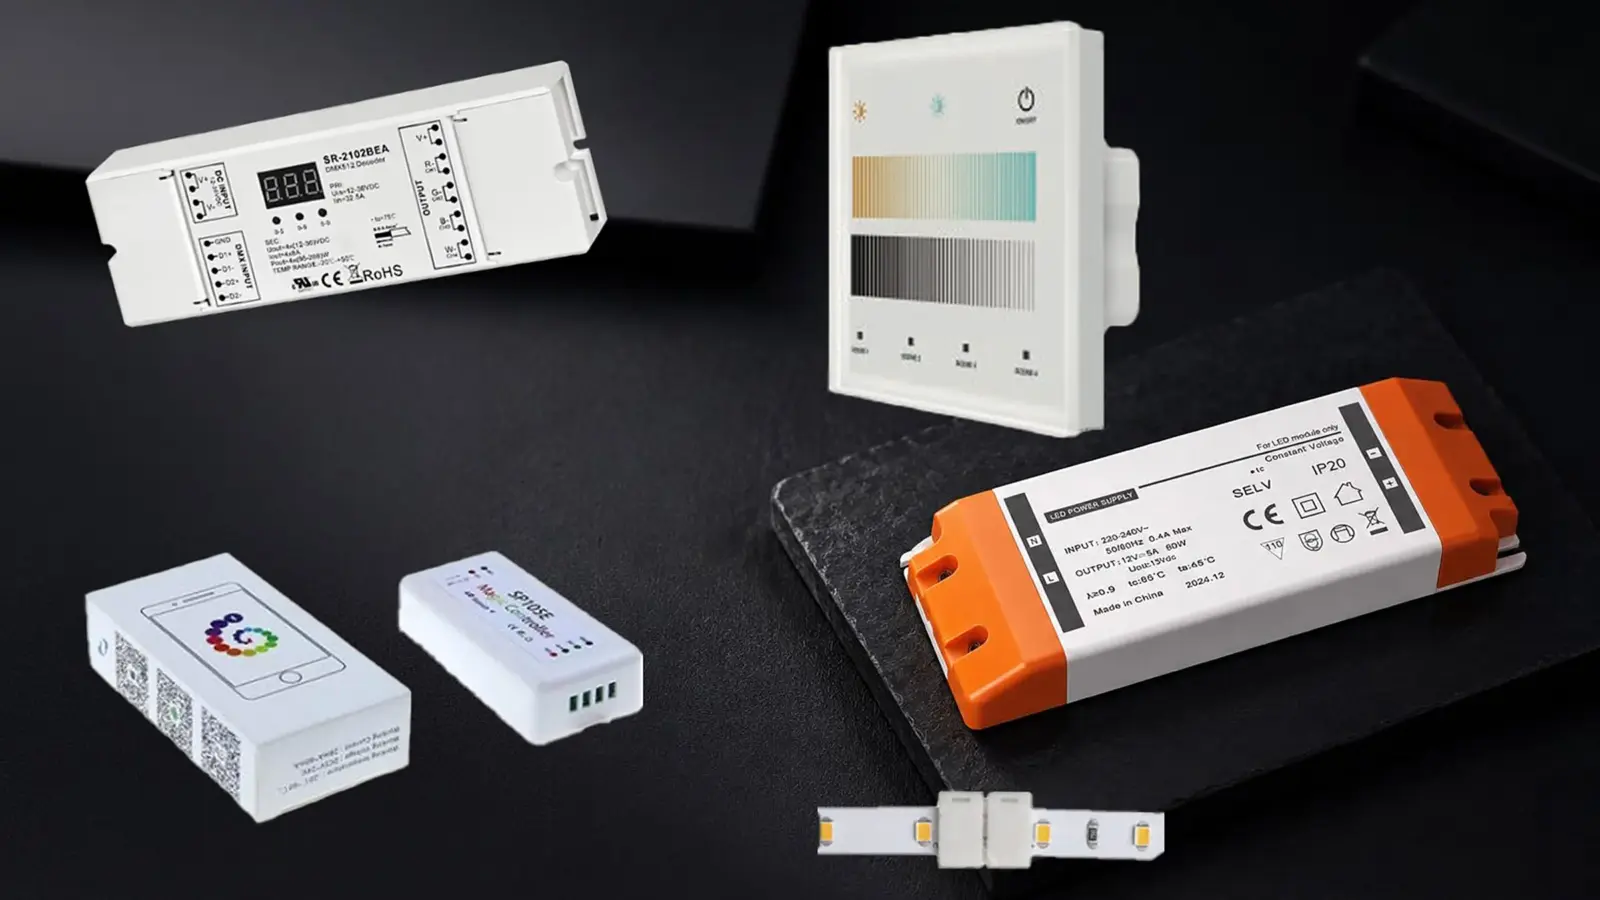
The neon script over a campus café is dark, and a spare 24V supply sits in the van. It would probably light the sign. Whether it is the right LED neon sign power supply depends on three things the spare does not know: what the old one was, whether it is really the fault, and what the sign’s listing allows.
Work through them in that order before anything is swapped.
Glass Neon or LED Neon? Check Before Anything Else
Search results for this job mix in neon-sign transformers, and for a reason: glass neon and LED neon both get called “neon”, and their power supplies have nothing in common. Glass neon runs on a high-voltage transformer or electronic neon power supply that lights gas in a tube. LED neon flex runs on a low-voltage DC LED driver, usually 24V.
- Never put LED neon on a neon transformer, and never power glass tube from an LED driver.
- A glass sign converted to LED is a retrofit. Our UL 48 and UL 879 guide explains that retrofit kits fall under UL 879A, and that the NEC asks for a marking that the sign’s illumination system has been replaced. That is a sign shop job, not a power supply swap.
Checkpoint: if the sign has glass tubes and a transformer, stop here and call the sign shop that listed it.
Read the Old Label: Five Numbers to Copy
A dead supply still has its label, and the label tells you what the sign was built around. Photograph it before it comes out.
| On the label | Why it matters |
|---|---|
| Output voltage (12V or 24V DC) | Neon flex is built for one voltage. A 12V supply on 24V neon lights it dim or not at all; a 24V supply on 12V neon damages it |
| Constant voltage (CV) or constant current (CC) | A CC profile needs a CC driver. Our outdoor neon guide is blunt about it: a constant-current profile runs on a constant-current driver, never a 24V constant-voltage supply |
| Rated watts or amps | Sets the minimum size of the replacement; check it against the neon’s load in the next step |
| Class 2 marking | Decides how the output wiring may be run and what the inspector expects; our Class 2 driver guide covers the label |
| Location rating or IP code | Dry, damp or wet; IP20 or a potted IP67 body. The replacement must suit where the old one sat |
Also note the input voltage (120V, 277V or universal), any dimming leads, and every certification mark. The marks matter in the listing step below.
On our own neon, the voltage line shows which is which: UT-N1010-TB reads “24V” and is constant voltage, while UT-N1212-TB, UT-N1616-TB and UT-N2020-TB read “24V constant current”. Our neon versions guide lists the controller each version needs.
Prove the Power Supply Is the Fault
Many dark LED neon signs are not dead supplies. A loose connector, a wet joint or a cut lead stops the light just as well. Prove the supply has failed before replacing it; the steps below are for a qualified electrician or sign technician with the circuit isolated between them.
- Input. Confirm line voltage is reaching the supply’s input terminals. A tripped breaker, a photocell or a time clock upstream leaves a good supply dark.
- Output, load disconnected. For a constant-voltage supply, the output should read close to its rated voltage. No output with good input points to the supply. Constant-current drivers behave differently with no load connected, so test them the way their maker describes.
- Output, load connected. Reconnect the neon and read again. A voltage that sags hard, or a supply that clicks on and off, points to an overload or a short downstream; our guide to driver clicking and hiccup mode explains the pattern.
- Swap test. Feed one short neon piece from a known-good supply of the same voltage and type. If it lights, the neon is fine and the old supply is the fault.
A sign that is partly dark is rarely the supply. One dark letter or a dark end points to a joint, a lead exit or a piece run past its length; our outdoor neon troubleshooting guide walks through the five points where neon fails, which is the repair side of this job.
Checkpoint: write down the three readings. They justify the replacement to the owner and to the sign shop.
Size the Replacement
The replacement has to carry the neon’s load with headroom. Load is watts per foot times the lit length; we keep a driver at 80% of its rating or less, the rule in our power supply sizing guide.
A typical restaurant script sign, worked with our UT-N1010-TB (3.0 W/ft, 24V constant voltage, 16 ft (5 m) per feed):
| Item | Value |
|---|---|
| Neon | Two pieces cut at the 3.94 in marks: about 12 ft and 10 ft, about 22 ft lit |
| Load | 22 ft × 3.0 W/ft = 66 W |
| One supply | 66 W ÷ 0.8 = 82.5 W minimum: one 100 W supply such as our potted UT-D100-24-67, at 66% |
| Two Class 2 supplies | 36 W and 30 W, one UT-D60-24-C2 (60 W, Class 2) per piece, at 60% and 50%; this driver is IP20, so it goes inside a dry sign cabinet or raceway, and an exposed location needs a wet-rated Class 2 supply named at quote |
| Per feed | Both pieces stay inside 16 ft per feed |
The two answers are both sound, and the old label decides between them. If the sign was built with one supply per piece on An NEC Article 725 output class limited to 100 VA at up to 60 V DC, with the wiring relief that comes with it. Our Class 2 drivers are rated 60 W; a bigger load needs more outputs or a non-Class 2 driver. circuits, replace it that way; changing to one larger supply changes the wiring class and the circuit the sign was listed with.
A constant-current profile is sized differently. Our UT-N1616-TB, for example, draws 4.3 W/ft and runs up to 62 ft (19 m) per feed on a matched constant-current driver. Its driver is matched to the profile and the piece length at quote, not picked from a voltage and a wattage. Our constant-current guide explains why the two cannot be swapped.
Keep the Sign Inside Its Listing
A listed sign is listed as built. Our UL guide puts the risk plainly: swapping the driver for a different model, lengthening a run past its rating or replacing the neon flex with another maker’s product can take the sign outside what was listed. The sign shop that built it holds the listing.
Three practical routes keep the sign inside it:
- Like for like. The same supply model, or the replacement the sign’s documentation names. This is the cleanest answer and the one to try first.
- The sign shop’s approval. If the original model is gone, ask the shop that listed the sign which replacement keeps its listing, and get the answer in writing.
- A sign-industry supply. Some supplies are built and certified for this job. Sloan, for example, describes its 24C1 as a 24V, 100 W supply designed for the sign industry, UL Recognized for dry, damp and wet locations and certified as a sign accessory component. A component certification helps the sign shop; it does not by itself relist a finished sign.
Whichever route applies, record the old and new model numbers on the service ticket and leave a copy in the sign.
Plug-In Signs: The Adapter Is Part of the Sign
An interior neon sign with a wall adapter is still a sign. Our UL guide reads NEC 600.3 as covering electric signs whether fixed, mobile or portable, so a neon logo in a shop window needs a listing as a sign, and a piece of neon flex on a board powered from a wall adapter is not a listed sign even when each part carries a mark.
For the adapter itself, the label rules above still hold: the same output voltage, enough watts with headroom, and the same type of connector and polarity. An inline dimmer or controller between the adapter and the sign is part of the circuit too; if the sign lights with it removed, the dimmer is the fault, not the adapter.
Where the New Supply Goes
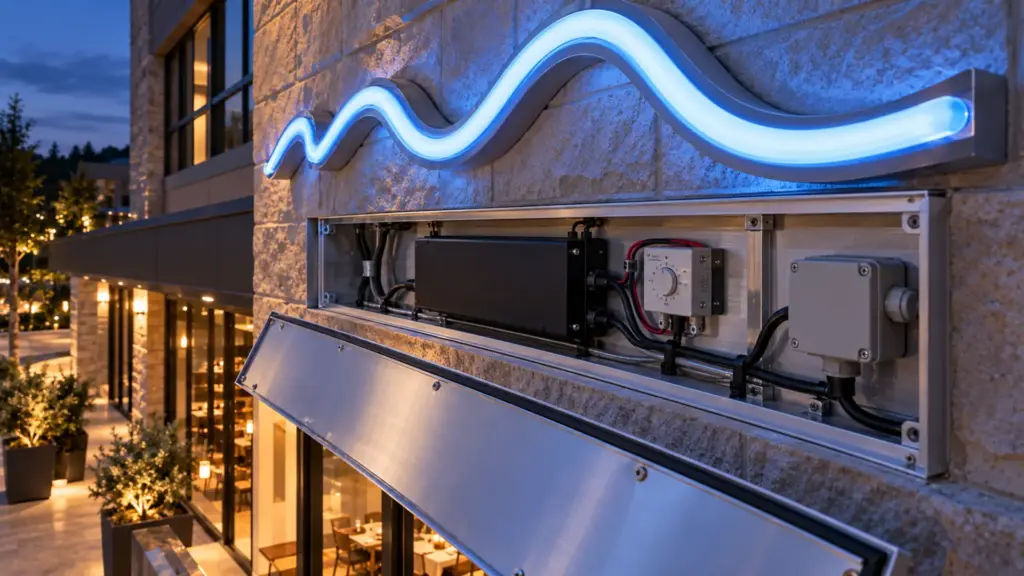
Put the replacement where the old one was only if that place was right. Outdoors, our neon troubleshooting guide places the driver in a dry, ventilated place or in a potted IP67 housing, out of the sun and the runoff. The UT-D100-24-67 is potted, IP67 and rated −13 to 140°F (−25 to 60°C). Inside a sign cabinet or raceway, leave air around an open-frame supply; a supply packed against a hot cabinet wall fails early. On a facade, plan surge protection with the supply; our driver surge guide covers the layers.
A supply moved farther from the sign changes the 24V side too. The low-voltage leads now carry the full load over a longer distance, and a lead that was fine at 3 ft drops voltage at 30 ft, so the far end of the neon dims. Size the lead for the new length; our voltage drop guide shows the arithmetic.
When the Supply Keeps Failing
A second dead supply in a year is a message about the sign, not about the supply. Before the third one goes in, check what is killing them:
- Heat. A supply in a sealed cabinet that faces the afternoon sun runs far hotter than the air around the building. Look for discolored plastic, a cabinet with no vent path, or a supply mounted against the hottest wall.
- Water. Corrosion at the input terminals or water marks inside the raceway point to a leak at the cover, the conduit entry or a lead without a drip loop.
- Load creep. Letters added to the sign, a piece replaced with a longer one, or a second sign tied onto the same supply can push it past its rating. Measure the load again against the label.
- Surges. A facade sign on a long feed sees switching and lightning surges that a small supply may not ride through; a surge device upstream is cheaper than a supply a season.
- The wrong type. A constant-voltage supply driving a constant-current profile, or the reverse, will not run the neon as rated and can shorten its life.
Record what you found on the ticket, so the owner sees why the repair costs more than a supply.
Final Checks
Before the sign is handed back, the ticket should show the three meter readings, the old and new labels, the load and the percentage it puts on the new supply, which listing route was used, and where the supply sits. Then switch the sign on at night and look at it from the street: every letter lit, even brightness, no flicker.
The neon profiles named here are on our LED neon flex page, and the drivers on our drivers, controllers and connectors page.