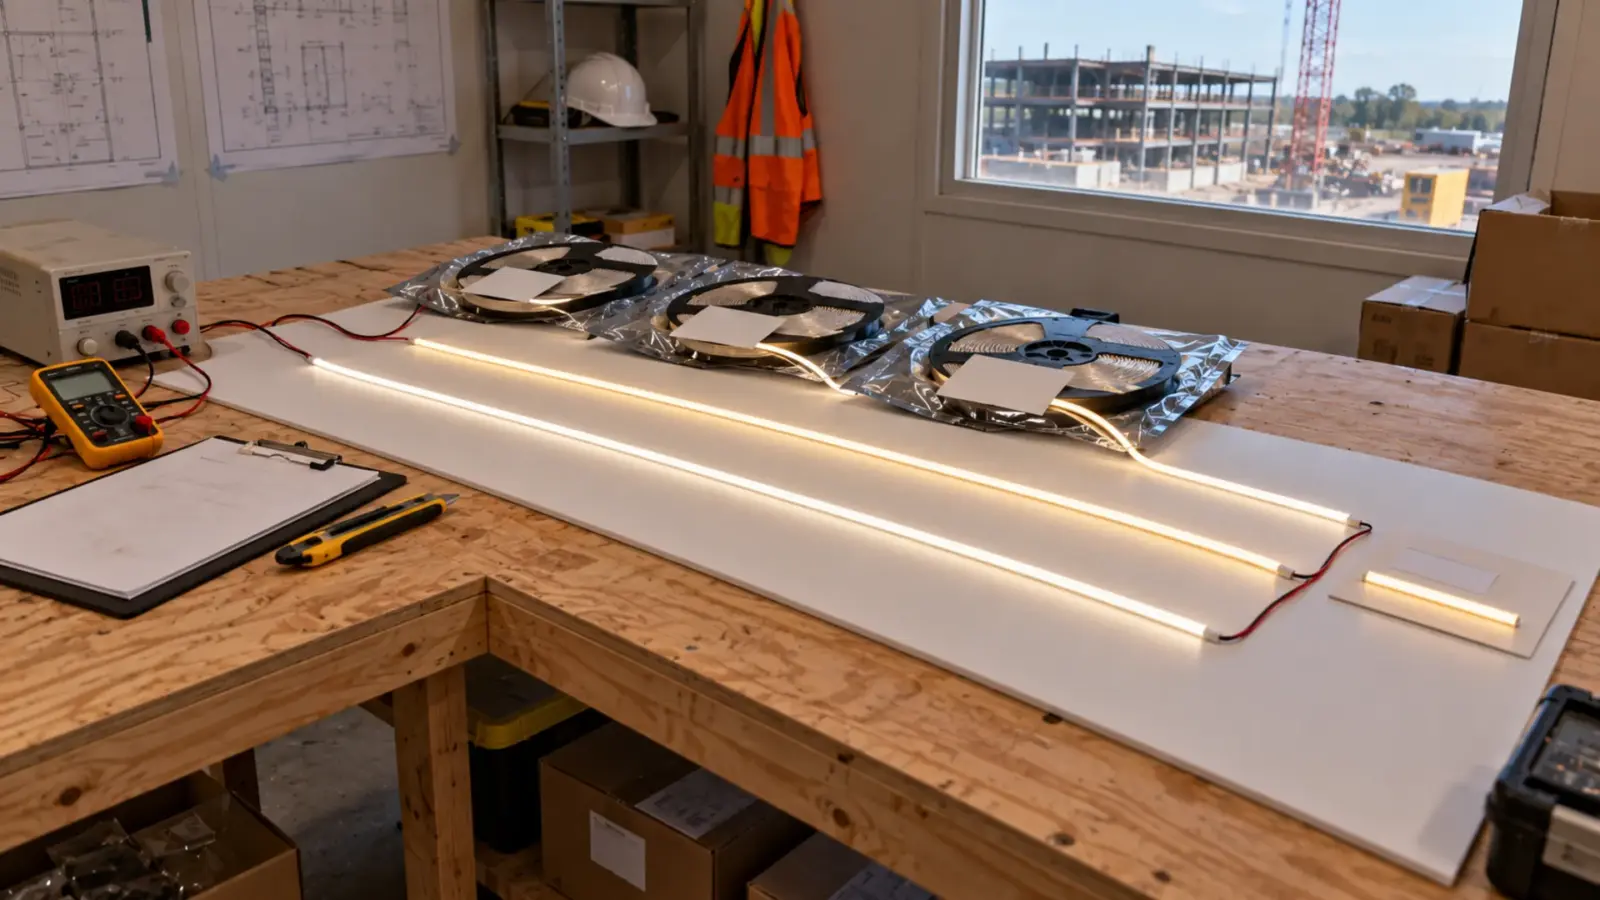
The order is on the dock: what do you check before a reel goes up a ladder? Check the count and every carton before signing, match each label to the approved submittal, look at the strip, power-test a reel from each lot, compare color with the approved sample, and store it by area.
All of that takes an afternoon. Skipping it moves the same discovery to the ceiling, where a wrong CCT, a mixed lot or a crushed reel costs a lift, a crew and a schedule. The steps below are the receiving procedure we would want on any strip order, ours or anyone else’s.
Who Owns the Freight
Start with the paperwork, because it decides who pays for damage. Our orders are quoted EXW or FOB at the port of shipment, with freight paid by the buyer and the Incoterm stated on every quote, as our ordering FAQ explains. Under those terms, the buyer, or the buyer’s freight forwarder, usually holds the relationship with the carrier, and a damage claim goes to that carrier.
Know three things before the truck arrives: who booked the freight, whose name is on the bill of lading as consignee, and who on site is allowed to sign the delivery receipt. A superintendent who signs a clean receipt for a damaged pallet has given away the easiest part of the claim.
At the Dock: Count and Note
Count cartons against the bill of lading before the driver leaves, and look at every carton: crushed corners, punctures, wet cardboard, broken straps, a pallet that has shifted. Freight-claim guides agree on one rule: if the count is off or damage is visible, write it on the delivery receipt before signing, with the carton numbers, and photograph it with the trailer in the background. A receipt signed clean tells the carrier the freight arrived in good order.

Photograph every pallet before it moves from the dock, even when nothing looks wrong. Keep the original cartons and inner packing until the order has been fully inspected; a claim without the packaging is harder to prove.
Match Labels to the Submittal
Open the cartons and match each reel and box label to the approved submittal and the purchase order, line by line. A strip order goes wrong most often on a field that looks right at a glance.
| Label field | Check against | What goes wrong |
|---|---|---|
| Model number | Submittal and PO | A neighbor model: same strip, different density or PCB width |
| CCT | Submittal | 3000K reels in a 3500K or 4000K order, or a mixed carton |
| CRI | Submittal | A standard-CRI reel in a high-CRI order |
| Voltage | Submittal and driver schedule | A 12V reel on a 24V job, which will not light correctly on the 24V driver |
| IP rating | Submittal, location | Indoor IP20 strip shipped for a wet location run |
| Length per reel | PO and cut schedule | Shorter reels than planned, which adds joints |
| Production lot or bin | Other reels in the order | Two lots in one corridor or one phase |
Our submittal package guide lists what the approved submittal should contain, so receiving has something to match against. Where cut lengths or pre-wired pieces were ordered instead of reels, match each piece to its run label on the cut schedule.
Look Before You Power
Before any reel is powered, look at it. Unroll the first and last few feet of a sample of reels on a clean bench. Check for creased or cracked circuit board, lifted or missing LEDs, damage at the solder pads, adhesive liner that has peeled or stuck to itself, and on coated or sleeved outdoor strip, cuts or bubbles in the silicone. A reel crushed in transit often shows damage at the outer turns first.
Do not cut anything at this stage. A cut piece cannot be returned as a reel, and under our warranty physical damage is not covered, so the inspection should prove the strip arrived sound before anyone changes it.
Power-Test a Sample From Each Lot
Power-test at least one reel from every production lot in the order, on a bench supply at the strip’s rated voltage, with the whole reel unrolled and flat so it does not overheat on the spool. Check that every section lights, that the far end is as bright as the near end for a reel within its rated run, and that nothing flickers at full output. Measure the current if the bench supply shows it and compare it with the watts per foot on the submittal times the reel length, divided by the voltage; a reel drawing far more or far less than that is not the strip on the submittal.
Test short, then switch off. A sample test is a few minutes per reel, not a burn-in. If the job uses dimming, test one reel on the job’s driver and control as well, since the bench supply proves the strip and not the pairing. On our orders the driver pairings are verified flicker-free before shipment, but the job’s own control and wiring are tested on site.
Color Against the Approved Sample
Lay a powered sample from each lot next to the approved sample from the mockup, on a white surface, at the same distance, and look for a difference in tint. Then lay two reels from different lots side by side. A small step is easier to see at a joint than anywhere else, so butt them end to end.
On our project supply orders, the approved sample is kept as the reference for later releases, and each release is tied to the approved revision, as our project supply page describes. On site, your own approved sample is the reference. Our SDCM guide explains the color tolerance, and the color mismatch guide shows what to look for when reels disagree. If two lots arrived for one space, decide now which lot goes where, before installers mix them.
Cut Lengths and Pre-Wired Pieces
Some jobs order strip as cut lengths or pre-wired pieces instead of reels, which our ordering FAQ notes is possible. Receiving changes slightly. Every piece carries a run label, so the check is piece by piece against the cut schedule: run number, length, lead length and lead exit, connector type. Measure a sample of each length with a tape; a piece cut one interval short is a dark gap at the end of a run.
Power-test one piece of each type rather than one per lot, since each piece type may have its own lead and connector. Check that the sealed ends on outdoor pieces are intact and that leads have not been pulled at the strip end in transit. A pre-wired piece that arrives with a loose lead is easier to replace now than after it is in a channel above a ceiling.
Drivers, Channels and the Small Parts
Drivers get a nameplate check against the driver schedule: model, output voltage, wattage, dimming type and, where the design calls for it, the Class 2 marking. A 24V Class 2 driver on our range is rated at 60 W, and a connected load should stay at or below 80% of the rating, so check that the delivered drivers still fit the as-installed lengths. Our drivers and controllers page lists the models.
Channels get a length and finish check, and a count of covers, end caps and mounting clips per piece. Connectors, end caps and lead wires get counted against the run list, with a margin for the ones that will be dropped in a ceiling. Short on end caps means unsealed cut ends on outdoor strip, which our cut-end sealing guide shows how to avoid.
Concealed Damage and the Clock
Damage found after the carton is opened is concealed damage, and it runs on a short clock. According to Shiptli, the National Motor Freight Classification rule cut the concealed-damage reporting window from 15 days to five business days in 2015. Another freight firm points out that no law sets that number; for most LTL carriers it comes from the carrier’s tariff through the bill of lading. Check the tariff for your shipment, and report concealed damage in writing as soon as it is found, with photos and the packaging kept. The formal claim deadline for US domestic freight is nine months from delivery, according to the same Shiptli guide.
That is why the inspection happens at receiving and not at install. A damaged reel found at the ceiling three weeks later is usually past the carrier’s window.
When Something Is Wrong
Hold anything that fails, and do not install it. Tag the reels, pieces or drivers clearly as on hold, keep them apart from accepted material, and keep their packaging. Report to the supplier the same day with the PO line, the lot, photos and the test result, and to the carrier as well where the problem is transit damage.
Then decide with the supplier how the job keeps moving: a replacement shipment, a swap of lots between areas, or using accepted material where it is needed first while the replacement comes. What not to do is install a reel that failed the color check in an inconspicuous run and hope. Inconspicuous runs are rarely as hidden as they look on the drawing.
Store It Like It Will Be Installed
Strip waits on site for days or weeks. Store it dry, off the floor, away from drywall dust and paint overspray, and out of trailers that bake in the sun. Keep reels in their bags and cartons until the day they are installed, and keep lots apart, labeled by the area they are assigned to. Keep drivers in their boxes; a driver that sat in a puddle is not a driver to install.
Stage material by area so the installers pull the right lot and the right length for each run. A corridor installed from two lots because the reels were mixed in storage is a receiving failure that shows up as a color step.
Write the Receiving Report
Close the inspection with a one-page receiving report per delivery:
- Delivery date, carrier, bill of lading number, carton count, and any exceptions noted on the receipt.
- Photos of pallets and any damage.
- Reels and pieces received per line, with lot numbers, matched to the PO and submittal.
- Power-test and color results per lot, and which lot is assigned to which area.
- Shortages, wrong items and damage, reported to the supplier and the carrier, with the date.
Send shortages and wrong items to the supplier the day they are found. Under our warranty, a claim includes photos or video of the affected product and the installation; the receiving photos do much of that work for defects found later. See our warranty policy.
- 1Dockcount, note, photoBefore signing the receipt
- 2Labelsvs submittalModel, CCT, CRI, V, IP, lot
- 3Lookdo not cutBoard, LEDs, coating
- 4Power-testone reel per lotFar end, flicker, current
- 5Colorvs approved sampleLot against lot
- 6Small partsdrivers, capsNameplates, counts
- 7Store and reportby lot and areaOne page per delivery
Before the Reels Leave the Trailer
- Bill of lading count checked and exceptions written on the receipt before signing.
- Pallets photographed; packaging kept.
- Every label matched to the submittal and PO: model, CCT, CRI, voltage, IP, length, lot.
- Visual check of sample reels, nothing cut.
- One reel per lot power-tested; one reel tested on the job driver and control.
- Each lot compared with the approved sample and with other lots.
- Drivers, channels and small parts counted and checked.
- Concealed damage reported in writing within the carrier’s window.
- Storage dry, off the floor, by lot and area.
- Receiving report filed and sent.
The COB strip and drivers mentioned here are in our COB LED strip range; send your receiving report template with the order and we will label reels and cartons to match it.