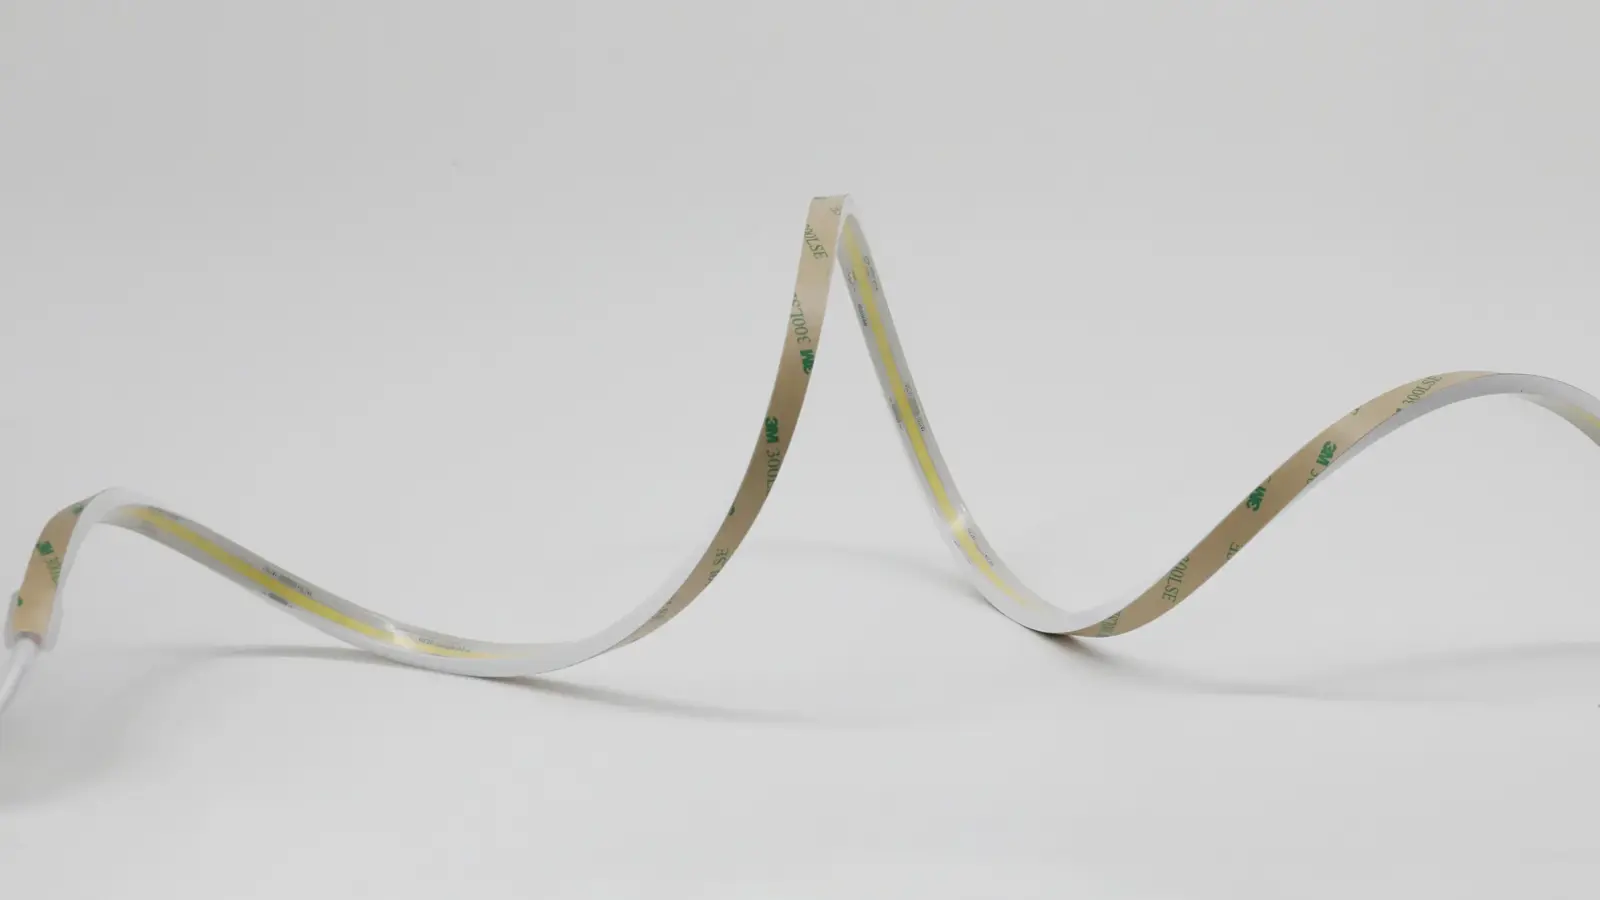
To seal the cut end of IP67 LED strip, cut only on the marked line, dry and clean the end, fill a matching silicone end cap with the sealant the strip maker specifies, press it on, seal around the lead where it exits, and let it cure fully before water reaches it. Most waterproof strip fails at the cut end.
The planter run worked through the summer. In March, after a wet winter, the last section went dark, then the next one. The strip was IP67, the driver was potted, and the connections were in a sealed box. The failure started at the far end, where the strip had been cut to length and capped on site with a cap pushed on dry. Water had crept into the open end and along the board. This article shows why that happens and how to seal a cut end so the strip keeps the rating it had on the reel.
Why the Cut End Leaks
A waterproof strip is sealed at the factory along its whole length and at its ends. When you cut it, you open one of those ends. Our outdoor and waterproof LED strip page states it plainly: after cutting, the open end must be re-sealed with a matching silicone end cap and adhesive to restore the IP rating.
The leak is slow and it travels. According to Ellumiglow’s guidance on waterproofing strip, an unsealed cut end lets water wick into the silicone sleeve and travel along the board by capillary action. The water does not stop at the end; it moves along the strip, and corrosion follows it. That is why a failure at a cut end often spreads backward over weeks, one section at a time.
Two more facts make the end the weak point:
- The cut exposes copper. The pads at the cut mark are bare metal, the first thing water attacks.
- A cap on its own is not a seal. A silicone cap pushed onto a strip is a close fit, not a watertight one. The sealant inside the cap is what keeps the water out.
What You Need
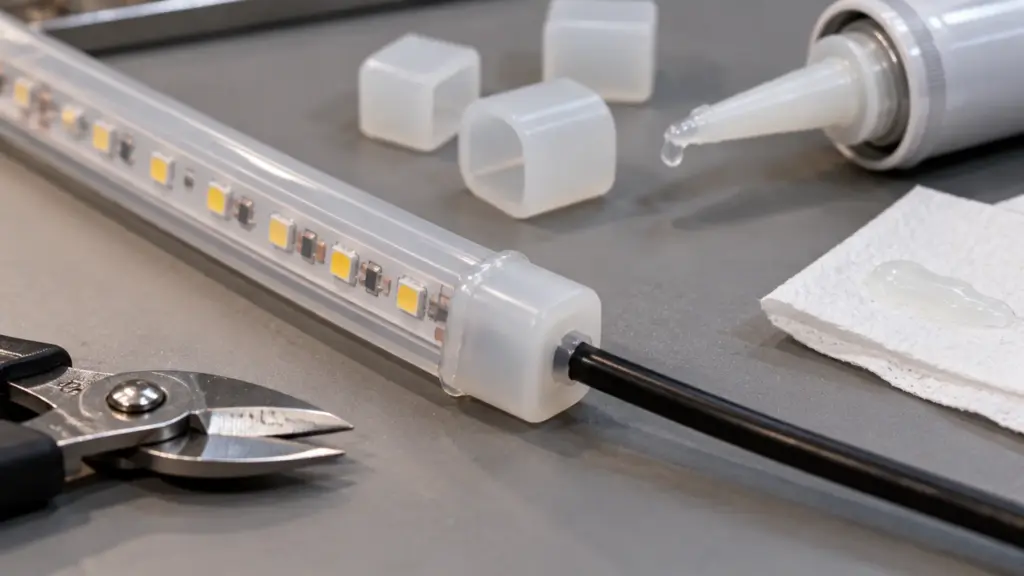
- Matching end caps for the strip’s construction and size: a cap made for that profile, with or without a hole for a lead.
- Sealant that the strip maker specifies for its strip. Silicone sold for sealing cut strip, such as Lyco’s silicone glue for IP67 strip, is made for exactly this job. As general electronics practice, avoid acetic-cure silicone, the kind that smells of vinegar, because it releases acid as it cures and can corrode copper.
- Isopropyl alcohol and lint-free wipes to clean the end.
- Sharp snips for a clean cut on the mark.
- A heat gun or hair dryer on low, only to make sure the end is dry, never to speed curing beyond the sealant maker’s instructions.
- Gloves and a small spatula or a nozzle for the sealant.
- Labels to mark each sealed end with the date, so the cure time is respected before power and water.
Step by Step
- 1Cut on the mark25–50 mmPool series 100 mm
- 2Clean and dryAlcoholNo water inside
- 3Fill the capSpecified sealantNot a smear
- 4Press onBead at the jointThe sign it is full
- 5Seal the leadCap hole filledDrip loop
- 6Cure, then testBefore waterThen power
- Power off. Disconnect the strip from its driver before any cutting or sealing.
- Cut on the mark. Cut only at the marked points. On our outdoor strip those are every 25 to 50 mm on most series and every 100 mm on the pool series. A cut between marks leaves a dead segment and an exposed track.
- Dry and clean. Wipe the end with alcohol and let it dry completely. Any water or dust trapped inside the cap will stay there.
- Prepare the sleeve or tube. On sleeved and tubed strip, the end must be clean and square. According to Superlightingled’s guide to cutting waterproof strip, the sleeve can be slid back to expose the pads when a lead has to be attached, and is then re-sealed.
- Fill the cap. Put a bead of sealant inside the end cap, enough to fill it around the strip, not just a smear on the rim.
- Push the cap on. Press it onto the end firmly so sealant squeezes out around the joint. That bead of excess is the sign the cap is full.
- Wipe the excess so it does not attract dirt, but leave the seal at the joint.
- Cure. According to Ellumiglow, let the sealant cure fully before the strip is exposed to moisture. Cure time depends on the sealant, its thickness, the temperature and the humidity; follow its datasheet, and plan the job so sealing happens at the end of one day and testing the next.
- Test. Power the run and check the last segment lights. On IP67 and IP68 runs, a brief water test after curing is good practice before the planter is filled or the fountain is turned on.
Checkpoint: every cut end on the run is capped, sealed with excess visible at the joint, labeled with the time, and cured before water reaches it.
Feed Ends and Lead Exits
The feed end is a cut end with a cable coming out of it, which makes it harder to seal.
- Use a cap with a lead hole sized for the cable. The forum discussion we found recommends pre-made caps with a cable hole, filled with sealant, over drilling caps on site.
- Seal around the cable, not just inside the cap. Water follows the cable jacket into the cap if the hole is not filled.
- Add a drip loop in the cable just before it enters the cap, so water runs off the bottom of the loop instead of along the cable into the strip.
- Keep the connection out of the water. According to Ellumiglow, clip-on connectors are not waterproof at any IP rating. Make the electrical joint by soldering or with a connector rated for the location, and put the joint above the splash zone or in a sealed box. Our connector range, as our connector types guide shows, goes up to IP65, which is not a submersion rating.
IP65, IP67 and IP68 Ends Are Not the Same
Each construction needs a different end, because each is waterproofed differently. Our guide to how LED strip is waterproofed covers the constructions.
| Construction | Rating on our range | How to seal the end |
|---|---|---|
| Silicone top coat | IP65 | Cap with sealant over the coated end; protects against rain and splash |
| Extrusion sleeve | IP67 | Filled cap over the sleeve end; sleeve and cap bonded |
| Full silicone tube | IP68 | Fill the open tube end with sealant, then a filled cap |
The higher the rating, the more the seal has to do, and the less tolerance there is for a dry cap or a gap. A strip that sits under water needs the end of its tube filled solid, not just covered. Remember too that the rating of the strip is only half of a wet location: as our guide to wet location LED strip explains, the listing, the connectors and the driver have to match.
Mistakes That Let Water In
- A dry cap. Pushed on without sealant, it fits and looks finished, and it leaks.
- A cut between the marks, which leaves bare track inside the cap.
- Sealing a wet end. Water trapped under the cap does the damage from inside.
- Powering or flooding before the cure. Uncured sealant can be pushed aside by water pressure or simply not hold.
- The wrong sealant, such as an acetic-cure silicone that attacks copper.
- A lead without a drip loop, which guides water straight into the cap.
- Clip connectors in a wet zone, which are not sealed at all.
- No label, so nobody knows whether the cure time has passed.
Repairing an End That Has Already Leaked
If a run has failed from its cut end, the repair is more than a new cap.
- Find how far the water went. Cut back a segment at a time from the end, on the marks, until the copper inside the sleeve is bright and dry. Discolored or green copper means the water reached there.
- Dry the run. Leave the open end facing down in a dry place before resealing; sealing in moisture repeats the failure.
- Reseal the new end as described above, with a filled cap and cured sealant.
- Rebuild the length if needed. If the run is now too short for its detail, replace it with a new length from the same batch rather than splicing a piece onto the damaged one.
- Fix the cause. A failed end usually points at a missing drip loop, a cap fitted dry, or an end sitting in standing water. Change the detail, not just the cap.
Final Checks
- Every cut is on a marked point.
- Every end is clean, dry, capped and filled, with sealant visible at the joint.
- Feed ends have sealed lead holes and drip loops.
- Electrical joints are soldered or use connectors rated for the location, out of standing water.
- The sealant is the one the strip maker specifies, and it has cured.
- Each run is powered and, for IP67 and IP68, water-tested after curing.
Our guide on how to cut and connect LED strip covers the joint itself, and our article on LED strip for pools and water features covers where strip can and cannot go near water.