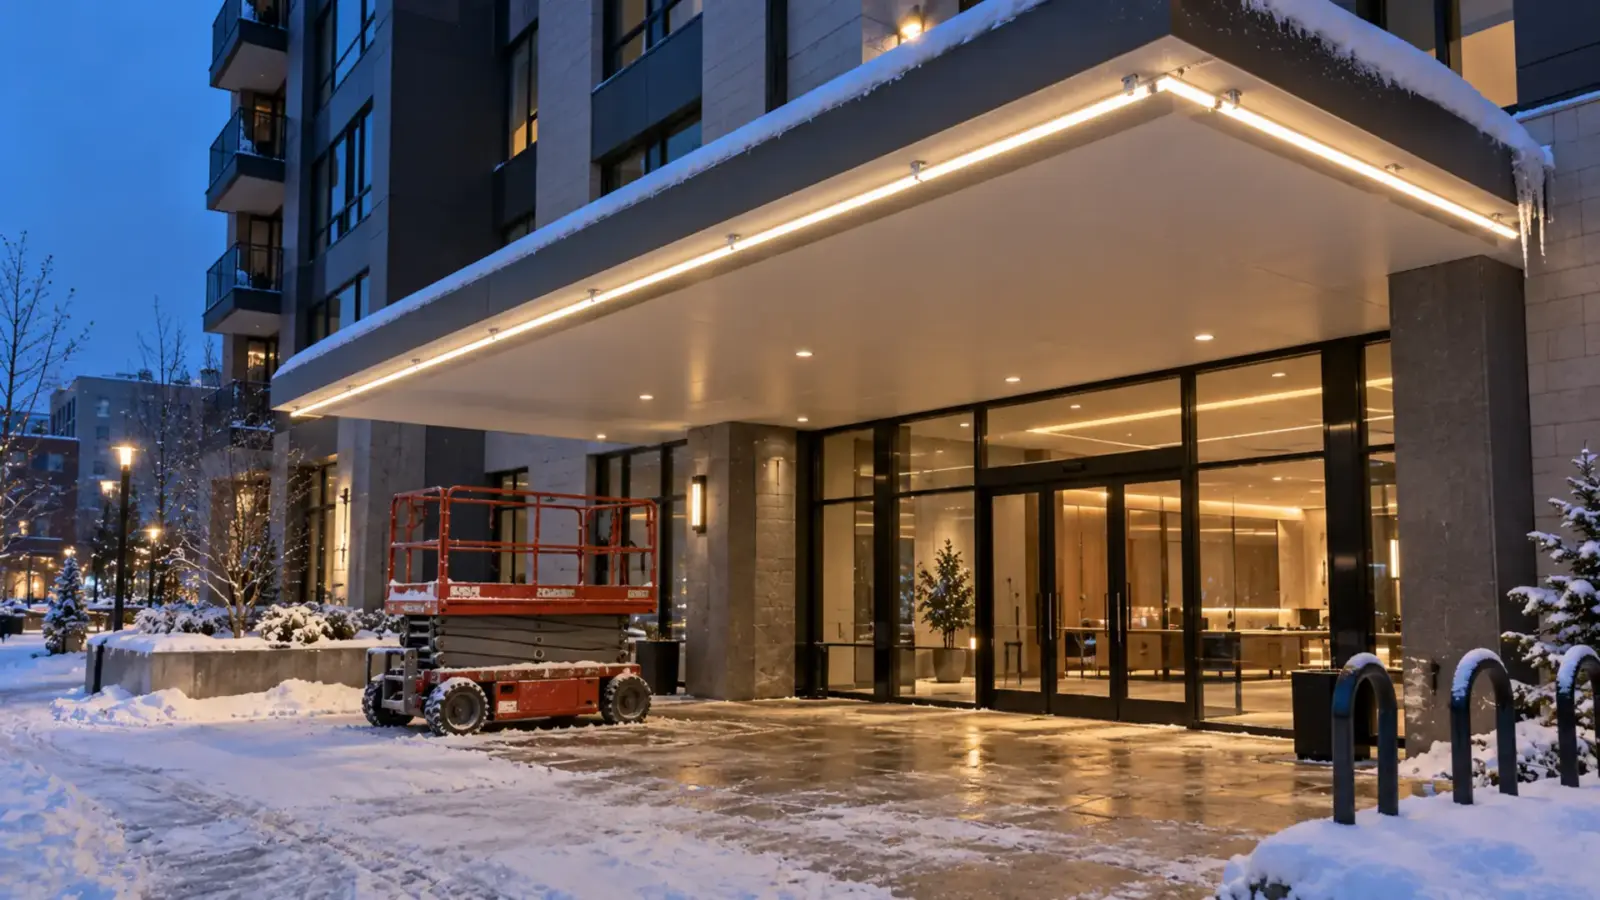
Below 50°F (10°C), the acrylic tape on most LED strip, by 3M’s figures, stops bonding the way its maker intends. That is the first of seven things that change when you install outdoor LED strip in cold weather, and most share a fix: move the step indoors, or hold the strip mechanically so the cold step stops mattering.
The seven come in the order a winter job meets them, from the first piece of tape to the first snowstorm.
Change 1: The Tape Stops Bonding
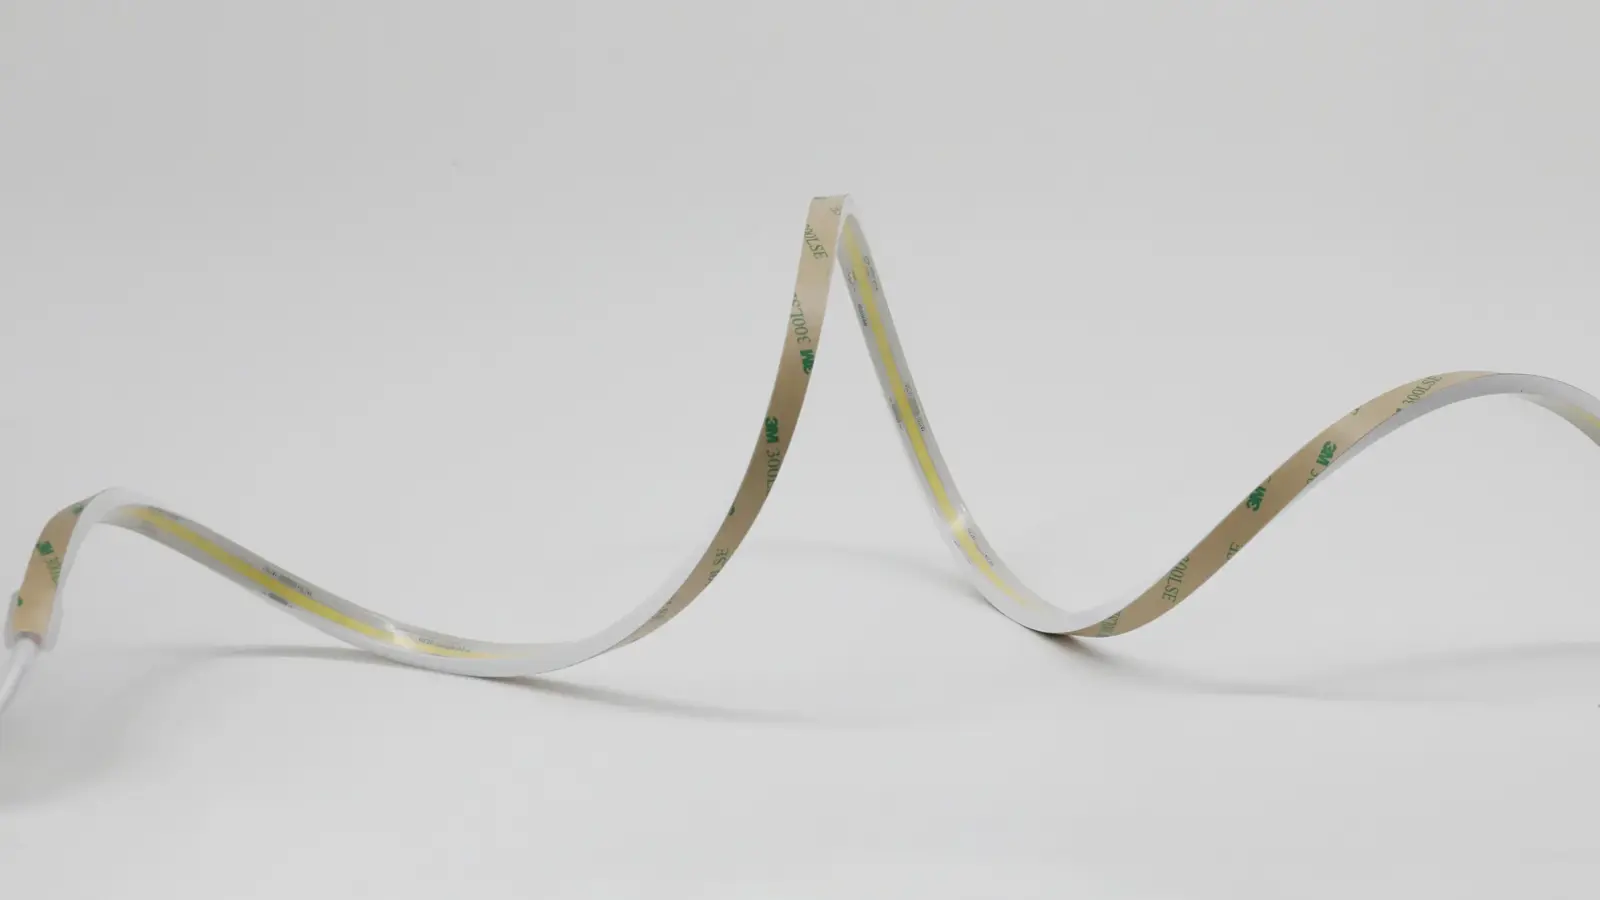
Pressure-sensitive tape needs warmth to wet out on a surface. 3M’s data sheet for VHB 5604A, a tape some strip makers specify, says it plainly: ideal application is “between 70° and 100°F (21° and 38°C)” with a 72-hour dwell, and “initial tape application to surfaces at temperatures below 50°F (10°C) is not recommended.” 3M’s data sheets for other VHB tapes add that below 50°F the adhesive “becomes too firm to adhere readily”, and that once properly applied, “low temperature holding is generally satisfactory”. The problem is the first contact, not the winter that follows.
The limit is the surface temperature, not the forecast, so measure the surface; a metal canopy edge after a clear night can sit below the air temperature. Strip taped to a surface below the limit looks fine on the day and peels at the ends within weeks, because the bond never formed. Three ways out:
- Hold it mechanically. Seat the strip in an aluminum channel and fix the channel with clips and screws; our channel kits ship with clips at 19.69 in (500 mm) spacing. The tape becomes a positioning aid, not the fastener.
- Warm the surface and the tape. A tented and heated work area that brings both above 50°F, and keeps them there through the dwell, lets the tape do its job.
- Wait. Where the detail has no room for a channel and the surface cannot be warmed, schedule the tape for spring.
3M’s ideal is 70 to 100°F with a 72-hour dwell; 50°F is only the floor for first contact. If the plan is to heat, aim for the ideal range and keep the heat on as long as practical after taping, rather than warming the surface for the hour it takes to stick the strip down.
Our adhesive guide covers why tape fails in general; in winter the temperature alone is enough.
Change 2: Sealant Cures Slowly
Every cut end and lead entry on an outdoor run is sealed, and silicone sealant cures by pulling moisture from the air. Cold air holds little of it. Dow’s data sheet for DOWSIL 732, a common one-part silicone, lists a typical skin-over time of 7 minutes and tack-free time of 20 minutes, a cure to about 3 mm deep in 24 hours at room temperature and 50% relative humidity, and warns that “cure time is extended at lower humidity levels.” Winter air outside is drier than that, so the skin forms and the seal underneath can stay soft much longer than the sheet suggests.
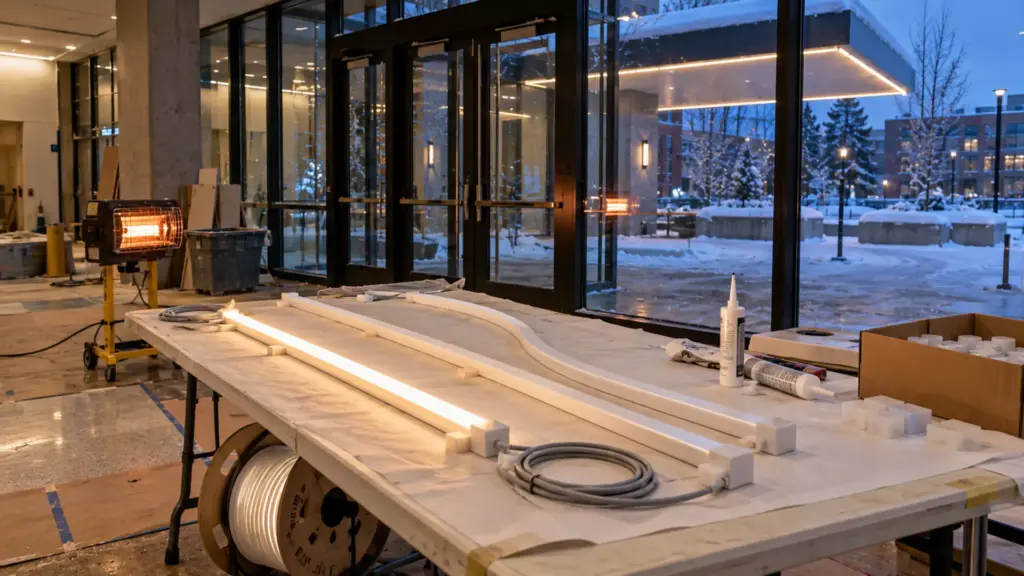
The fix is to seal where it is warm. Make every cut and every end on the bench indoors, let the caps cure before the piece goes out, and carry finished pieces to the lift rather than cutting on it. Factory-sealed pieces do the same job: our assemblies have each end “closed with a matching end cap and sealant, cured before testing”. Use the sealant the strip maker names. DOWSIL 732 is only the example for cure times here: it is an acetoxy type that releases acetic acid as it cures, which Dow warns can corrode some metals in an enclosed cure, and an end cap is exactly that; our cut-end guide says to avoid acetic-cure silicone on strip. Where a seal has to be made outside, enclose and heat it for as long as the sealant maker’s data sheet asks at the real temperature, and do not bend, load or power the piece until it has cured. Our cut-end sealing guide covers the method.
Change 3: Jackets Stiffen
Cold changes how strip and neon handle. Silicone stays flexible in freezing weather; one strip maker’s winter guide says that unlike cheaper plastics that can crack in the cold, silicone stays flexible. For PVC, the cable-jacket standard ASTM D1047 rates PVC jackets for installation down to 14°F (-10°C); PVC neon compounds vary, so ask the maker. Our outdoor strip is silicone construction and our neon flex is silicone, and our silicone vs PVC neon guide compares the two jackets outdoors.
Even silicone is stiffer cold, and a reel that spent the night in a truck fights every bend. Bring reels indoors to warm before unreeling, form bends to the profile’s rated radius only when the material is warm, and never force a cold neon piece tighter than its radius to make it sit in a clip. Our neon installation guide covers mounting in any season.
Change 4: The Product’s Own Rating Matters
Installation is the cold step most people think about; operation is the one that lasts. Our outdoor range covers environments “from -4 °F to +221 °F (-20 °C to +105 °C)”, and our silicone-construction strip is rated for permanent installation across that range. That covers most of the country most nights, but the margin is thin in the north. According to a CBS Minnesota report, the Twin Cities averaged 22 days a year below 0°F from 1991 to 2020, within 4°F of that floor, and the coldest nights go lower.
So check the rating against the site’s winter, not against the average. For a rooftop sign in the Upper Midwest or a facade on an exposed elevation, confirm the specific model’s rating from its documentation at quote, and plan where the strip sits: under a canopy or soffit it stays drier, and it is out of the wind that drives snow and meltwater into joints.
Change 5: Drivers Need Their Own Limits
The strip’s rating says nothing about the driver feeding it. Drivers carry their own temperature limits, and they differ more than buyers expect. Two common 60 W, 24V drivers from one maker show the spread: Mean Well’s LPV-60 lists a working temperature of -30 to +70°C (-22 to 158°F) ambient, and its HLG-60H lists -40 to +80°C (-40 to 176°F) measured at the case.
Put drivers where it is warmest. A driver in a heated electrical room, or inside the heated envelope, sees no winter at all (above a ceiling only where the roof, not the ceiling, carries the insulation); one in an unheated soffit, a sign cabinet or a rooftop box sees every degree. Where the driver has to be outside, choose a sealed outdoor model, such as our potted IP67 UT-D60-1224-67 or UT-D100-24-67, Our drivers page lists -13 to 140°F (-25 to 60°C) as the typical ambient range for that potted class; confirm the exact model’s rating on its datasheet with the quote. A photocell that brings a whole facade on at dusk switches every driver at the same instant, and our inrush guide explains why that moment, not the running load, is what trips the breaker. Our driver derating guide covers the hot end of the same range.
Change 6: Moisture Moves Indoors and Out
Cold parts brought into a warm room collect condensation, and warm parts sealed in cold air trap whatever moisture was inside. Both put water where the seal is supposed to keep it out.
A typical example shows why. Room air at about 70°F and 40% relative humidity has a dew point in the mid-40s °F, so a reel that comes in from a 20°F truck is far below it, and every surface of the strip and its pads gathers water until it warms up. Let reels and drivers warm up in their packaging before opening them indoors, so the condensation forms on the box, not on the copper. Assemble and seal dry, at room temperature, and carry the finished pieces out. Do not open a sealed connector or a driver box outdoors in freezing drizzle and close it again; the drizzle and the wet air get in and are sealed there.
Change 7: Snow, Ice and Salt
Winter adds loads that summer installs never see. Snow on a canopy edge melts in the day and refreezes at night, and meltwater runs along the soffit to the lowest point, which is often where the strip’s lead enters. Plows and salt trucks throw de-icing brine onto anything near grade. A strip run that is dry in July can sit in slush in February.
Ice adds weight and movement. A neon line along a parapet can be locked in ice one night and released the next, so fit every clip at the profile’s rated spacing, with end stops, rather than skipping clips to save time. Where snow slides off a roof, keep strip out of the path or protect it with the channel’s lip.
Pick the IP rating for where the water actually goes: a silicone top-coated IP65 strip such as UT-O480-8-65 under a deep canopy, an extrusion-sleeved IP67 strip such as UT-O480-10-67 where meltwater runs, and a full-tube IP68 strip such as UT-O480-12-68 where it pools or sits in snow. Keep lead entries and connectors on the high side of a run, not the low one, and keep strip out of the salt splash zone near drives and walks. Our soffit and eave guide covers the detail that keeps a soffit run dry.
What to Record on a Winter Install
A winter install that fails in spring turns into a warranty argument about whether the product or the installation failed. Record the conditions as the work happens: a photo of a thermometer at the work surface when tape or sealant went on, the heater setup and how long it ran, which pieces were sealed indoors and when, and the lit test at handover. Our warranty documentation guide lists what a claim needs, and the install-side items, date, lot and conditions, are easier to produce if they were photographed in January rather than reconstructed in May.
Tell the owner, too. A run that goes up in deep winter with mechanical fixing and indoor-sealed pieces is sound; one taped up at 20°F to make a ribbon cutting is a spring callback. Agreeing on which it is before the lift arrives saves the conversation later.
Order of Work on a Winter Job
Put the seven together and the winter job reorganizes itself:
- Choose strip and drivers rated for the site’s coldest nights, with drivers in heated space wherever the layout allows.
- Cut, cap and seal every piece indoors, or order factory-sealed pieces, and let them cure before they leave the room.
- Warm reels and pieces before they go up, and bend only warm material.
- Fix strip mechanically in channel with clips and screws; treat tape as positioning only unless the surface is above 50°F when it goes on, ideally warmer.
- Make outdoor connections in sealed, dry conditions, never in freezing drizzle, with leads on the high side.
- Test the run lit before the crew leaves, and again after the first freeze-thaw cycle.
The outdoor strip models and IP ratings named here are on our outdoor LED strip page, and the sealed drivers are on our drivers page.