On a typical job the roofline looks right on opening night. By spring, three sections are dark, and each one stops at a joint: a cut end without a cap, a splice taped in the open, a feed that dripped water along the strip into the board. The strip was rated for outdoors; the system around it was not.
Soffit and eave lighting that stays up all year comes from three decisions made before the first clip goes in: what kind of location each part of the line sits in, how every joint and feed is sealed and reached, and where the drivers live. This page goes through them with a worked 240 ft roofline.
Damp or Wet: Read the Soffit Before the Strip
A soffit is not one location. The underside of a deep soffit, protected from rain by the roof above, is usually treated as a damp location; the NEC’s definition of damp includes partially protected locations under canopies and roofed open porches. The fascia face and the outer edge of a shallow soffit catch wind-driven rain and runoff, and are wet. Our wet-location guide explains why an IP rating and a wet-location marking are not the same thing.
Draw the boundary on the section: where the line sits, how far back from the edge, and where water runs off the roof and gutter. A strip set well back under a deep soffit lives a very different life from one on the fascia edge. Then choose the strip, the joints and the driver locations for the wetter of the two, if the line crosses both.
Three Ways to Light a Soffit
| Option | What it looks like | Our examples | Where it fits |
|---|---|---|---|
| Outdoor strip in a channel | A continuous line or a soft wash down the wall | UT-O480-10-67 (COB, IP67), UT-O480-8-65 (COB, IP65) | Static white rooflines, canopy edges |
| Linear wall-wash bar | A wash that reaches far down a tall wall | UT-WS20-30 (30°, IP67), UT-WP24-RGBW (IP65) | Grazing brick or stone facades from the soffit |
| Addressable color line | Pixel-controlled color, scenes and seasonal effects | UT-AW784-10 (RGBW COB), UT-WA16-SPI | Permanent holiday and brand-color lines |
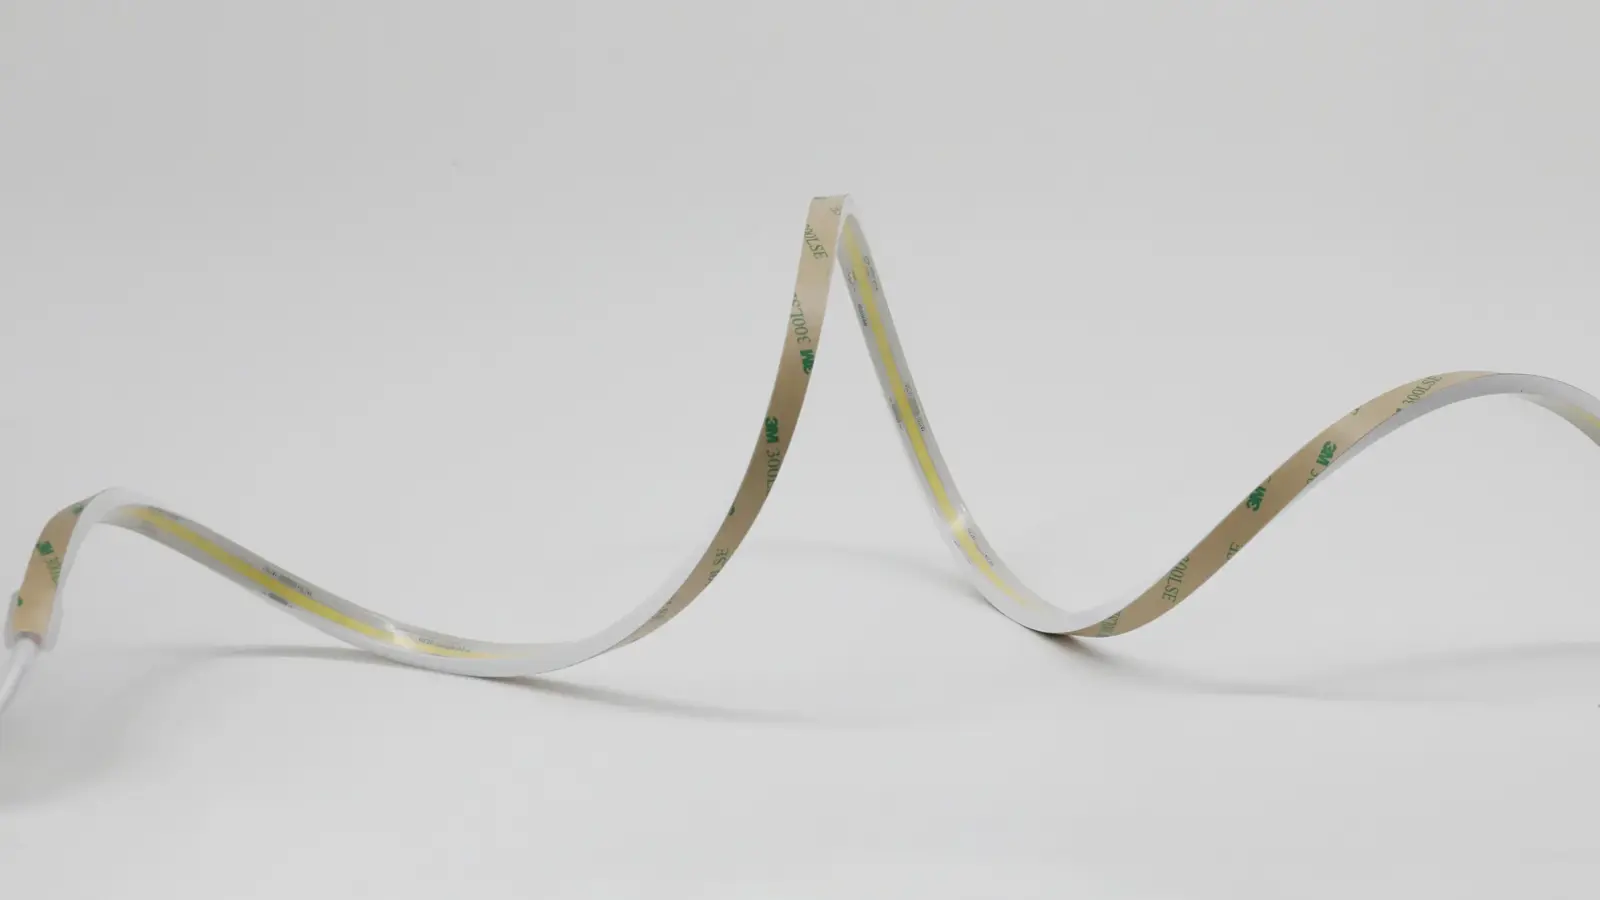
The outdoor strip family comes in three constructions on our outdoor and waterproof LED strip page: IP65 silicone top coat, IP67 extrusion sleeve and IP68 full silicone tube. For soffits we usually start at IP67, because the cut ends and the sleeve hold up better to the wet edge.
Addressable strip in our tables is listed as IP20 bare strip; outdoor IP65 and higher versions exist and are confirmed per model at quote, together with the channel they go in.
Rate the System, Not Just the Strip
LED Lighting Zone’s soffit guide makes the point that each component has its own rating and one product’s claim does not extend to the rest. The strip is usually the best-protected part of the line. The failures are at everything attached to it.
Check each item on the elevation:
- The strip: IP rating for the location; wet-location marking where required, confirmed per model.
- Cut ends: a matching silicone end cap and adhesive on every one; our outdoor page puts it as “count every cut on the drawing and order a matching silicone end cap and adhesive for each”.
- Joints and splices: sealed connectors or soldered joints with heat-shrink and sealant, never tape in the open. Our connector guide covers which joint suits a wet location.
- Feed cable entry: a sealed gland or a drip loop, so water does not follow the cable into the end cap.
- The driver: rated for where it sits, or inside a weatherproof enclosure.
- Controllers and data lines: inside the building or in a sealed enclosure.
Signlite, a sign and strip maker, says most outdoor failures show within the first year at unsealed connections. Our waterproofing guide explains how each seal fails.
Mounting: Channel, Aim and Drip Edge
Mount outdoor strip in an aluminum channel fixed with screws or clips, not on its adhesive alone. Wired4Signs warns that adhesive by itself lets go through summer heat cycles; on a soffit it also has to hold upside down.
Three placement rules:
- Behind the drip edge. Keep the channel back from the fascia lip, so water coming off the roof edge drips past it rather than running along it.
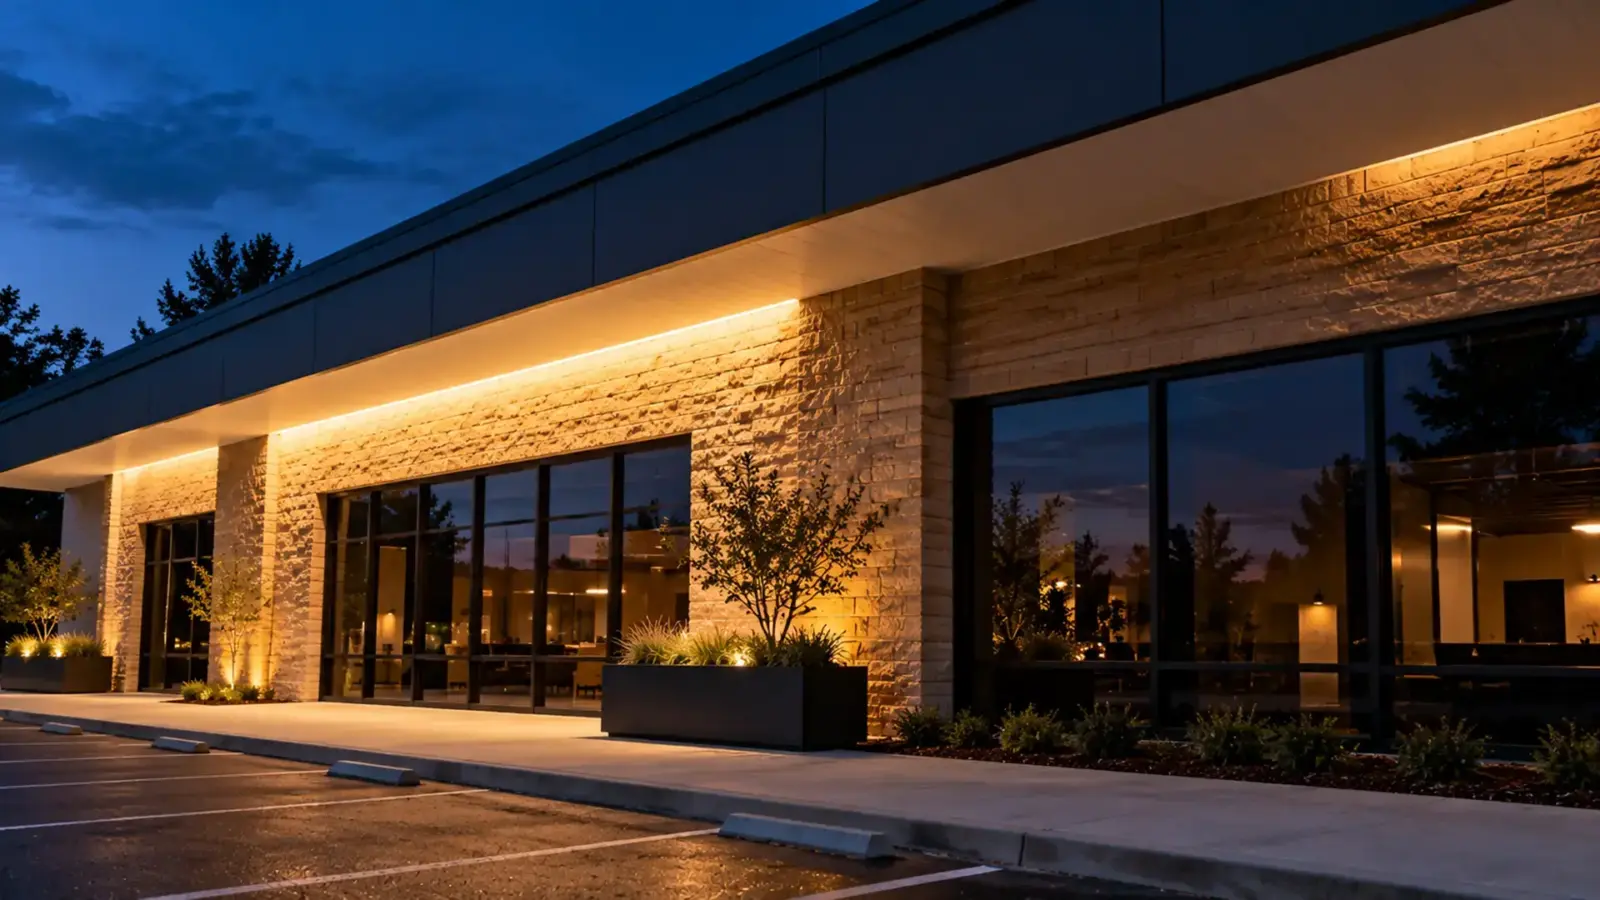
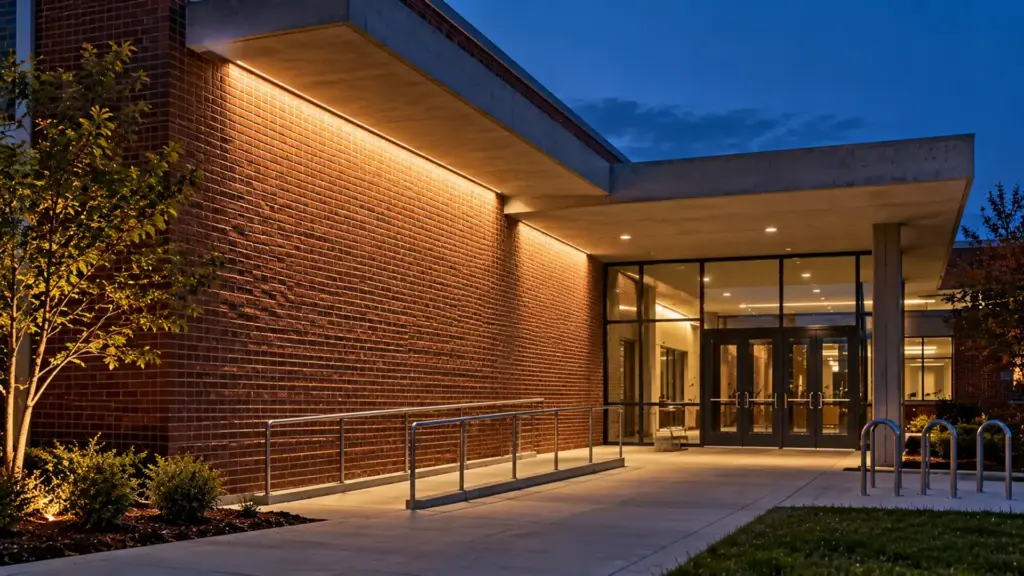
- Aim at what should be lit. A line under the soffit lit straight down puts a bright band on the wall below; aiming the channel back toward the wall spreads the wash further down it. A wall-wash optic does the same job with more control.
- Hidden from below. The strip should read as light on the surface, not as a row of LEDs seen from the sidewalk. A lip, a recessed channel or an opal cover hides it.
Check reflections. LED Lighting Zone notes that a source aimed away from a window can still reflect in its glass; walk the elevation at night before the last fixings go in.
Feeds and Drivers on a 240 ft Roofline
Take a single-story commercial building with a 120 ft soffit on each of two elevations, 240 ft in total, lit with UT-O480-10-67 (outdoor COB, 3.2 W/ft, Dust-tight, and protected against temporary immersion in water. The usual rating for wet or outdoor runs that are not submerged all the time., 16 ft per feed, 24V).
| Item | Value | How |
|---|---|---|
| Total load | 768 W | 240 ft × 3.2 W/ft |
| Feed sections | 16 (8 per elevation) | 120 ft ÷ 16 ft = 7.5 → 8 sections of 15 ft |
| Load per section | 48 W | 15 ft × 3.2 W/ft |
| Driver option A | UT-D150-24-L, 150 W, IP65, two sections each at 64% | 8 drivers |
| Driver option B | UT-D100-24-67, 100 W potted IP67, one section each at 48% | 16 drivers |
| Driver locations | 4, about 60 ft apart, each serving 4 sections | Inside the building or in soffit access enclosures |
Sections and loads are our arithmetic from the spec table, with drivers loaded to no more than 80%. Option A means fewer, larger drivers in four places, each feeding four home runs of up to about 30 ft along the soffit. Option B puts a small driver near every section and shortens the home runs, at the cost of more locations to reach.
Our facade page gives the rule for where they go: put feed points behind parapets, in soffits or inside the building where the wire can be protected, and draw them on the elevation. Flexfire’s contractor guide adds two cautions worth repeating: account for the voltage lost in the wire before it reaches the strip, and never put drivers in an unventilated attic. The drivers in this example are not Class 2 units in our table, so the feeder wiring method follows their marking; settle it with the electrical engineer. Our power supply sizing guide covers the loading margin.
Permanent Holiday and Color Lines
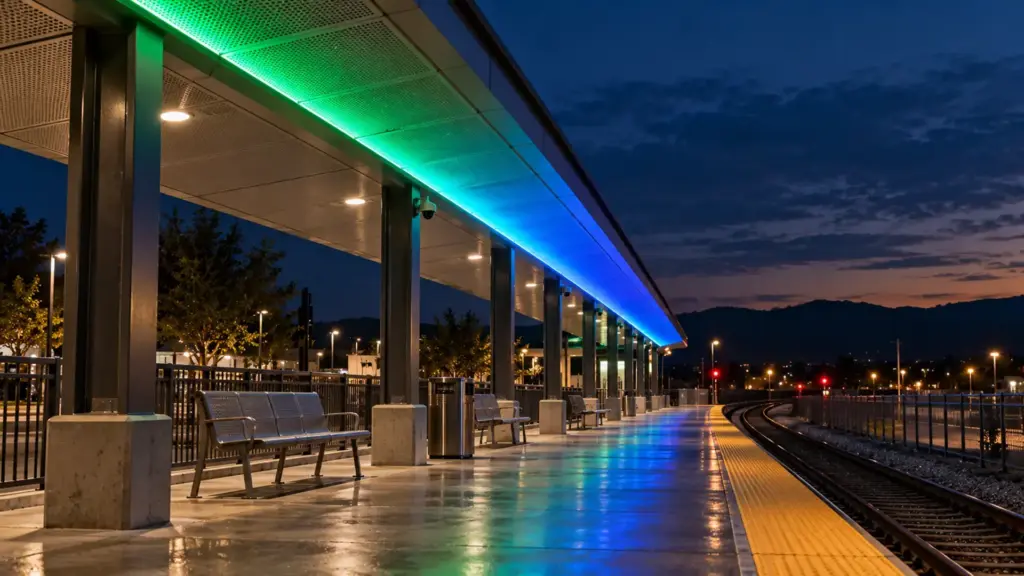
Much of the demand for “permanent eave lighting” comes from owners who want seasonal color without hanging lights every year. On a commercial building the same line can carry brand colors, event scenes and a white for every other night. That calls for addressable strip, a controller that schedules it, and a data path that survives the distance.
What changes from a white line:
- Strip: RGBW addressable such as UT-AW784-10 (COB, 6.4 W/ft, 24V, 16 ft per feed), in an outdoor-rated version confirmed at quote.
- Controller: an SPI pixel controller such as UT-CSPI-2048 (up to 2,048 pixels), or DMX decoders such as UT-CDMX-480 when the line is part of a larger DMX system. Check the pixel count of the whole line against the controller.
- Data: SPI data runs are short; long lines need the controller close to the start of the run or a DMX approach. Our SPI vs DMX guide covers distances and failure modes.
- Schedule: a time clock or astronomical schedule so the line runs from sunset without anyone touching it; a forum thread on Green Building Advisor suggests exactly that for permanent eave lights.
- Power: at 6.4 W/ft the same 240 ft draws about 1,536 W, twice the white line; the driver count doubles with it.
Our addressable LED strip page lists the pixel configurations and ICs.
Controls for a White Line
A static white roofline still needs a control plan. An astronomical time clock or a photocell turns it on at dusk without anyone touching it, and a schedule can dim it after closing. Many energy codes require exterior lighting to switch off or reduce automatically after business hours; check the code in force for the project before the control is chosen. Put the line on its own circuit and its own control zone, separate from wall packs and signs, so it can be dimmed or switched on its own, and specify dimmable drivers if the schedule calls for a reduced level after hours.
Color Temperature Against the Facade
For static white, pick the CCT with the facade material, not on its own. LED Lighting Zone’s guide suggests warm whites, 2700K to 3000K, where the goal is ambience, and cooler whites where the building needs to read clearly for identification or signage. Warm white flatters brick, timber and sandstone; 4000K suits concrete, metal panel and glass. Avoid mixing whites along one elevation, and match the soffit line to any wall packs or canopy lights that stay.
Service Access and Spares
A roofline that cannot be reached cannot be repaired. Plan for the day a section fails:
- Drivers reachable without a lift where possible: inside the building, at an access panel, at a parapet.
- Every feed labeled at the driver and at the strip, with the section number from the elevation.
- Spares from the same production lot: a few lengths of strip, end caps and connectors, and one driver of each type. A replacement section from a later lot may not match the white; our guide on why reels differ explains why.
- Sections that can be replaced one at a time, so a repair is one section, not the whole elevation.
FAQ
Is a soffit a damp or wet location?
It depends on exposure. The protected underside of a deep soffit is usually a damp location, while the fascia face and the edge of a shallow soffit catch rain and are wet. Draw where the strip sits on the section and confirm the classification with the AHJ.
Can LED strip stay outdoors under an eave all year?
Yes, if the system is built for it: IP67 strip in a screwed aluminum channel behind the drip edge, sealed end caps on every cut, sealed joints and feed entries, and drivers in a dry, reachable place. Most year-round failures start at unsealed ends and joints.
Where should soffit lighting drivers go?
Somewhere dry, ventilated and reachable: inside the building, behind a parapet or in a weatherproof enclosure at a soffit access point. Avoid unventilated attics and places that need a lift for service, and keep home runs short enough to limit voltage drop.
Should soffit LED strip be stuck on with its adhesive?
No. Use an aluminum channel fixed with screws or clips. Adhesive tape alone tends to let go through heat cycles outdoors, and on a soffit the strip hangs upside down. The channel also protects the strip and helps it shed heat.
Spec Notes for This Job
- Mark damp and wet zones on the building section before choosing the strip.
- Start at IP67 for soffit and eave lines; confirm wet-location marking per model.
- Count every cut end and joint on the elevation; order a sealed cap or connector for each.
- Put drivers and controllers where they stay dry and can be reached, and draw them on the elevation.
- Mount in screwed channel, behind the drip edge, aimed at the surface to be lit.
- Keep spares from the same lot, and label every feed.
- Put the line on its own circuit and control zone, with a dusk-to-dawn schedule.
Send us the elevations and the building section, with the soffit depths and where power can come from. We will mark the damp and wet zones, lay out the sections and feeds, size the drivers and controllers, and quote the outdoor strip and the drivers and controllers as one system: request a quote. Our facade and outdoor lighting page shows the other outdoor applications.