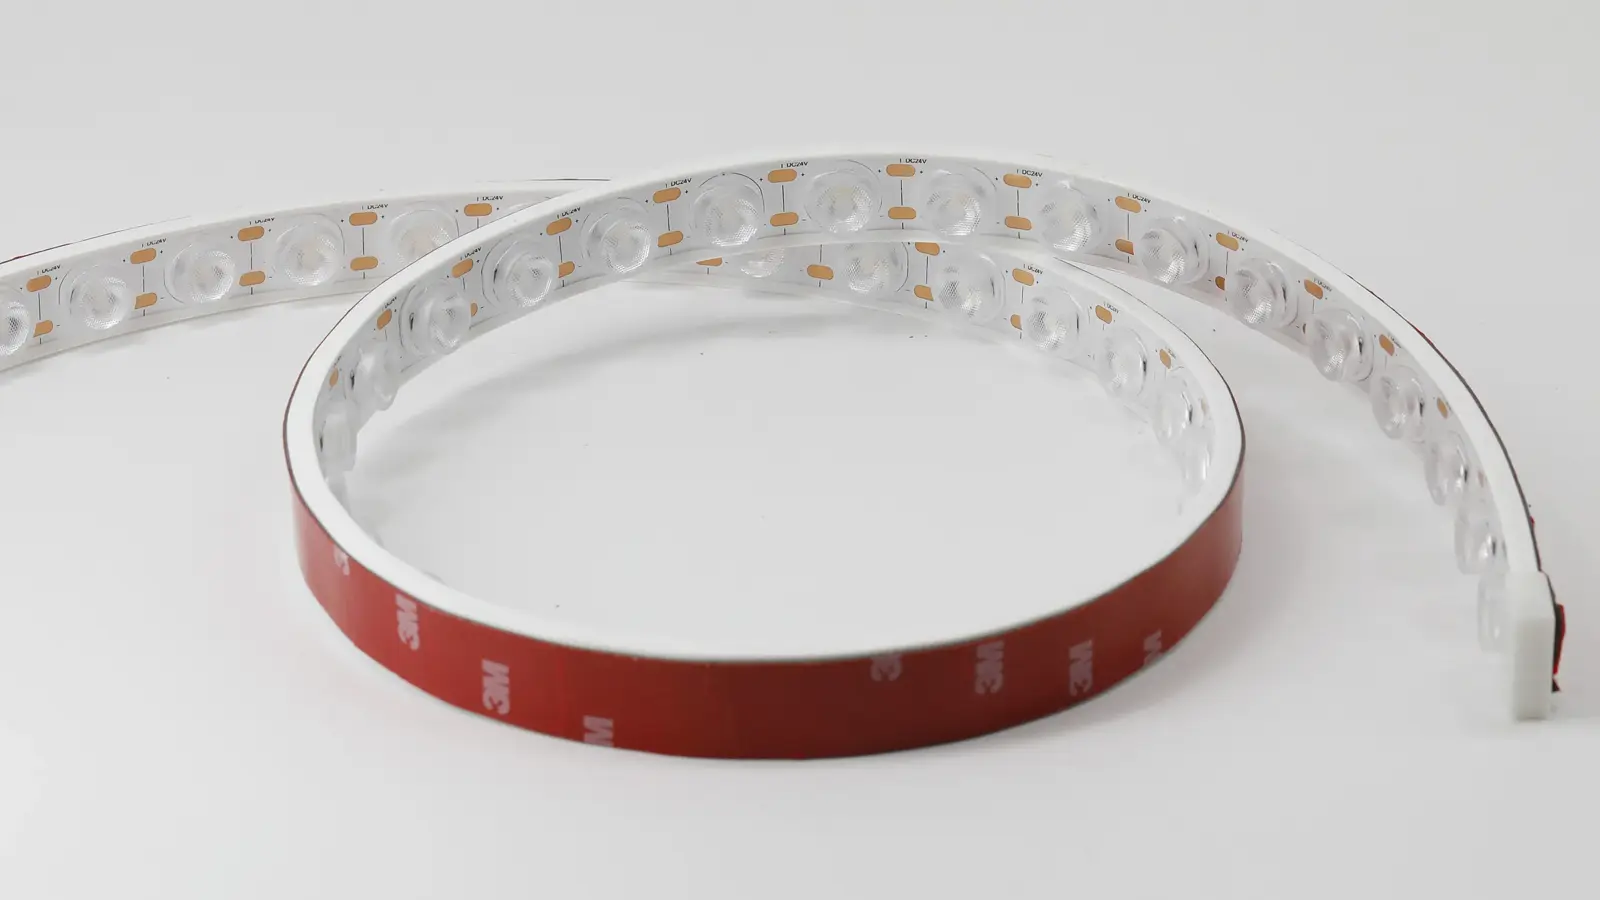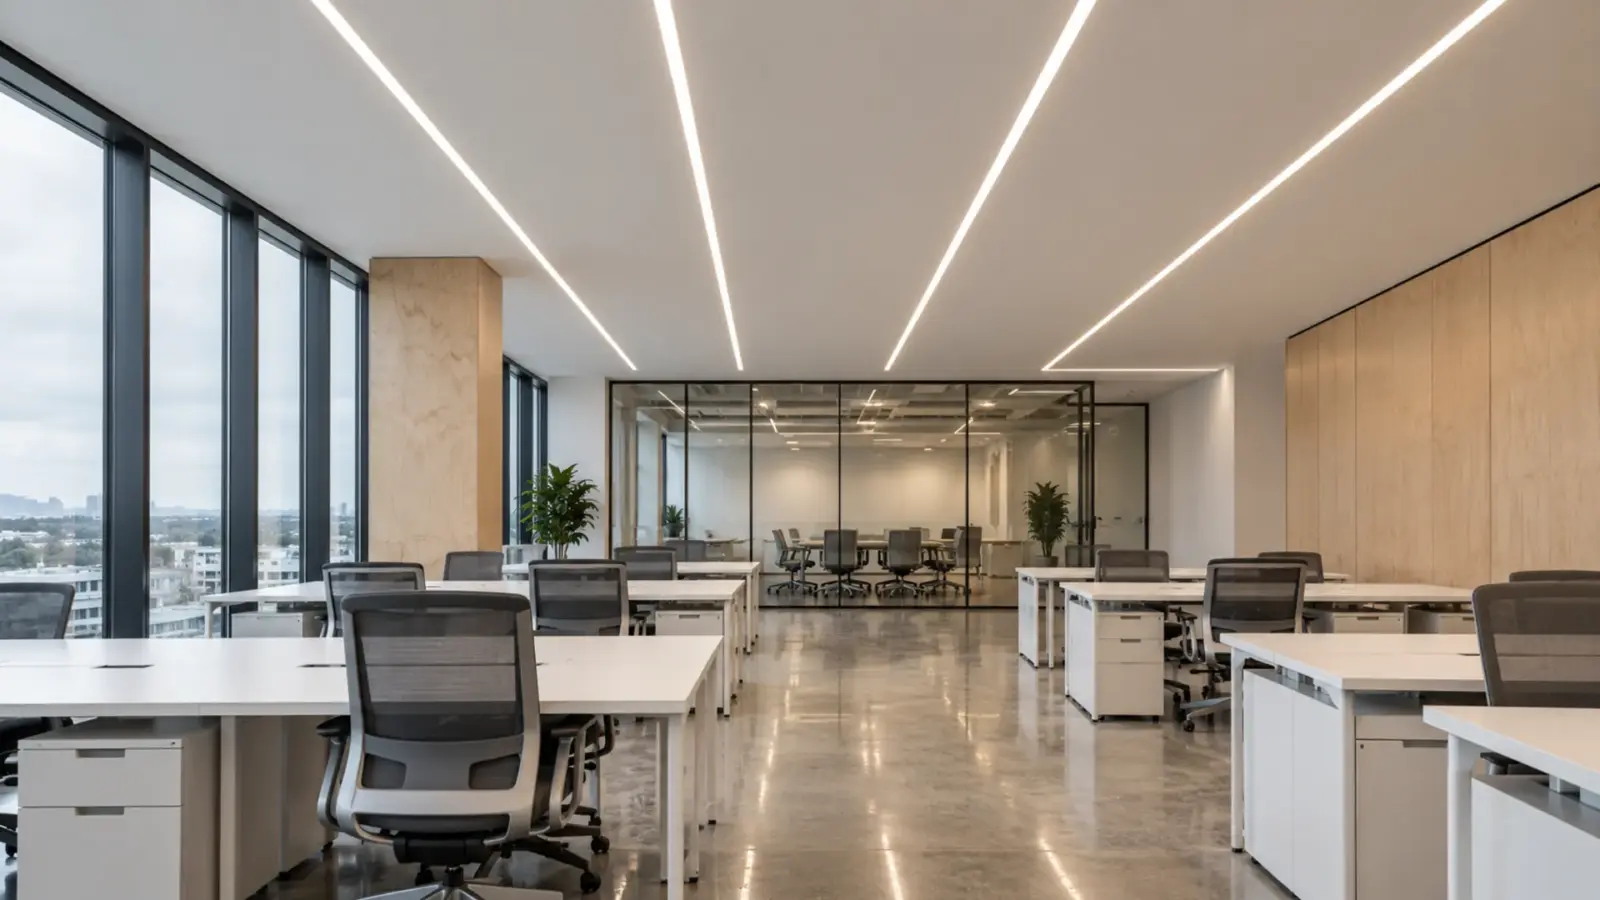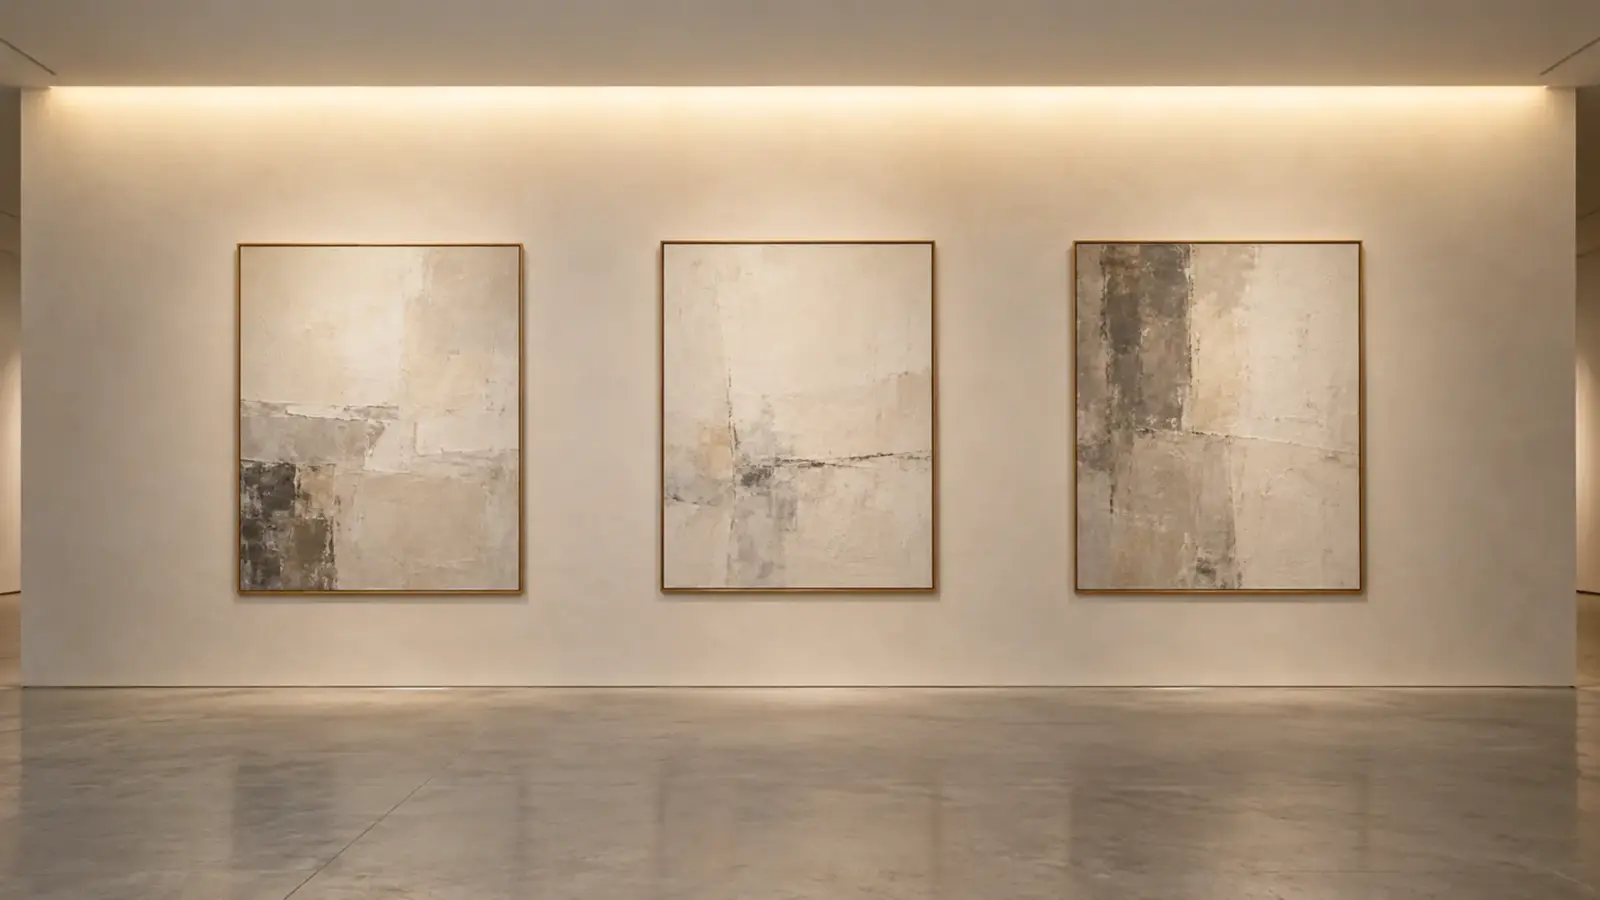
Wall washer beam angle decides where the light lands on the wall, and the setback decides how much of the wall it covers. A narrow beam travels far before it touches the surface, so it suits grazing and tall walls. A wide beam reaches the wall sooner, floods the top and needs more setback to stay even.
Many guides tell you to pick 10°, 30° or 60° and stop there. On a linear strip washer set 6 to 12 in off the wall, the angle and the setback work as a pair, and getting only one right gives you scallops or a bright band under the ceiling. Neither one outranks the other; the wall height, the finish and the effect decide which one has less room to move.
Short Answer: Angle Sets Where the Light Lands
A beam angle is the width of the cone of light an optic produces. It is conventionally measured at the angle where intensity falls to 50% of peak. Some makers publish a wider angle measured at 10% of peak, so check which one a data sheet uses before you compare two products.
Three rules cover most walls:
- Narrow beams (10° class) throw a long way along the wall before they reach it. They suit grazing a textured surface and reaching down a tall wall from close to the wall.
- Mid beams (20° to 36°) land in the middle distance. They suit washing a smooth wall of ordinary height.
- Wide beams (45° and 60°) land close to the fixture. They give broad coverage but put a bright band near the ceiling unless the setback is large enough.
Wash vs Graze: Two Setback Ranges
Setback is the distance from the wall to the strip. It separates a wash from a graze, and the beam angle then decides where the light lands inside each range.
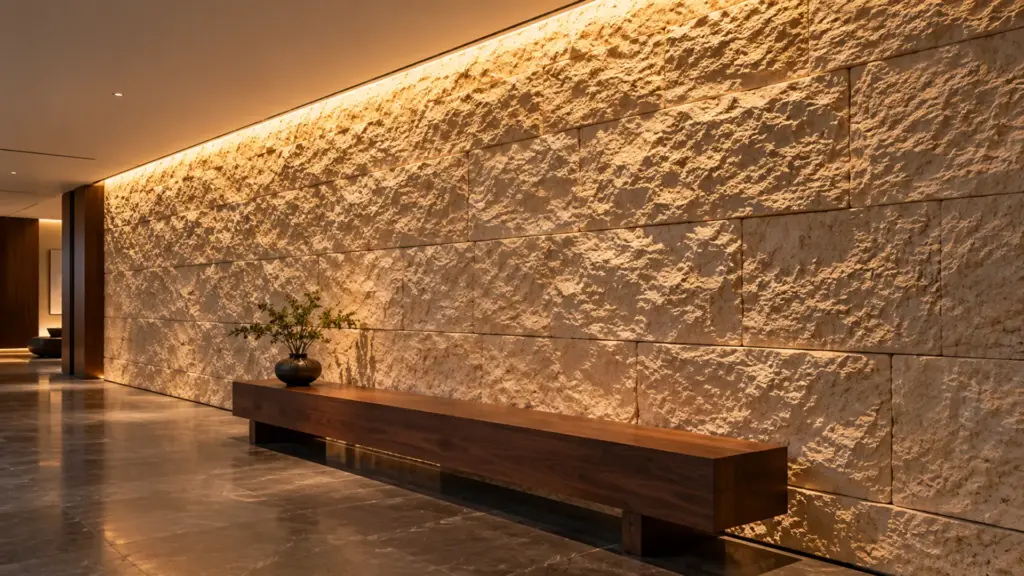
Our wall washer page defines it this way. A wall washer sits 6 to 12 in from the wall and floods the surface with even light, which hides texture. Wall grazing sits within 6 in of the wall, so light rakes across the surface and emphasizes texture, such as stone, brick, or fluted panels. If the wall has flaws to hide, wash it. If the wall has character to show, graze it.
Spot-style lens washers follow a different rule. Their layouts are often worked from the wall height, with the setback quoted as a fraction of it, and their spacing is set from that distance. That rule does not carry over to a linear strip washer in a ceiling slot or cove, which sits close to the wall and runs as one continuous line. For these products, the 6 to 12 in range and the beam angle are what you work with.
The Geometry: Where Each Beam Angle Lands
Take a strip aimed straight down, parallel to the wall. The edge of its beam first touches the wall at a distance equal to the setback divided by the tangent of half the beam angle. The table shows that distance, measured down the wall from the strip, at the two ends of the wash setback range.
| Beam angle | At 6 in setback | At 12 in setback |
|---|---|---|
| 10° | 68 in (1.7 m) | 137 in (3.4 m) |
| 30° | 22 in (55 cm) | 44 in (1.1 m) |
| 45° | 14 in (35 cm) | 29 in (73 cm) |
| 60° | 10 in (25 cm) | 20 in (50 cm) |
Read it this way. A 10° beam from 6 in lands almost 6 ft down the wall. The top of the wall is dark, and the light skims the surface from there, which is a grazing effect. A 60° beam from the same setback lands 10 in down, so the wall under the strip is bright and the transition is steep.
Two assumptions sit behind the table. The optic is aimed parallel to the wall, and the angle is the 50% beam angle. Tilting the optic toward the wall moves every landing point up the wall. Real optics also leak light outside their stated angle, so the table shows where a beam begins to land, not where light stops. Treat it as a planning tool, and confirm the pattern on a mock-up.
A worked example shows how fast the numbers move. Say a lobby slot puts the strip 10 in from the wall. A 30° optic lands about 37 in down the wall, a 45° optic about 24 in, and a 60° optic about 17 in. A 10° optic lands about 114 in down, nearly 10 ft. If the wall is 9 ft tall, the beam edge does not reach it at all when aimed straight down, so a 10° optic needs a tilt or a closer setback on that wall. If the wall is 14 ft tall and you want texture, the same 10° beam is the right choice.
The practical point is the pairing. If you want light to start higher on the wall, use a wider angle or tilt the optic toward the wall. A larger setback does the opposite: it pushes the landing point down the wall and softens the bright band near the fixture. If you want a long reach, use a narrow angle and keep it close.
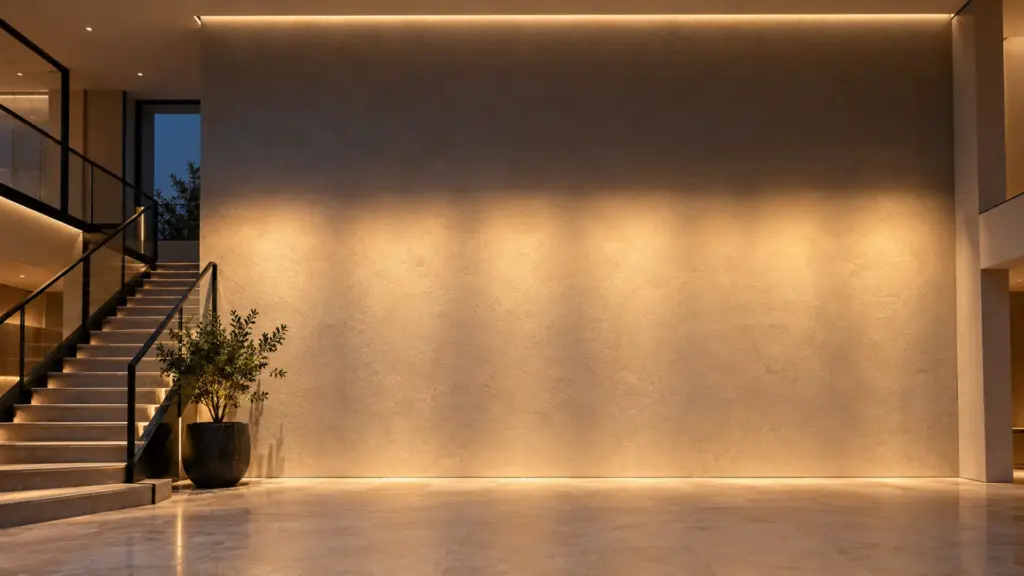
Our Optics: Beam Angles in the Spec Tables
Our LED wall washer page lists the optics below. Dimming is handled by the driver or controller, and on the bar families the lens is specified independently of color temperature.
| Model | Beam angle | Build | LEDs/m | Power | Output | IP |
|---|---|---|---|---|---|---|
| UT-WB27-1060 | 10° × 60° | 27 × 27 mm lens bar | 24 | 8.2 W/ft (27 W/m) | 494 lm/ft | IP67 |
| UT-WB27-2030 | 20° × 30° | 27 × 27 mm lens bar | 24 | 8.2 W/ft (27 W/m) | 675 lm/ft | IP67 |
| UT-WB27-45 | 45° | 27 × 27 mm lens bar | 24 | 8.2 W/ft (27 W/m) | 551 lm/ft | IP67 |
| UT-WS20-30 | 30° | 20 × 16 mm silicone | 140 | 4.9 W/ft (16 W/m) | 527 lm/ft | IP67 |
| UT-WS20-30-3D | 30° | 20 × 16 mm silicone | 70 | 3.0 W/ft (10 W/m) | 347 lm/ft | IP67 |
| UT-WS18-45 | 45° | 18 × 11 mm silicone | 140 | 4.4 W/ft (14.4 W/m) | 562 lm/ft | IP67 |
| UT-WP24-WHT | 30° / 45° / 30° × 45° | 23.81 × 18 mm PU potted | 42 | 6.1 W/ft (20 W/m) | 452 lm/ft | IP65 |
| UT-WC84 | 36° | 10 mm PCB, constant current | 84 | 2.4 W/ft (8 W/m) | 312 lm/ft | IP20 |
| UT-WA16-SPI | 60° | 16 × 16 mm, addressable RGB | 60 | 4.1 W/ft (13.5 W/m) | 134 lm/ft | IP20 |
UT-WC112 (389 lm/ft) and UT-WC126 (488 lm/ft) carry the same 36° optic as UT-WC84 at higher density. The output column is the page figure for the white models in a single color; it is not a delivered-on-the-wall number, and the lens decides where those lumens go. The asymmetric 10° × 60° bar lists less output than the 20° × 30° bar at the same 8.2 W/ft, so compare models by the pattern they make on the wall, not by lm/ft alone.
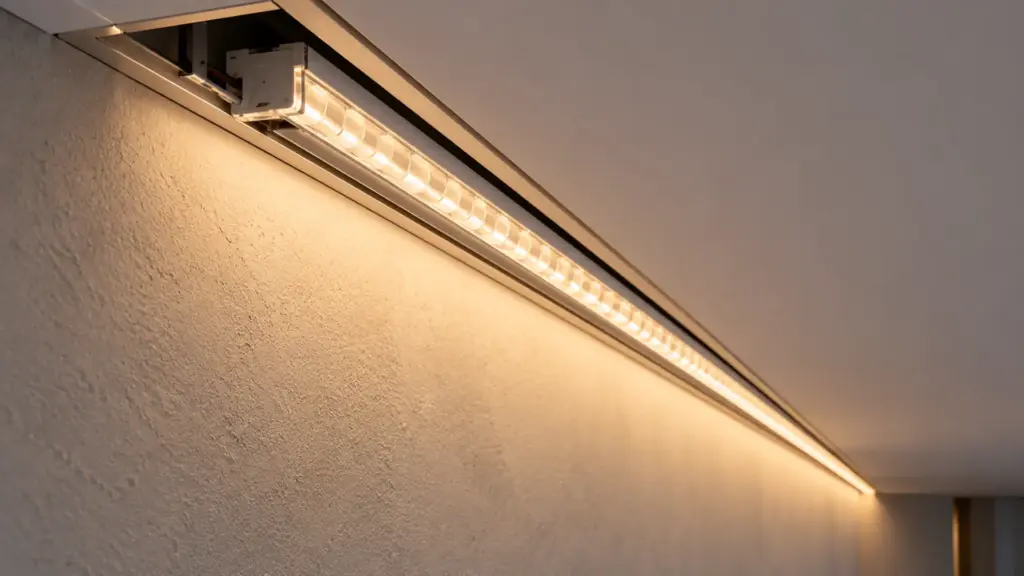
10° × 60° asymmetric
UT-WB27-1060 is the grazing optic. Its two angles differ, so it is narrow in one direction and wide in the other. Our wall washer page recommends it for close-offset grazing of tall walls. Which direction is which depends on how the lens sits in the bar, so confirm the orientation at quote and mock it up before you order the full run.
20° × 30°, 30°, and 36°
These are the washing optics for ordinary walls. UT-WB27-2030 carries a two-angle lens, UT-WS20-30 and UT-WS20-30-3D carry a 30° optic built into the silicone body, and the UT-WC constant-current strips carry 36°. Our wall washer page points to 20° × 30° and 30° for mid-throw washing.
The 70 LED/m UT-WS20-30-3D bends on both axes, so it suits curves and corners where the others do not. It trades output for that shape.
45° and 60°
UT-WB27-45, UT-WS18-45, and the 45° option on UT-WP24-WHT cover wide washing. Our wall washer page points to 45° or 60° for wide coverage at greater setbacks. The only 60° optic in our program is the addressable UT-WA16-SPI, which is an RGB product and not a white wash. If a job needs a wide white beam, the 45° bars and silicone strips are the choices.
Picking the Optic: Wall Height, Finish, and Effect
Start with the effect, then the finish, then the wall height and setback you have to work with.
| Situation | Setback | Start from | Why |
|---|---|---|---|
| Tall textured wall, show the texture | Within 6 in | 10° × 60° (UT-WB27-1060) | Long reach, light skims the surface |
| Smooth painted wall, gallery or lobby | 6 to 12 in | 20° × 30° or 30° (UT-WB27-2030, UT-WS20-30) | Mid-throw wash |
| Long continuous wall, one run | 6 to 12 in | 36° constant current (UT-WC112) | One 32 ft (10 m) run without a mid-run feed |
| Shallow wall, wide coverage | 12 in | 45° (UT-WB27-45, UT-WS18-45) | Reaches the wall sooner |
| Curved wall or tight corner | Per detail | UT-WS20-30-3D or UT-WP24-WHT | Bends on both axes, or follows the surface |
Surface finish matters as much as the spec. A glossy wall, glass, or polished stone will show a hot band where the beam lands, so increase the setback or choose a wider angle. A matte painted wall forgives more. A rough stone or brick wall under a wash will lose its texture, and under a graze will show every flaw in it.
Scalloping and Hotspots: Reading the Wall
Scalloping is the classic symptom of sources too close to the lit surface for their spacing: the light lands as a row of bright arcs instead of a smooth field. Our cove guide covers the same problem on a ceiling.
LED pitch is a spec you can check. The UT-WB27 bars carry 24 LEDs per meter, about 1.6 in apart. UT-WS20-30 carries 140 LEDs per meter, about 0.28 in apart. Closer sources overlap sooner, so a denser strip blends at a shorter setback.
| What you see | Likely cause | Fix |
|---|---|---|
| Row of bright arcs near the top of the wall | Setback too small for the LED spacing or the beam | Move the strip out, or use a wider optic or a denser strip |
| Bright band at the top, dark below | Wide beam landing close to the fixture | Increase the setback, or use a narrower optic |
| Dark band at the top, light only lower down | Narrow beam landing far down the wall | Use a wider optic, or tilt the optic toward the wall |
| Texture and flaws exaggerated on a smooth wall | Graze setback on a wash job | Increase the setback, or switch to a wash optic |
| Far end of the run dimmer than the near end | Voltage drop on a constant-voltage run | Add feed points, or use a constant-current strip |
The last row has its own fix. Our voltage drop guide covers feed points and the 32 ft (10 m) constant-current option.
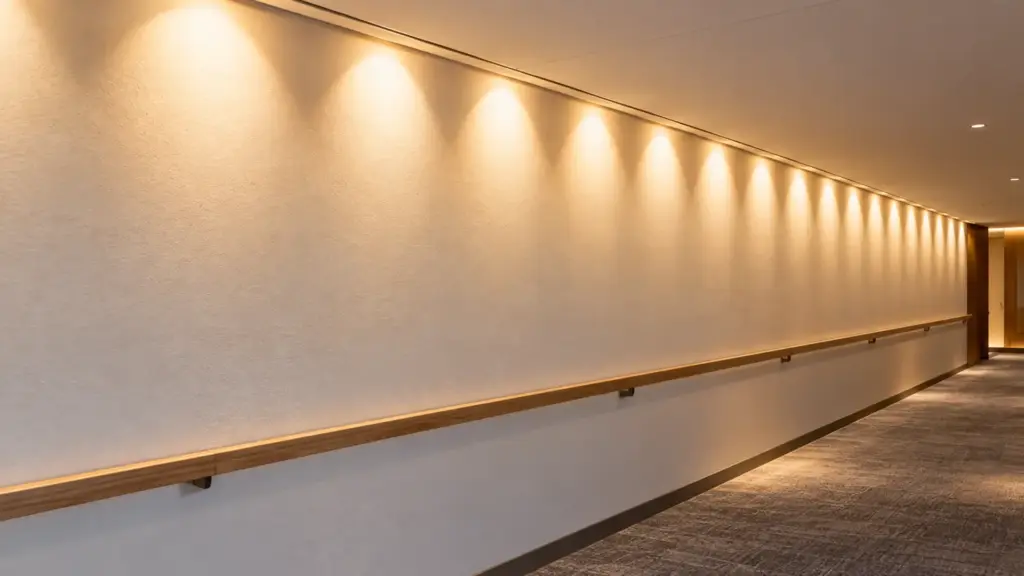
Spacing and Uniformity: What the Mock-Up Has to Measure
On a continuous strip washer there is no fixture spacing to choose. What you control is the LED pitch, the setback and the optic, and uniformity on the wall is the result. We do not publish a spacing-to-setback ratio for our optics, and the sources we reviewed give none that holds across products, only examples that scale with the optic. So the number comes from a mock-up, not from a rule.
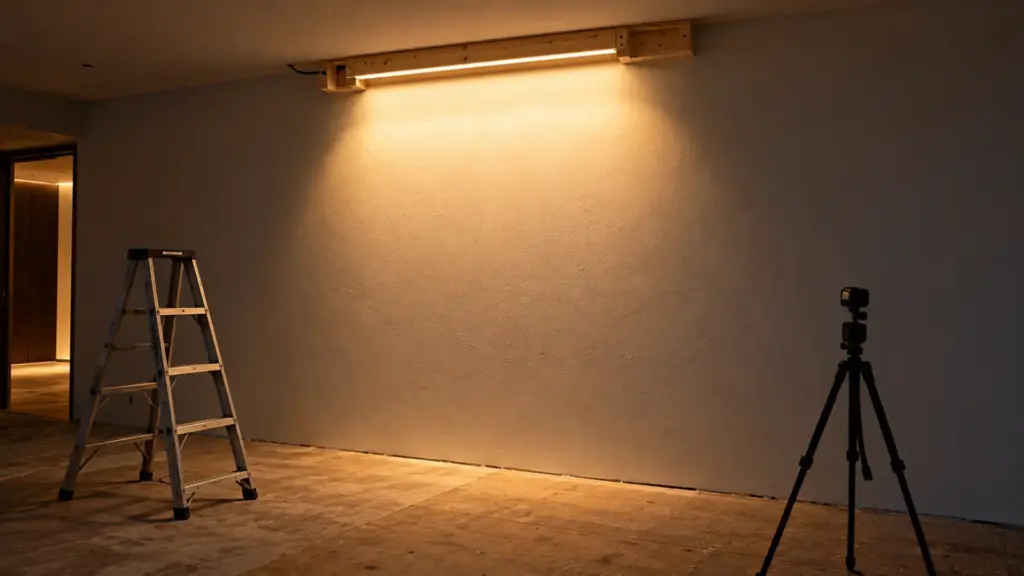
Build the mock-up so it answers the questions a drawing cannot:
- Full size where it matters. Use a section at least as long as the longest repeat in the wall (a panel module, a column bay), mounted at the real setback and the real aim, on the real finish or a sample of it.
- Two optics side by side. Put two candidate optics on adjacent sections of the same wall, so the comparison is made under the same room light. The earlier wall washer design guide walks through the survey and mock-up steps.
- Read it at night, from the real viewing positions, including a low angle looking along the wall, where scallops and joint steps show first.
- Record, do not describe. Photograph at fixed exposure, and write down per section: setback, optic, where the light lands, where the bright band sits, and how the finish reads. If the designer has a uniformity target, measure the top, middle and bottom of the wall against it.
The pattern from the mock-up goes on the drawing as the approved setback and optic, and it goes in the submittal. A short test costs less than reworking a finished slot.
Mounting: Depth, Channel, and Lens Orientation
The bar body is 27 × 27 mm, but the wiring base at the rear brings the total depth to 38 mm. Detail recesses and coves to 38 mm to avoid reworking the slot on site. Our LED channels and diffusers page covers the aluminum profiles for recessed, surface, and corner mounting, and our channel selection guide explains how depth affects a diffused line.
Mounting also sets the setback. The slot position, the reveal width, and the depth fix how far the strip sits from the wall. Decide the setback in the detail, then choose the optic to suit it, not the other way around.
On the lens bars, the optic is specified independently of color temperature. The optic can change without reworking the rest of the schedule, which helps when the mock-up shows a different angle would work better.
Bar runs are 16.4 ft (5 m). The constant-current UT-WC strips hold a 32 ft (10 m) single run.
Exterior Facades: Grazing and IP Ratings
Facade grazing is the same geometry outdoors, with an IP rating on top. The IP67 bars and silicone strips suit grazing from grade or from a concealed position at the base of a wall or column. Our outdoor and waterproof LED strip page covers the rest of the exterior range.
An IP rating is not a wet location rating, and the driver has to match the location too. Our wet location LED strip guide explains how to check the strip, the connectors, and the driver as one system.
Common Mistakes
- Choosing the angle before the setback. The setback is fixed by the slot or cove. Choose the optic after it.
- Using a wash optic for a graze. A wide beam from 6 in or less floods the wall and kills the texture you wanted.
- Grazing a flawed wall. Grazing exaggerates every flaw, so wash it instead.
- Ignoring finish. Gloss and glass show a hot band where the beam lands.
- Skipping the mock-up. One short test at the real setback shows what a data sheet cannot.
FAQ
What beam angle should I choose for a wall washer?
Match the optic to the wall height and the setback. Our wall washer page recommends 10° × 60° for close-offset grazing of tall walls, 20° × 30° and 30° for mid-throw washing, and 45° or 60° for wide coverage at greater setbacks.
Wall washer vs wall grazer: which do I need?
Choose a wall washer to hide texture and a grazer to emphasize it. Washers sit 6 to 12 in off the wall and flood the surface evenly. Grazers sit within 6 in so the light rakes across stone, brick, or fluting.
How far from the wall should a wall washer be?
For our linear strip washers, 6 to 12 in for a wash and within 6 in for a graze. Spot-style lens washers commonly use about one third of the wall height, which is a different product and a different rule.
What does 10° × 60° mean?
It is an asymmetric optic. The two angles differ, so the beam is narrow in one direction and wide in the other. Confirm the lens orientation at quote and mock it up before you order the run.
How far apart should wall washers be?
On a continuous strip washer, the spacing is the LED pitch, which is a model property: the UT-WB27 bars carry 24 LEDs per meter and UT-WS20-30 carries 140. We do not publish a spacing ratio for separate fixtures, because it scales with the optic. Use the model’s photometric data and a mock-up, and expect a denser strip to blend at a shorter setback.
Can I mix beam angles on one wall?
You can, but keep each section at one optic and one setback. Mixing optics along a single wall shows up as a change in brightness at the joint. Change the optic where the wall changes, such as at a corner or a column.
Before the Slot Is Built
The slot or cove usually fixes the setback before the optic is chosen, so settle the pair together while the detail can still change. Narrow for a long graze, mid for a smooth wash, wide for broad coverage at a larger setback, then confirm the choice on a full-size mock-up before the full run.
Send the wall heights, the slot details and the finish for each wall. We will mark the optic and setback for each section and return a lens schedule with the mock-up lengths: request a quote.