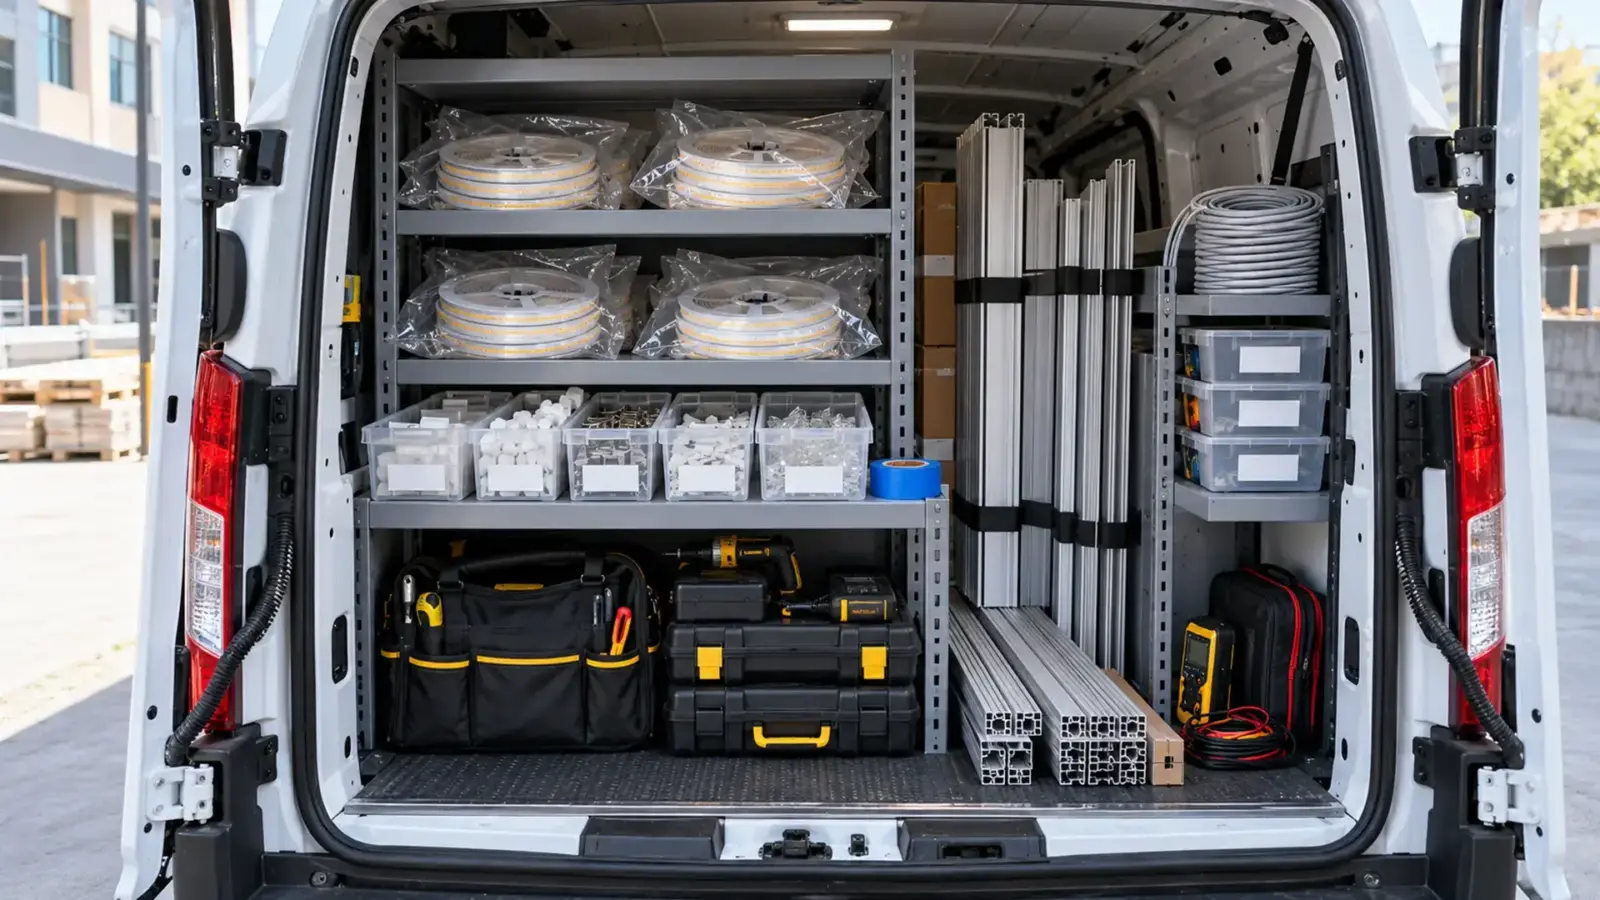
An LED strip install goes well when the crew leaves the shop with twelve things checked: the drawings and run schedule, labels, strip, channel, covers, connectors, wire, seals, drivers, controls, the tools for each task, and test gear. Missing any one of them stops work on a ladder, usually forty minutes from the part that would have fixed it.
A crew is on a lift in a lobby, forty minutes from the shop, and the last end cap for the cove is not in the van. Nothing about that job is hard. It stops anyway, for the price of a part that weighs a few grams. Most lost hours on strip installs come from the same handful of missing items, not from skill. This checklist follows the job in the order the crew meets it, with a checkpoint after each group.
Before Loading: Confirm the Site Is Ready
A full van is wasted if the site is not ready for strip. Five questions, answered by phone the day before, save most wasted trips:
- Are the surfaces finished? Strip goes in after paint and before the final clean. A cove that is still being sanded or painted will coat the strip and the adhesive with dust.
- Is the channel already in? Recessed and plaster-in channel is set by the drywall trade. If it is not in, or not cured, the strip crew has nothing to fix to.
- Is power at the driver locations? Line voltage at each driver location, labeled by circuit, or the crew can only mount and not test.
- What is the access? Ladder, scaffold or lift, who provides it and whether it is on site. A cove at 14 ft without a lift is a lost morning.
- How cold is the space? Adhesive tape and silicone sealants have minimum application temperatures on their datasheets. An unheated shell in winter can be below them, and strip stuck on a cold surface lets go later.
Write the answers on the run schedule. They are as much a part of the kit as the strip.
1–3: Drawings, Run Schedule and Labels
1. The drawings and the run schedule. Bring the lighting plan, the details for each mounting type and the run schedule: one line per run with its ID, length, strip model, feed end and driver. If the job was quoted from a template like our takeoff-to-BOM template, print the run schedule tab.
2. Labels for every run. Pre-printed labels with run IDs for the strip reels, the channel pieces and the drivers. When a piece goes up, its label goes on the inside of the channel or on the driver, so the next person can trace it.
3. The approved sample. A short piece of the approved strip, sealed in a bag. On site it settles any question about color, brightness or a substituted reel in seconds.
Checkpoint: every run on the plan has a row on the schedule and a label in the box.
4–6: Strip, Channel and Covers
4. Strip, by run, from one batch. Check that every reel carries the same model and batch or bin code, and that the total covers the schedule plus the cut waste at each end. Count reels against runs, not against total footage. Our guide on how to cut and connect LED strip shows the cut marks to plan around.
5. Channel, cut or in sticks. Channels come in 2 m and 3 m sticks (6.6 and 9.8 ft). If they were cut at the shop, check each piece against its run label. If they will be cut on site, bring the stick count per run, not a pile.
6. Covers, end caps, corners and clips. The small parts are what stop a crew. Bring every cover cut to match its channel, two end caps per run, the corner pieces, and more mounting clips than the drawings show. Our channels and diffusers come with caps and clips, but count them anyway.
Checkpoint: strip, channel and covers add up per run, and the batch codes match.
7–8: Connectors, Wire and Seals
7. Connectors and spares. One feed connector per feed and one for every joint or corner that is not bridged by a corner channel. Match the connector to the board width and type; our connectors come as strip-to-strip, wire-to-strip and strip-wire-strip for 8, 10 and 12 mm boards, rated 5 A. Bring spares of each: connectors are the part most often damaged on site. Our LED strip connector types guide explains which goes where.
8. Wire, heat shrink and seals. Low-voltage feed wire in the gauges the voltage-drop calculation called for, labeled by run. Heat shrink in the right sizes. For any damp or wet location, matching silicone end caps and the sealant the strip maker specifies: on our outdoor strip, every cut end must be re-sealed with a matching end cap and adhesive to restore its rating, as our guide to how LED strip is waterproofed explains.
Checkpoint: a connector and a seal for every feed, joint and cut end on the schedule, plus spares.
9–10: Drivers and Controls
9. Drivers, labeled by run. Check the count and the model against the schedule: for example, 60 W Class 2 drivers such as UT-D60-24-C2, each loaded to no more than 48 W. Check the dimming type on the label matches the controls. Our power supply sizing guide is the reference for the load per driver.
10. Controls and their settings. Dimmers, decoders, wall stations and any addresses or settings the integrator has provided. A DMX decoder without its address list or a 0-10V control without its trim setting means a return visit.
Checkpoint: every driver and control has a run or zone label and the right dimming type.
Wet, Outdoor and Hot Locations: What Changes in the Kit
A wet or outdoor run adds parts and time, and the van has to carry both.
- Sealed connectors only where the location calls for them, rated for the same IP level as the strip. Clip connectors for dry locations do not belong in a planter or under a canopy.
- End caps and sealant for every cut end, plus a few extra caps, because a cap that is dropped in a planter is gone.
- Cure time in the schedule. Sealant needs time before water reaches it; plan to seal at the end of one day and test the next.
- Potted drivers where the driver itself sits in a damp or wet place, such as our IP67 UT-D100-24-67, instead of a dry-location driver in a box.
- High-temperature strip and fittings for saunas and hot spaces, where the strip’s own rating is the limit.
Our guide to wet location LED strip explains why the whole system, not only the strip, has to match the location.
11: Tools by Task
According to PacLights’ list for strip installs, the basics are cutting tools, a tape measure, a level, wire strippers and a voltage tester. BLT Direct adds what channel work needs: a saw for aluminum profile, clamps to hold it, a drill and eye protection. Group them by task so nothing is missing for one step:
| Task | Tools |
|---|---|
| Layout | Tape measure, laser level or chalk line, pencil, run labels |
| Cutting strip | Sharp scissors or snips, a cutting mat |
| Cutting channel | Miter saw with a non-ferrous blade, clamps, deburring tool, file |
| Mounting | Drill and bits, anchors and screws, clips, isopropyl alcohol and wipes for the adhesive surface |
| Wiring | Wire strippers, crimpers, small screwdrivers, heat gun |
| Soldering, if specified | Soldering iron, solder, flux, helping hands |
| Sealing | Neutral-cure silicone or the maker’s sealant, gloves |
| Safety | Eye protection, gloves, ladder or lift as planned |
Two items get forgotten more than any others: the alcohol wipes, because adhesive on a dusty surface lets go within weeks, and the deburring tool, because a sharp channel edge cuts the strip as it is pressed in.
Checkpoint: each task on the schedule has its tools in the van.
12: Test Gear and the First Power-Up
The last item is the one that saves the next visit: test gear and a routine.
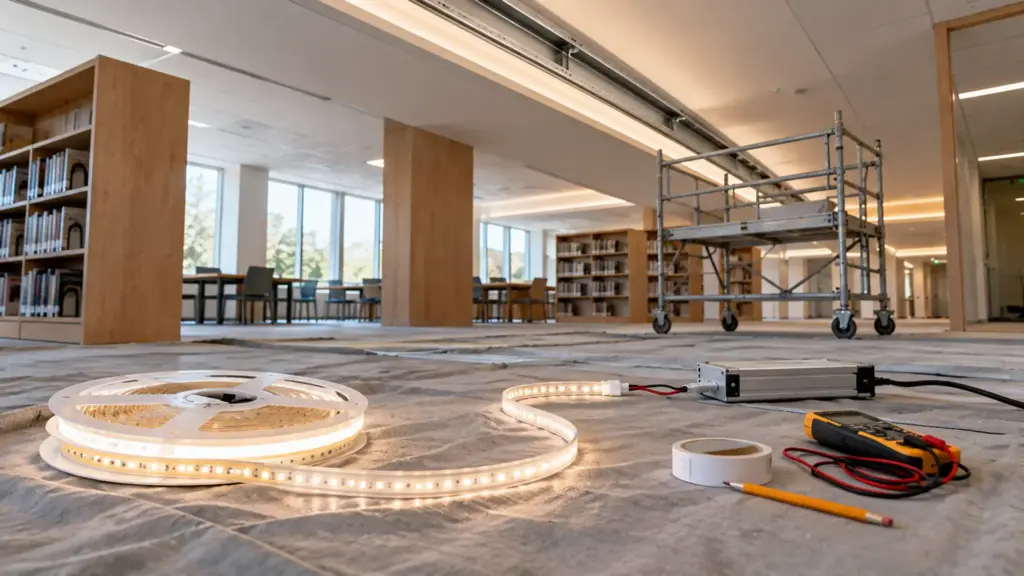
- A multimeter for AC volts at the driver input and DC volts at the output and at the far end of each run. According to install sheets from strip makers, power is disconnected before work starts and the strip is used only with the specified supply, typically Class 2; the meter is how you confirm both.
- A short test lead with a connector, to light a reel before it goes up.
- A spare driver of the job’s model, to rule out a driver fault on the spot.
- A phone or camera with fixed white balance, to record color at the joints for the punch list.
The routine: light each reel on the floor before it goes into a channel, power each finished run before the cover goes on, and measure the far-end voltage of the longest runs. A reel that fails on the floor costs a minute; a reel that fails behind a cover costs an hour. If something does not light, our LED strip troubleshooting order starts at the driver terminals.
Checkpoint: every run is lit and measured before its cover goes on.
What Comes Back in the Van
The checklist runs in reverse at the end of the job. Spare reels from the job’s batch go to the owner or the facilities team with a label, not back onto a shop shelf where they will be mixed with another batch. Leftover connectors, caps and clips are counted, because a shortfall means something was used that the BOM did not show, and the next quote should know it. The marked-up run schedule, with any runs that changed on site, becomes the as-built record. That record is what the next service call starts from, years later.
Final Checks
- Drawings, run schedule and labels match the job.
- Strip from one batch, counted by run, with the approved sample.
- Channel, covers, end caps, corners and clips counted per run, with spares.
- Connectors, wire, heat shrink and seals for every feed, joint and cut end.
- Drivers and controls labeled, with dimming types and settings.
- Tools grouped by task, including alcohol wipes and a deburring tool.
- Meter, test lead and a spare driver; every run lit before its cover.
Our LED strip installation guide walks through the bench preparation that makes the site work shorter.