Low voltage means the inspector will not look. That is the belief; the inspector looks anyway, and writes. An LED strip inspection punch list is short and repetitive: the same ten items appear on school, apartment and office jobs, because strip adds a low-voltage system to a line-voltage building, and the two meet in boxes the inspector already checks.
Here are the ten, in the order they are found, with the fix and what each one costs if it waits for the final. Items 1, 2, 4, 9 and 10 are caught with the walls open; items 3, 5, 6, 7 and 8 at the final.
Two Visits, Ten Items
| Visit | What the inspector looks for | Items caught |
|---|---|---|
| Rough-in (walls open) | Cable rating and routing, separation from line voltage, boxes and their fill, backing and blocking | Items 1, 2, 4, 9, 10 |
| Final (walls closed, system lit) | Driver access and listing, labels, loads, splices, strip condition, covers | Items 3, 5, 6, 7, 8 |
Elemental LED’s compliance page describes the two visits the way inspectors run them: at rough-in the inspector “will specifically check to see if the wiring is Class 2 compliant” and whether the right gauge is installed and harnessed; at final, that “the power supplies are accessible and Class 2 compliant” and the fixtures carry an NRTL mark. Everything below sorts into those two lists.
Item 1: Non-Rated Cable in the Wall or Plenum
The write-up: low-voltage wire of the wrong type in a wall or above a ceiling. Strip leads inside a wall need a cable rated for in-wall use, CL2 or CL3, and in a return-air plenum the plenum version; Elemental’s page says it plainly: hardware-store wire “cannot be installed inside walls”, so the lamp cord and speaker wire that work on a bench do not pass. Our in-wall wiring guide has the cable types by space.
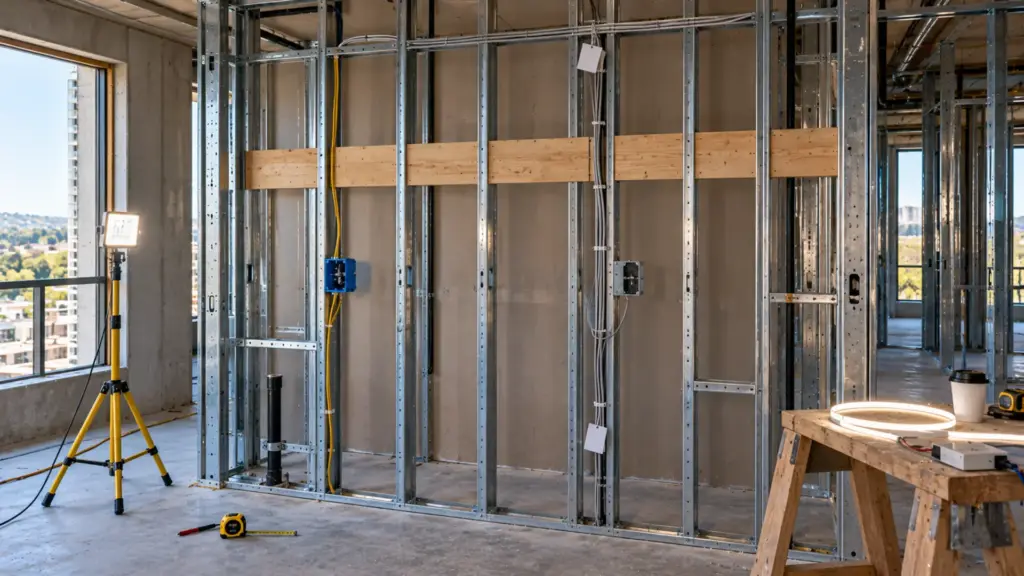
The fix at rough-in is a different reel. The fix at the final is opening the wall. Pull the right cable before the board goes up, and label it at both ends so the inspector can read the rating without tracing it. The inspection is booked under an electrical permit, so settle who may install the strip and when a permit is needed before rough-in.
Item 2: Class 2 and Line Voltage in One Box
The write-up: the 24 V leads and the 120 V branch circuit sharing a box or a raceway without a barrier. Class 2 conductors are kept out of enclosures with power conductors unless a barrier or a listed arrangement permits it; Elemental’s page gives the inspector’s version, Class 1 and Class 2 circuits “must be separated”, and the 120 V connection to the driver lives in a junction box of its own. Our Class 2 driver guide walks through what the inspector reads on the driver and why its output is wired differently from its input.
The fix is a two-compartment driver enclosure or two boxes, with the line side terminated in one and the Class 2 leads leaving from the other, and the driver’s own instructions followed for the output wiring method, which our drivers page says “is confirmed with the AHJ”.
Item 3: The Taped Splice
The write-up: a Class 2 splice made outside a box, wrapped in tape, lying in a ceiling cavity or behind a cabinet. A Mike Holt forum poster reported failing an inspection for exactly this on 12 V strip; a reply argued that Class 2 wiring does not require a box for a splice. The disagreement is real and it is the AHJ’s to settle.
The no-regret fix is to put every splice where it can be reached and seen, in a listed low-voltage box or an accessible enclosure, with connectors rated for the current rather than tape. A strip run’s feed points come every 16 ft (5 m) on our standard COB, so a 60 ft cove has three or four splices; plan where they live before the ceiling closes, and the argument never happens.
Item 4: Box Fill at the Driver
The write-up: the box at the driver stuffed past its volume. Box fill heads EC&M’s list of top-cited violations, and the article quotes the rule, “All boxes must be large enough to provide sufficient free space for all enclosed conductors”, under 314.16. A driver box collects the branch circuit, the driver’s input leads, sometimes a 0-10V pair and the Class 2 outputs, and a 4 in square box fills fast.
The fix is a larger box or a separate enclosure for the driver, sized at rough-in from the conductor count on the run schedule. Our install checklist puts the run schedule and the driver locations on the list that leaves the shop; add the box sizes beside them.
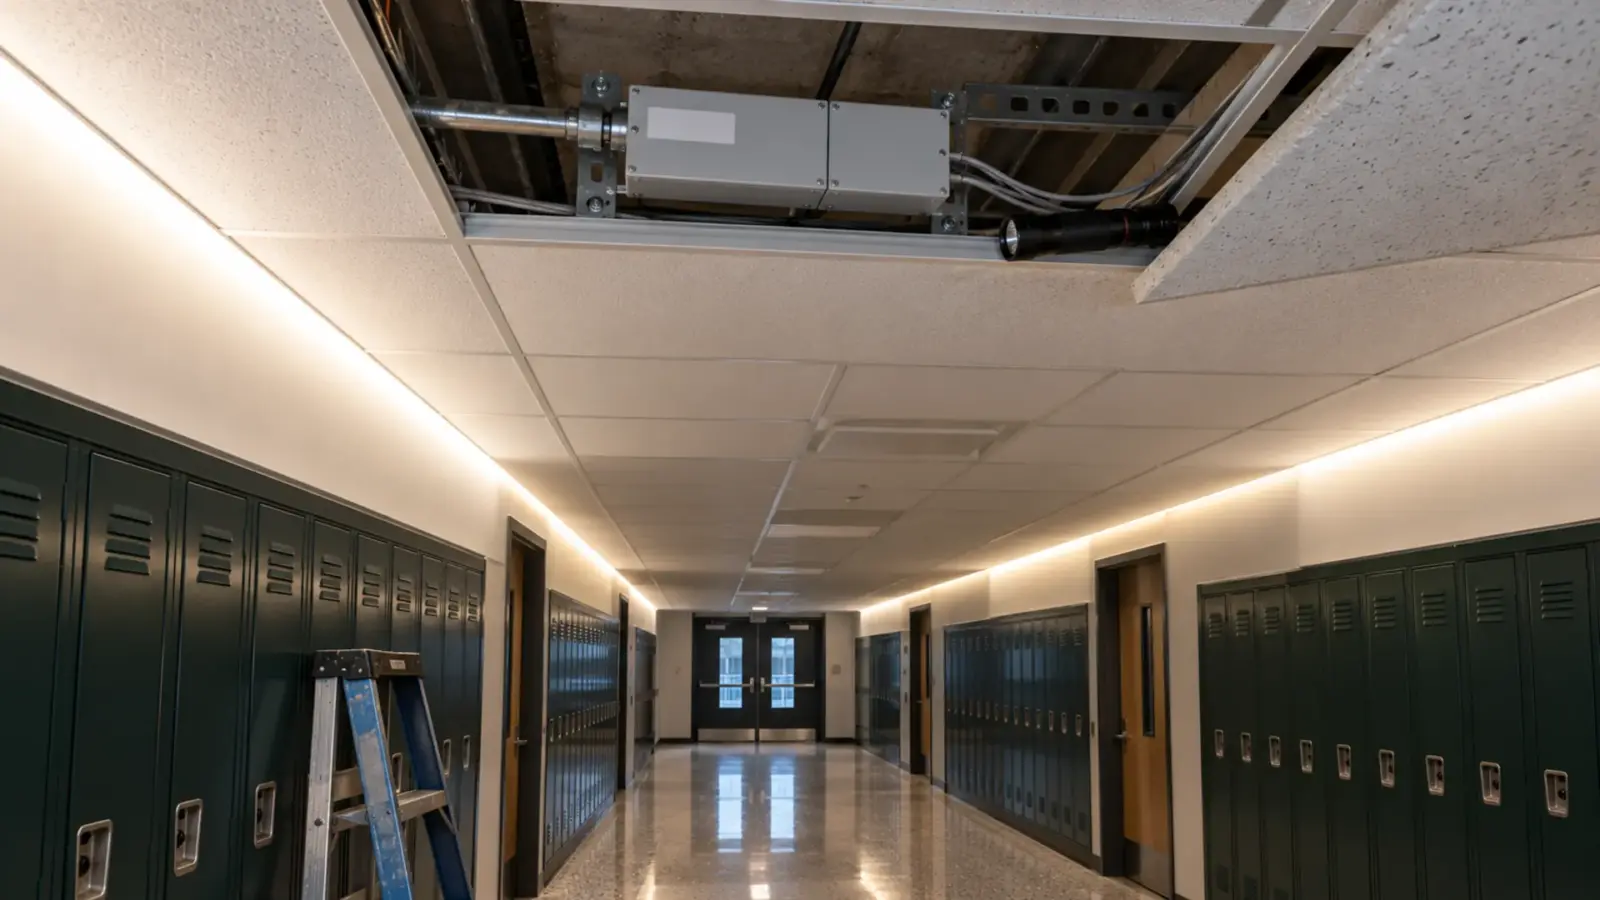
Item 5: A Driver Nobody Can Reach
The write-up: a driver above a hard ceiling, inside a sealed soffit or behind a fixed millwork panel. Elemental’s page names the final-inspection check, power supplies “accessible and Class 2 compliant”, and our own driver placement rule says the same thing for service reasons: a reachable place “without opening a finished surface, with air around the case”. A second Mike Holt thread shows the other half of the argument: an inspector who held that “the entire fixture needs to be accessible”, and an electrician who held that a strip with no serviceable parts needs no access beyond its driver’s panel. The strip in a cove is a listed component on a Class 2 output; the driver is the equipment, and the driver is what the inspector expects to reach.
The fix is a closet, an access panel or an accessible ceiling, planned per our remote driver guide, with the driver’s feed lengths inside the voltage-drop table. At the final it is a cut access panel; at rough-in it is a line on the drawing.
Item 6: No Listing Mark, No Label
The write-up: a driver with no visible listing mark, a Class 2 output not marked as such, or a panel directory and a driver enclosure with no label. EC&M’s article notes that “The NEC contains field labeling requirements for new and reconditioned equipment”, and that directory labels must not “depend on transient conditions”; Elemental’s page adds the NRTL mark on fixtures. For strip the inspector reads three labels: the driver’s nameplate for the listing and the Class 2 marking, the enclosure’s label for the circuit and the zone it feeds, and the cable’s rating print.
The fix is to buy drivers whose nameplates say what the inspector reads, keep the documentation on the lift, and label every enclosure with the circuit and the runs it feeds before the final. Our drivers’ listing documentation is available on request, as the drivers page says; have it in the binder.
Item 7: Driver Loaded Past Its Rating
The write-up: a driver carrying more strip than its nameplate allows, or a dimmer and driver that do not match. The inspector does the arithmetic from the strip’s watts per foot and the run length; so should you, at 80 percent of the rating as our drivers page sets it. Our 24V Class 2 drivers are rated at 60 W each, so a run that loads 70 W is split across two, each on its own output circuit, as our power supply sizing guide shows.
The fix is on the run schedule: watts per foot times feet per driver, written next to each driver on the drawing and on its label.
Item 8: Cut Ends Open on IP Strip
The write-up: an IP-rated strip in a damp or wet location with its cut end open, or a strip cut somewhere other than a marked cut point. Our COB page’s rule is the inspector’s too: cut at the marked points and re-seal IP65 and above with an end cap; our outdoor page adds the silicone end cap and adhesive. An open cut end in a shower niche or an exterior soffit is also a warranty exclusion, “cut ends not sealed as instructed”, so the fix pays twice. Our cut end sealing guide shows the seal, and our cutting and listing guide explains what a field cut does to a listed system.
The fix is a new end cap and a sealed lead; the cost at the final is a return visit with a lift.
Item 9: Unsupported Cable and Loose Channel
The write-up: low-voltage cable lying on ceiling tiles or draped over ductwork, and channels held by adhesive alone where the listing or the location wants fasteners. Low-voltage cable is supported like any other cable, by the structure and not by the ceiling grid; our adhesive failure guide covers why tape lets go, and our channels ship with clips at 19.69 in (500 mm) for the reason.
The fix at rough-in is J-hooks and clips; at the final it is the same work above a finished ceiling.
Item 10: Covered Before the Rough-In Inspection
The write-up: drywall or millwork closed over the strip wiring before the rough-in was inspected. EC&M’s article lists it among the ten most common violations on any job, with the plain advice to finish inspections “before covering up the electrical system components”. On a strip job the pressure comes from the drywall and millwork schedules, and the cost is the worst of the ten: the wall opened again.
The fix is the schedule. Put the rough-in inspection on the same calendar as the board date, as our construction schedule guide for strip sets out, and do not let a floor close without the sign-off.
FAQ
What do electrical inspectors check on LED strip lights?
At rough-in: the cable rating and routing, separation from line voltage, box sizes and support. At final: that drivers are reachable and carry their listing and Class 2 marks, labels, loads against the nameplate, splices in reachable boxes, sealed cut ends on IP strip, and that nothing was covered before inspection.
Do Class 2 splices for LED strip need a junction box?
Jurisdictions differ, and one Mike Holt thread records an inspection failed for taped splices while a reply argued no box is required. Put every splice in a reachable low-voltage box with rated connectors and the question does not arise.
Does an LED driver need to be accessible?
Yes. The driver is the equipment the inspector expects to reach and service; place it in a closet, behind an access panel or above an accessible ceiling, with air around it, never above a hard ceiling or behind fixed millwork.
What wire is required for LED strip inside a wall?
A cable rated for in-wall use, CL2 or CL3, and the plenum-rated version where the cable runs in a return-air plenum. Lamp cord and speaker wire are not rated for the wall and are written up at rough-in.
Before the Inspector Arrives
- Walk the job with the run schedule and check items 1, 2, 4, 9 and 10 before the board; call the rough-in inspection onto the board calendar.
- Carry three documents at the final: the driver listing, the strip’s installation instructions and the run schedule with loads per driver.
- Open every driver enclosure: label, listing mark, Class 2 marking, box fill, separation.
- Reach every driver without a tool that cuts; reach every splice.
- Check every cut end on IP strip and every channel’s clips.
- Light every run and read the far end before the inspector does.
Our Class 2 drivers carry their markings on the nameplate and our channels ship with clips and end caps; send the run schedule and we will mark the driver count and the box at each feed on your drawings.