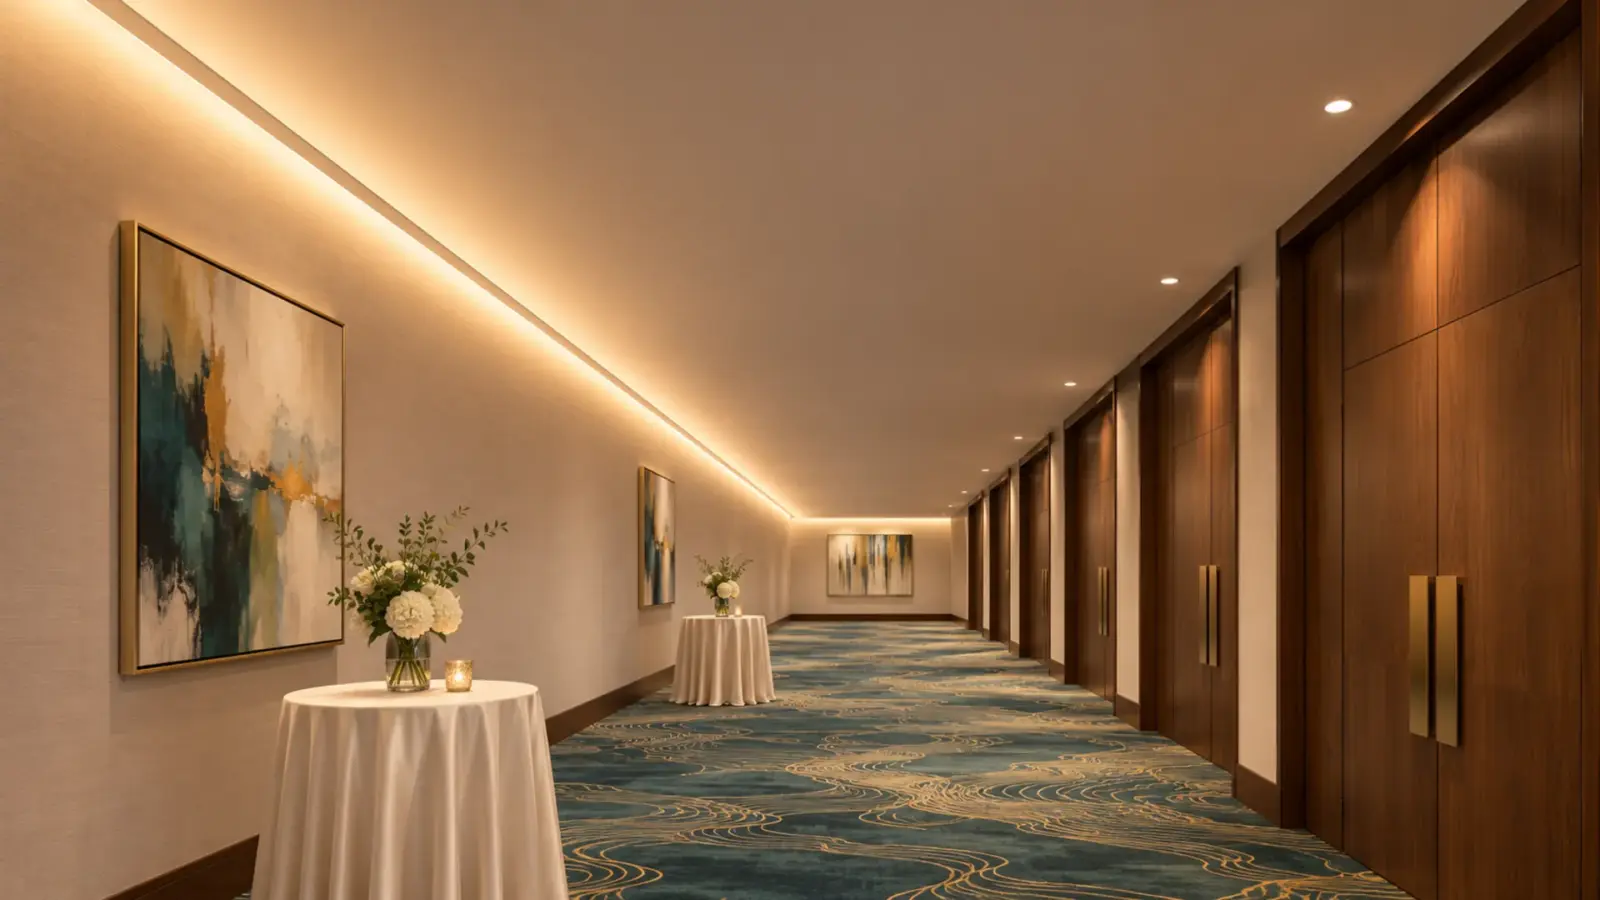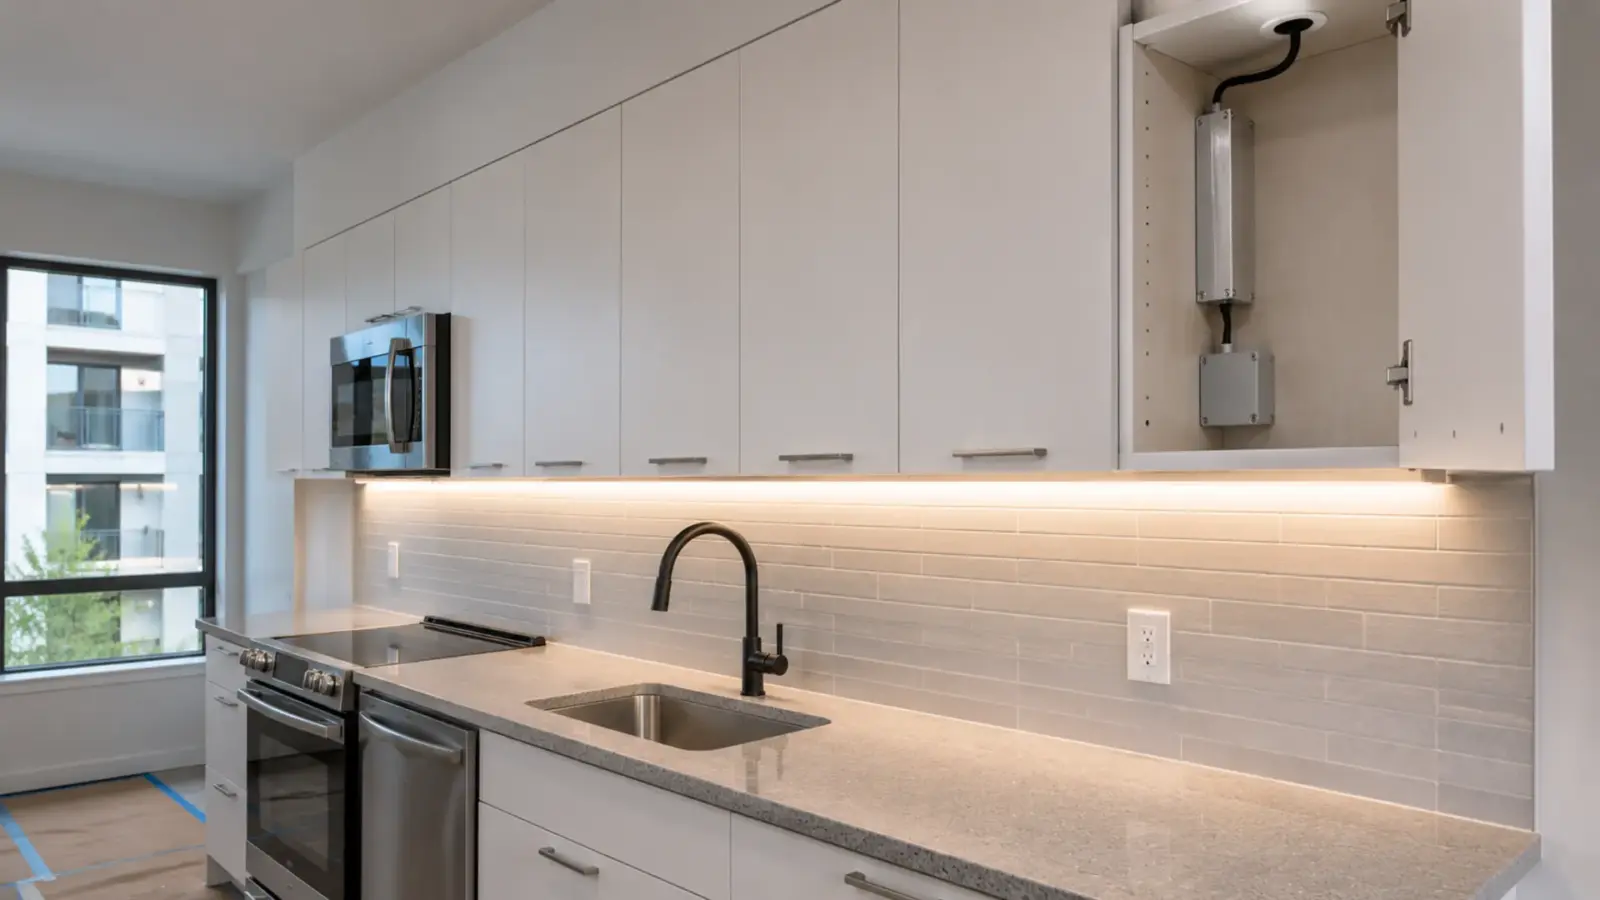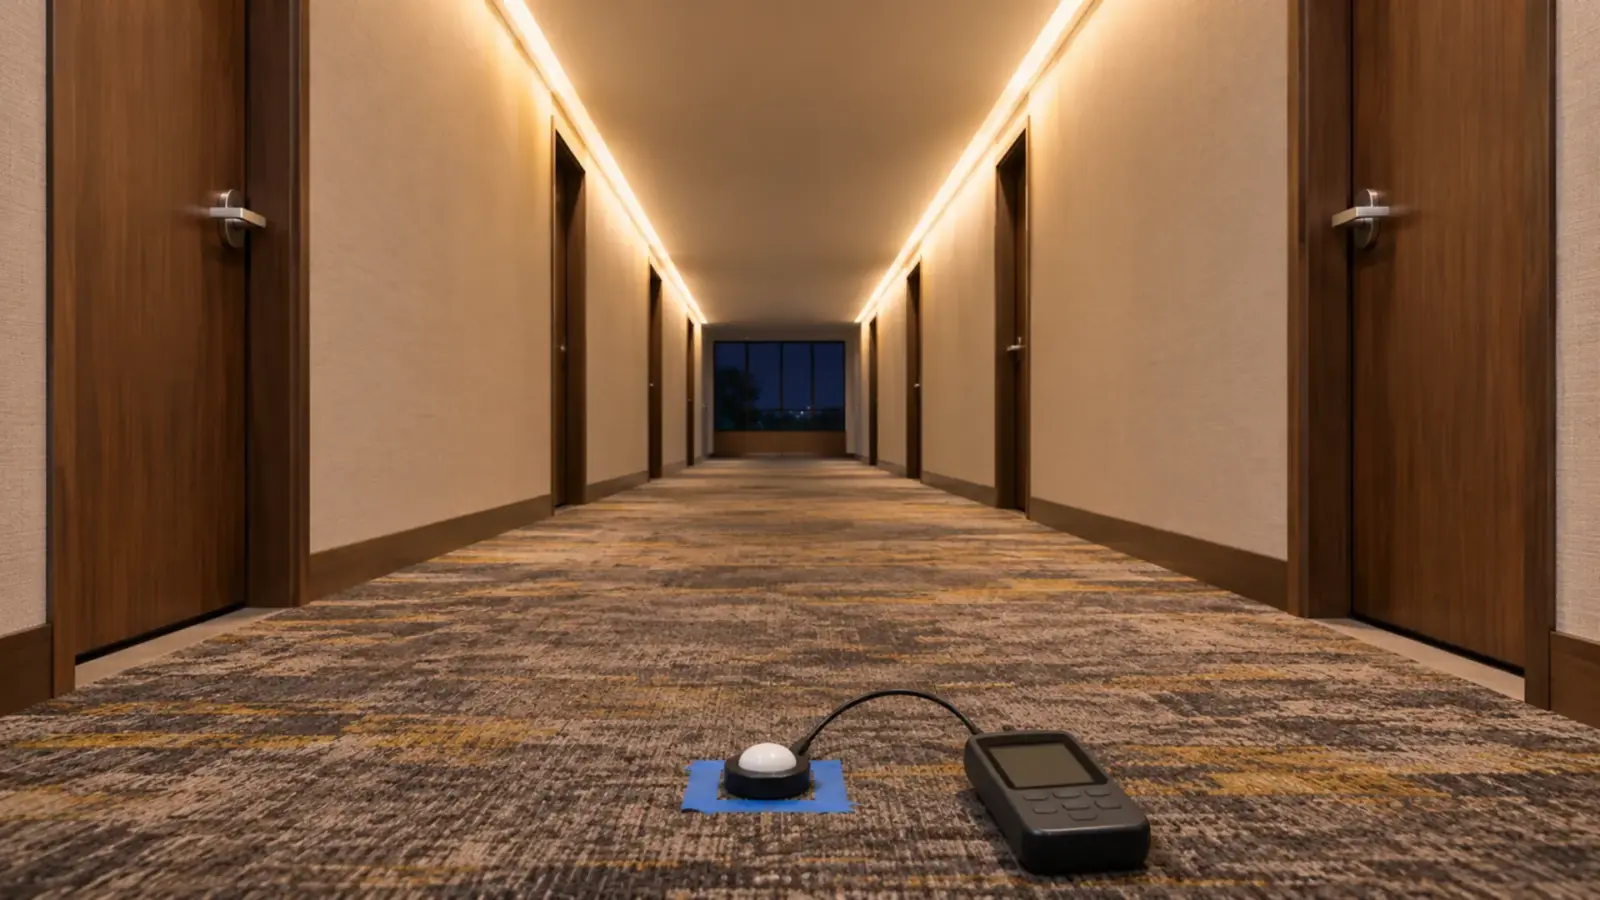



The failures our guides trace are rarely in the strip itself. They are a feed nobody counted, a driver nobody can reach, a reel from the wrong lot or a run left unlit before the ceiling closed. This LED strip installation checklist puts 100 checks in job order, from takeoff to handover, each linked to the guide that explains it.
Use it as a walk-through at each stage. Most checks take a minute.
Takeoff and Quote: Checks 1 to 12
The quote sets the feeds, drivers and labor before anything is installed, so the first checks are about counting the job the way it will be built.
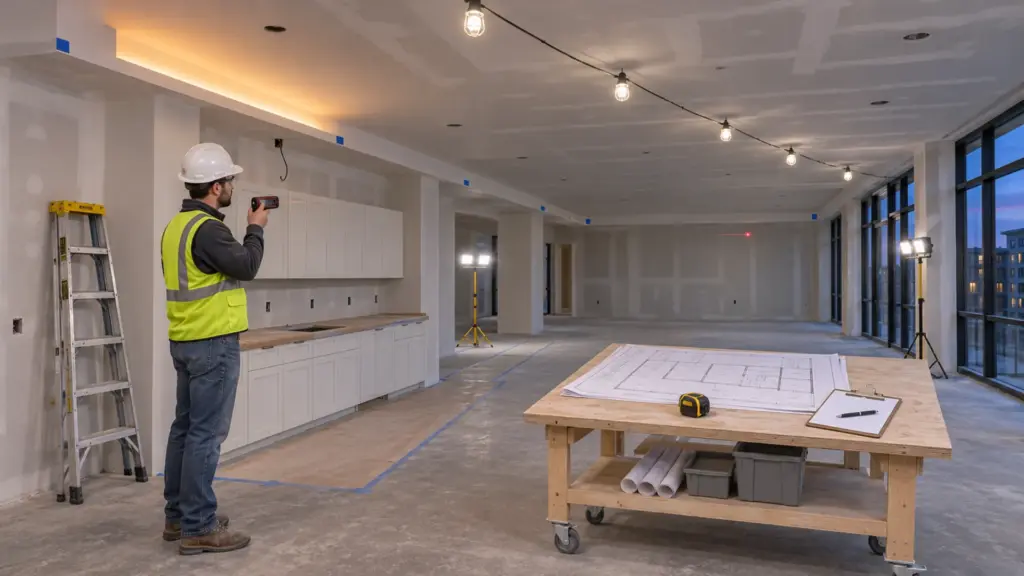
- Walk the site before the takeoff: ceiling heights and lift needs, where drivers can live, the substrate, the existing controls and who builds the coves. Our guide on how to quote an LED strip job covers the walk.
- Give every run a feed point, and make the feed count match the model’s rated run per feed.
- Price drivers per run and per zone, not one per room.
- Round strip lengths to the cut interval, and count the waste at cut points.
- Count channel in stick lengths, with the corners and end caps.
- Price labor by run type and at the real working height, then add wiring, commissioning and programming.
- Keep the mockup, lifts, supervision and contingency as separate lines, and name who supplies the controls instead of writing “by others”.
- Write “24 hours a day” on the drawing and the quote request where the space never goes dark; running LED strip 24/7 changes the rated life, the warranty and the driver choice.
- Count drivers per breaker twice, once by watts and once by driver inrush, and plan the circuit count before the quote goes out.
- Agree who supplies and who installs the strip inside casework, and name that millwork LED strip scope on the drawings.
- On a tenant job, settle landlord’s work and tenant’s work from the lease exhibits before pricing a tenant fit-out.
- Compare quotes on lumens per foot beside the price per foot, never on price alone.
Selection and Specification: Checks 13 to 26
Most of these checks are one line on the schedule. Missing ones turn into substitutions later.
- Name the control system on the drawings before the strip is chosen; 0-10V, TRIAC and DALI dimming need different drivers.
- Check the supply voltage at each driver location; a 277V circuit rules out our phase-cut driver.
- Measure the longest run on the drawings and compare it with each option’s run per feed, constant current or constant voltage.
- Classify every run as dry, damp or wet, and confirm the borderline spots for wet location LED strip with the AHJ.
- Match the IP code to the water: IP65 for rain, IP67 for standing water, IP68 for submersion with a stated depth and time; then ask for the wet location marking, which the IP code does not give.
- Measure the strip width on a sample, coating included, and check it against the channel’s rated maximum; our strip width and channel fit guide lists the pairs.
- Keep the diffuser at least one LED pitch from the chips, and use COB where the strip is bare or the lip is shallow; LEDs per foot sets the pitch.
- Choose the cut interval from the shortest run, so a short shelf does not end in a dark stub.
- State the SDCM step with the CCT, 3 steps or tighter where sections sit side by side at eye level; color consistency depends on it.
- Write the CCT next to every strip tag on the schedule, as our 2700K vs 3000K guide advises, not “warm white”.
- Ask for Ra and R9 on every model, and TM-30 Rf and Rg for gallery and high-end retail high-CRI LED strip.
- Put strip above about 6 W/ft on aluminum with air around it, and lower the power in closed coves and cabinets; LED strip thermal management explains why.
- Ask for the PWM frequency of every dimming driver and controller where the space is filmed, to keep LED strip flicker off camera.
- Choose the optic after the setback, not before, on every wash or graze; the wall washer beam angle follows the slot.
Submittal and Documents: Checks 27 to 38
The submittal is where the paperwork has to name the exact model. A brand name on a certificate is not enough.
- Get the RFIs before ordering that set the product, the color, the dimming and the listing answered in writing.
- Set a mockup date and a submittal date that both fall before the release date.
- Put the listing in the submittal: a photo of the product label, the dated directory record with the model highlighted, and the location it covers, as our guide to verifying a UL or ETL listing shows.
- Ask which standard each certificate is issued under, and whether the mark is UL or ETL, Listed or Recognized.
- Get the packager’s full part number for the LEDs, not “Samsung 2835”, and the LM-80 report for that part; LED chip brands explains what the name proves.
- Ask for an LM-79 report on the finished strip, so lm/ft, W/ft, CCT and CRI are measured on the product you are buying.
- Hand the design to the submittal as a type schedule with each part, strip, channel, diffuser, driver and control, plus plans with matching labels and the control diagram; commercial linear LED design lists the set.
- Read each LED strip spec sheet for six answers: environment, voltage and run limit, output, color, control and documents.
- Approve a brand color match on the lit sample at the real brightness, not on a Pantone value.
- Record the model, test condition, sample length and cover model with every IES file, because a different cover changes the file.
- A substitute driver after approval carries the same marking as the one on the drawings; a Class 2 driver is not swapped for a bigger non-Class 2 unit to save a driver.
- Freeze and sign the run schedule with a revision number before any release, and count each release back from its construction schedule date.
Order, Delivery and Staging: Checks 39 to 48
The order fixes what can still change cheaply. Receiving is the last point where a wrong reel costs a phone call instead of a ceiling.
- Ask at which stage an order change after release starts to cost money, and whether a change resets the ship date.
- Place one production order with phased deliveries, an SDCM limit and attic stock per unit type, the way multifamily and student housing jobs are bought.
- On school work, count the order date back from the summer window by the lead time, with deliveries phased by building; school and university jobs live on that date.
- Check the bill of lading count and write the exceptions on the receipt before signing; our quality inspection checklist starts at the trailer.
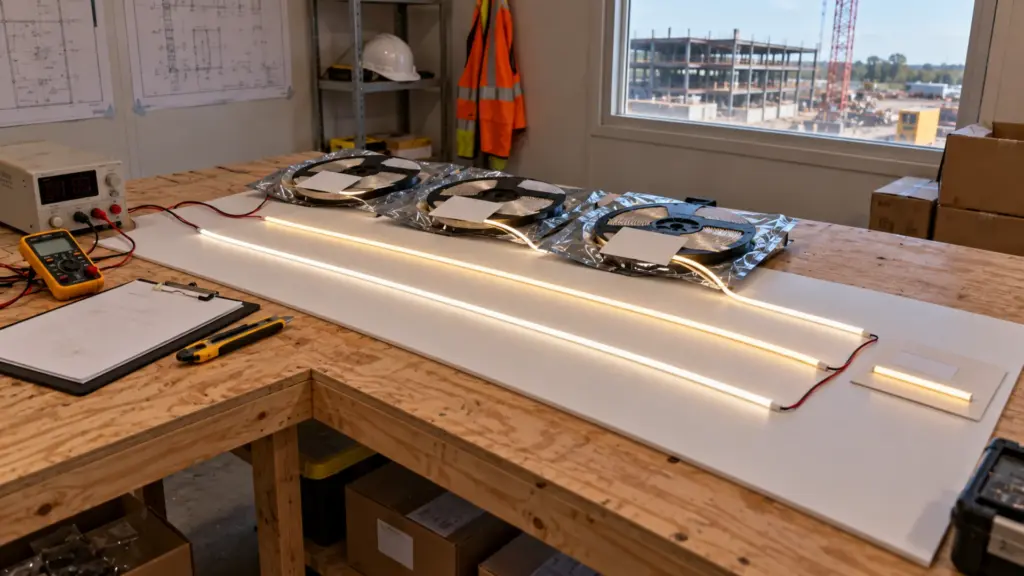
- Match every reel label to the submittal and the PO: model, CCT, CRI, voltage, IP, length and lot.
- Power-test one reel per lot, and one reel on the job driver and control.
- Report concealed damage in writing within the carrier’s window.
- Keep reels in their original reel and sealed bag, dry and off the floor, by lot and area, when staging LED strip on a job site.
- Log the staging space against the storage range for the exact model.
- Never power a reel on the roll.
Rough-In: Checks 49 to 60
Rough-in is the cheapest moment to fix a driver location, a cable route or a feed. After the board goes up, each fix costs a patch.
- Mark damp and wet zones on the building section before the strip is chosen for a soffit or eave.
- Choose a location for every driver that stays reachable without opening a finished surface; for casework, where to put an under-cabinet driver ranks the options.
- Before rough-in, ask whether the cavity above the ceiling carries return air, and what the AHJ accepts for an LED driver in a plenum ceiling.
- Do not hang low-voltage cable on the ceiling grid.
- Size an outdoor LED driver enclosure from the drivers’ losses, load × (1 ÷ efficiency − 1), plus the controllers.
- Mark the rated walls on the strip lead routes, with the listed system for each penetration through a fire-rated wall.
- Use CL2 or CL3 cable on Class 2 output, plenum-rated in a plenum, for in-wall wiring for LED tape, as the AHJ’s adopted edition allows.
- Dimension feed brackets the same on the rail shop drawings and the electrical rough-in, with a service loop in each box, on an LED strip handrail.
- Give every piece a feed, a driver and a drop in the wall before boarding, on a baseboard LED channel.
- Fix trimless LED channel to blocking, not to the board alone, and land the feeds before the board goes up.
- Mark every hang point on the plan, clear of ducts, beams and sprinkler heads, for suspended linear channel.
- Label each driver to its run, so a driver in hiccup mode points at its own run, and power each run alone with its driver before drywall, writing the result down.
Installation: Checks 61 to 76
Installation checks are about the parts that cannot be seen once the cover clips in: cuts, ends, joints and feeds.
- Cut aluminum LED channel clean, deburr it inside and out, blow out the chips and wipe the strip seat with alcohol.
- On channel runs past about 33 ft (10 m), leave expansion gaps between sections, with one fixed point per section.
- Cut and connect LED strip only at the marked points.
- Cap and fill every cut end on IP-rated strip with the sealant the strip maker specifies, and let it cure before power or water, as our guide to sealing a cut IP67 end shows.
- Give every feed lead a drip loop on outdoor and wet runs.
- Add up the runs behind each joint and keep the current under 5 A, the rating of our LED strip connectors.
- Match the connector’s pin count and PCB width to the strip, or solder the joint.
- Never feed a full run on the strip’s thin pre-soldered leads; the voltage drop starts there.
- Feed runs in parallel, not end to end, with each run within its rated length per feed.
- Check polarity at every feed before powering a run fed at more than one point.
- Keep every Class 2 run on its own output; do not tie two outputs together to feed one run unless the driver’s data sheet allows it.
- Cut corner pieces in whole cut increments, each starting at a corner, to avoid a dark spot at a cove corner.
- Lay out addressable COB strip in whole pixels, and put the dark remainder where nobody looks.
- Keep one IC type per output on pixel runs, with the controller set to that IC, whether WS2811, WS2818 or SK6812.
- In recessed channel, set the strip last, after the joint compound is finished and sanded; LED channel selection covers the install order.
- Fit the diffusers last, after each run has been lit, as our LED strip installation guide does.
Commissioning: Checks 77 to 88
Commissioning proves the system as a whole: strip, driver, dimmer and control on the real circuit.
- Power up one run at a time, as the installation guide in check 76 does.
- Read the voltage under load at the driver, at the feed and at the far end, and write it on the as-built, as the voltage drop guide in check 68 sets out.
- Set the low-end trim just above the flicker point and record it for each zone, as with a Lutron dimmer on LED tape.
- Switch off in a dark room and look for a faint glow when off.
- Use only the driver and dimmer pairs that passed the bench driver and dimmer compatibility test before rough-in, and confirm each on one run with the real dimmer model before the rest is released.
- Take an IR reading of every feed joint after the strip has run at full output, comparing identical joints, to catch connector overheating.
- On DMX, check for overlapping address blocks, start at channel 1, terminate the last device and keep a chart; DMX control mistakes show here.
- In hotel rooms, test every zone from its keypad, then the vacancy timeout, a power loss and the restore, with the guestroom control system.
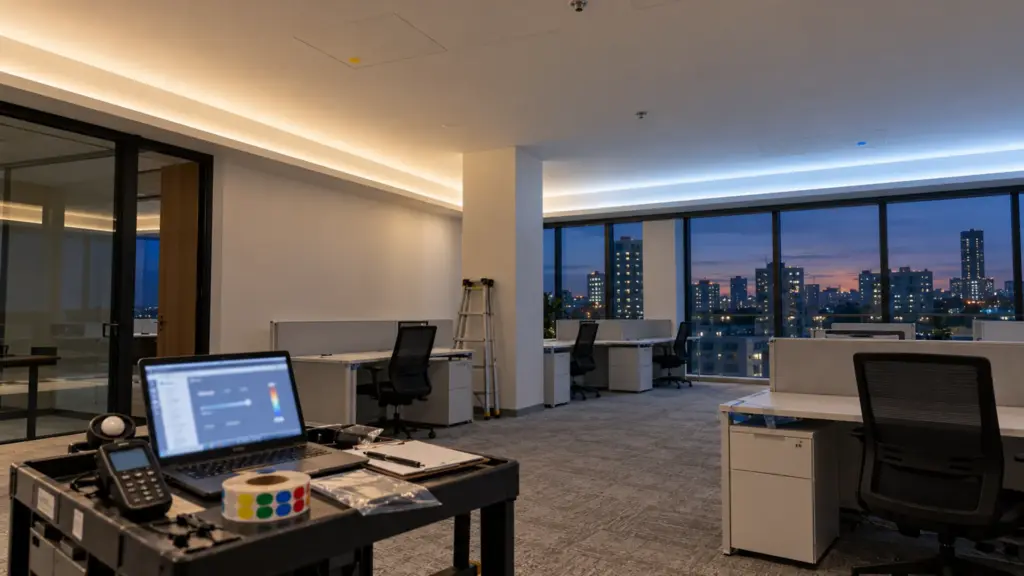
- With wireless controllers, have the owner’s named staff member sign in on their own device and see every zone.
- Test outdoor photocell and timer schedules at dusk, and hand over the relay map.
- Name the tunable white presets, print the schedule, and sign off both extreme scenes on the mockup.
- In video spaces, confirm the mockup was filmed at the levels the design uses and the PWM frequency is in the specification, as in check 25.
Inspection and Handover: Checks 89 to 100
The final inspection and the handover pack are the last two places a missing record costs a return visit.
- Before the inspector arrives, open every driver enclosure: label, listing mark, Class 2 marking, box fill and separation; our inspection punch list lists the rest.
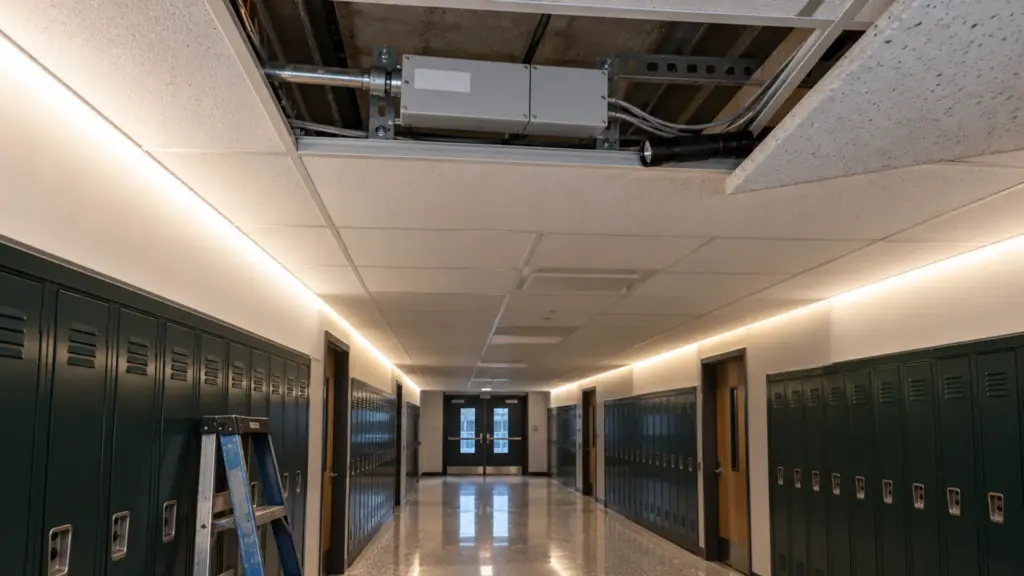
- Carry the driver listing, the strip’s installation instructions and the run schedule with loads to the final.
- Light every run and read the far end before the inspector does.
- If an inspector asks for a channel under the strip, ask for the section number and the edition; does LED tape need a channel covers the answer.
- Confirm which inspections the electrical permit required, including any rough-in look before the ceiling closed.
- Confirm who performs the energy-code functional test and when, under IECC or ASHRAE 90.1.
- Hand over as-built drawings that show every run, driver, junction and access point, as listed in our commissioning and handover guide.
- Include the commissioning records: load sheet, run list, meter readings and photos.
- Keep the approved mockup sample, labeled, if the project kept one.
- Leave spares from the job’s batch on site, labeled, with their location in the register, as part of a maintenance plan.
- Hand over a maintenance schedule with a named owner and a first date.
- Write the warranty period from the quotation on the first page of the claim kit.
Use It on the Next Job
Print the stage you are in, not the whole list. The checks that matter on a hotel corridor are not the ones that matter on a shelf in a pharmacy, and the linked guides say where each one applies. For the codes behind those checks, see the 50 standards behind an LED strip job.
If you are pricing or specifying a strip job now, send the drawings and the run lengths. We check driver matching and run limits before anything is quoted: request a quote.